

Lightning for My Accounts
- Browser
Lightning for My Accounts provides users with improved performance and an enhanced Lightning UI.
Once configured, users can access the following functionality in Lightning for My Accounts:
- Use Account Lists and Account Views
- Create, Edit, and Delete Lists and Views
- Use Child Account Lists and Views
- Create new accounts
- Create new orders
- Send Approved Email messages
- Navigate to specific account records
Lightning Web Security for Lightning web components is not supported. Admins can disable this setting in Setup > Security > Session Settings.
Prerequisites
- Ensure Accounts and My Accounts are configured
Configuring My Accounts on Lightning
- Ensure end users and admins have access to the NetworkAccountSearchVod Visualforce page if Network Account Search is configured for New Account.
- Grant users and admins access to the My Accounts Lightning Component Tab.
- Add the My_Accounts_vod Lightning tab to the navigation menu for any Lightning Console Apps your organization configured, if your organization uses Lightning console mode.
- Add the My_Accounts_vod Lightning tab to the navigation bar for any Lightning Business Apps your organization configured (optional).
- Enable the following apex classes for the correct profiles.
- VeevaMyAccountsController
- VeevaCustomSettingsService
- VeevaMessageController
- VeevaUserInterfaceAPI
Functionality
Lightning for My Accounts functionality differs from Browser (Classic) as follows:
- The number of accounts included in the first search is not limited in the Lightning experience.
- The Regional Manager Governors limitation does not apply to the Lightning experience, but still applies to Browser (Classic).
- If multiple Dynamic Attribute criteria exist on a view, the Territory drop-down list remains enabled in the Lightning experience.
Users can access much of the same core functionality in Lightning for My Accounts as they did before. However, some existing My Accounts functionality is not supported in the current version of Lightning for My Accounts, and new functionality is available in Lightning.
For an overview of the differences in supported functionality between the existing My Accounts and Lightning for My Accounts, see the following table:
| Functionality | Classic Tab | New Lightning Tab |
|---|---|---|
|
|
|
|
|
|
|


Dynamic attributes with a type of Picklist that end with a space character do not display in Lightning for My Accounts. Remove the trailing space character to display them.
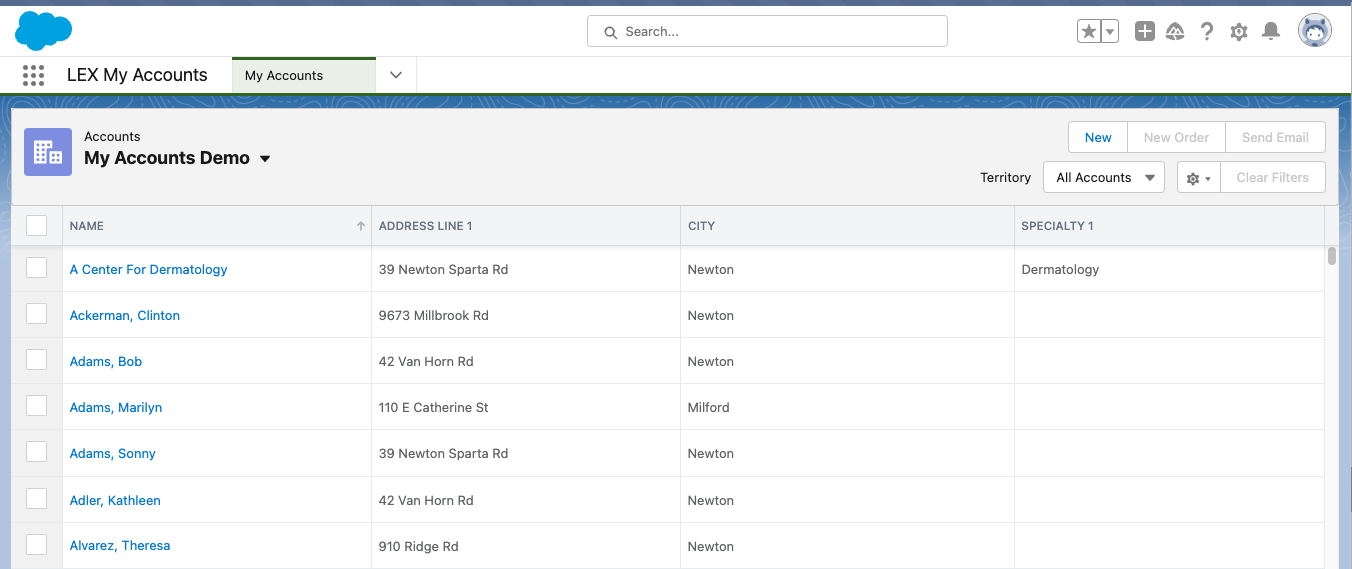
Using My Accounts on Lightning
Selecting Lists and Views
All lists and views the user has access to are listed alphabetically.
Lists and Views do not include accounts with inactive addresses.
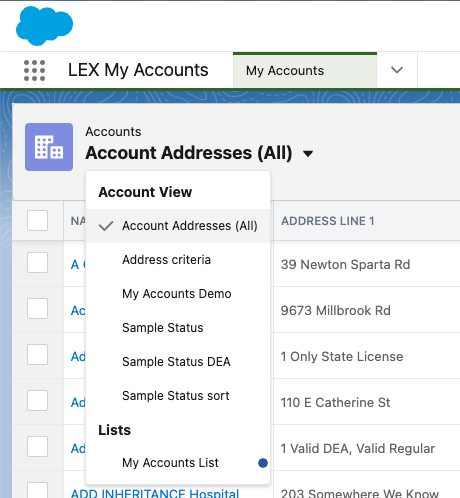
Use the dropdown to select a list or view.
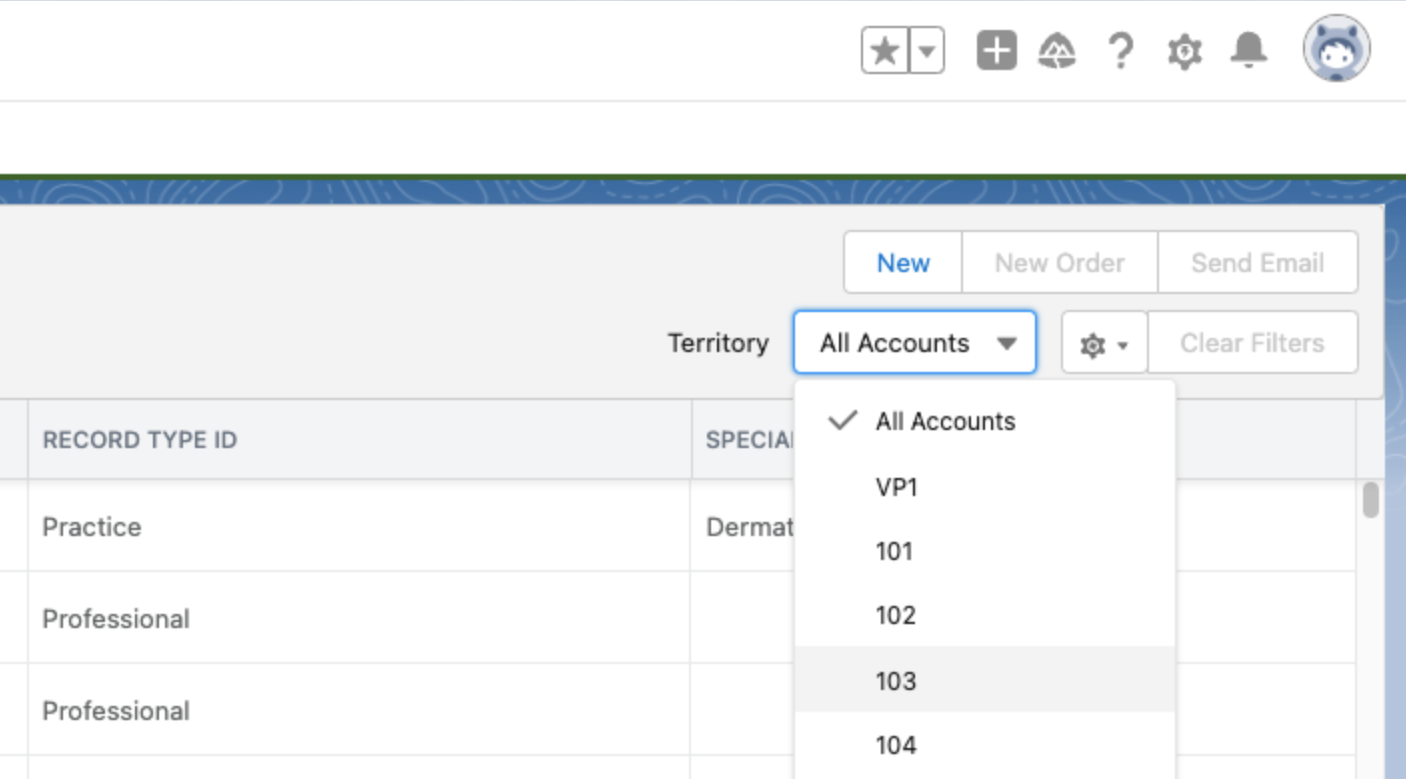
To select a different territory, use the Territory dropdown. Any sorting or selected filters are retained when a user selects a different territory. For information on the All Accounts option in the Territory drop-down menu, see Visibility of Accounts and Territories .
Sort order and selected filters are not retained when a user selects a different list or view.
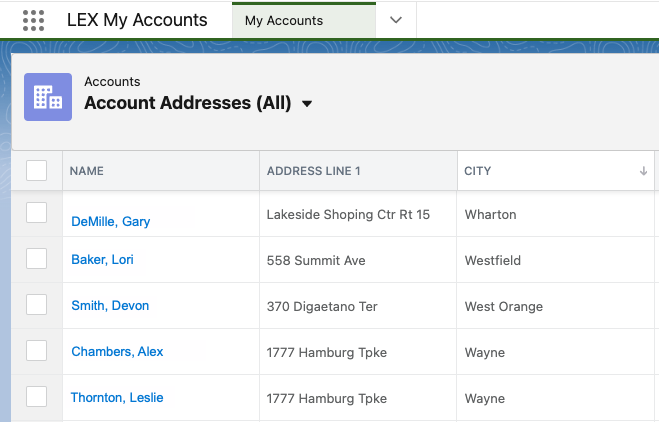
Sorting Accounts
To sort the list of accounts by a particular column, select the column header. Select the header to toggle between ascending and descending sort order.
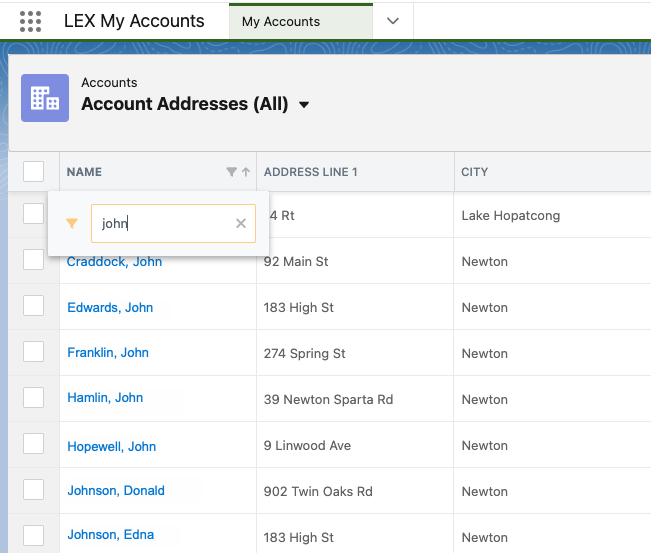
Filtering Accounts Views and Lists
To filter the list of accounts, select the Filter button in the column header, enter text in the Filter field, and select enter. The list of accounts is filtered to display only those containing the entered text. To remove the applied filters, select the Clear Filters button.
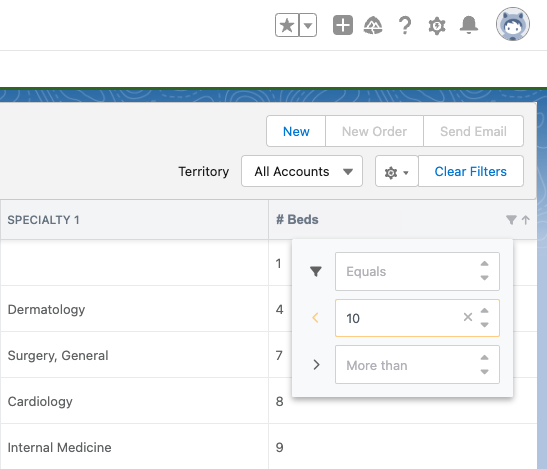
Use the numeric filter for columns of the following types:
- date
- date/time
For date/time fields, the filter compares the date portion of the value and ignores time.
- currency
- number
- percent
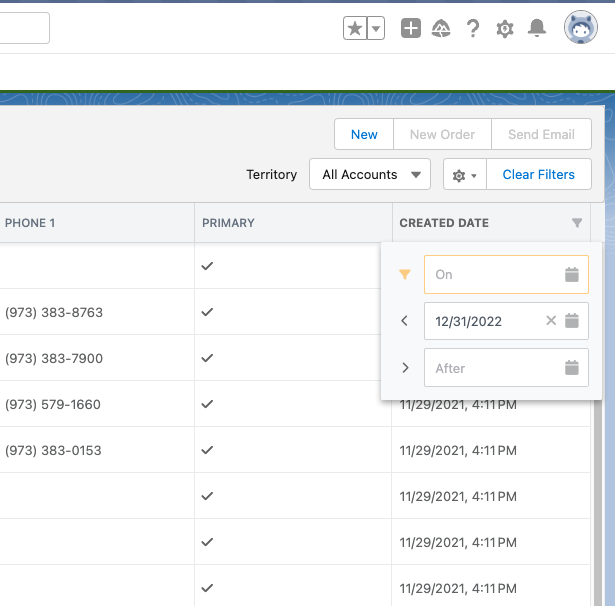
For date and date/time columns, select the date for the filter using the calendar. The calendar picker allows dates up to 20 years before and after the current date.
Creating, Editing, and Deleting Views and Lists
Use the List View controls menu to create, edit, or delete views and lists using the List View Controls menu.

To group manually selected accounts together using a list:
- Select the rows of one or more accounts you want to include in the list.
- Select the Create New List menu option.
- Enter a name and select a color to represent the list. The color defaults to red if a color is not selected.
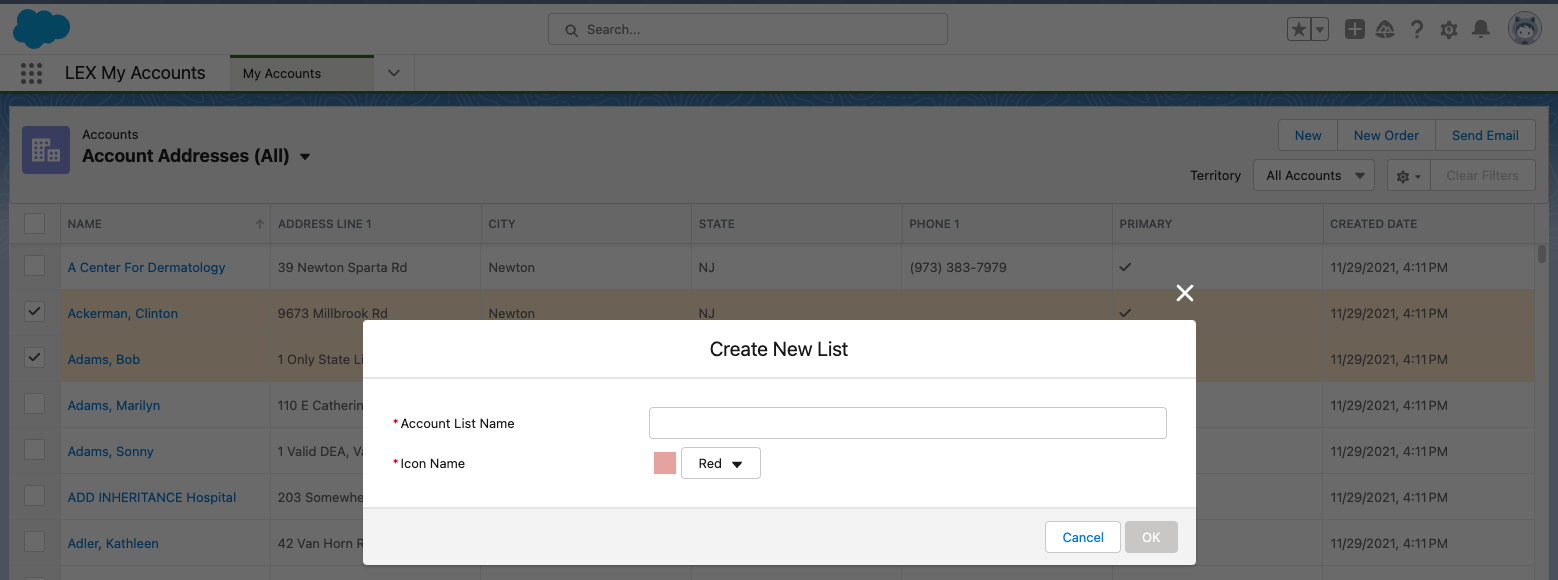
- Select Save.
The new list is available in the Views dropdown, and automatically displays.
- To add an account to the list, select the row for an account and select Add To List.
- To remove an account from the list, select the row for an account and select Remove from List.
- To delete a list, select the list from the dropdown and then select Delete.
- To rename a list, select the Edit button, enter a new name, and select Save.
If a list includes more than 200k rows, only 200k results display. A message displays in the header notifying users of the limit.
Scheduling Calls
Users can schedule calls for one or more selected accounts.
The Schedule a Call option only displays in the navigation menu if Lightning for My Schedule is configured and the user has OLS permission to create a call.
To schedule a call in Lightning for My Accounts:
- Select the checkbox next to one or more accounts.
Users can select up to 200 accounts to be scheduled at once.
- Select Schedule a Call. The button is disabled if no accounts are selected.
- Select a Start Date. Calls are scheduled on or after this date.
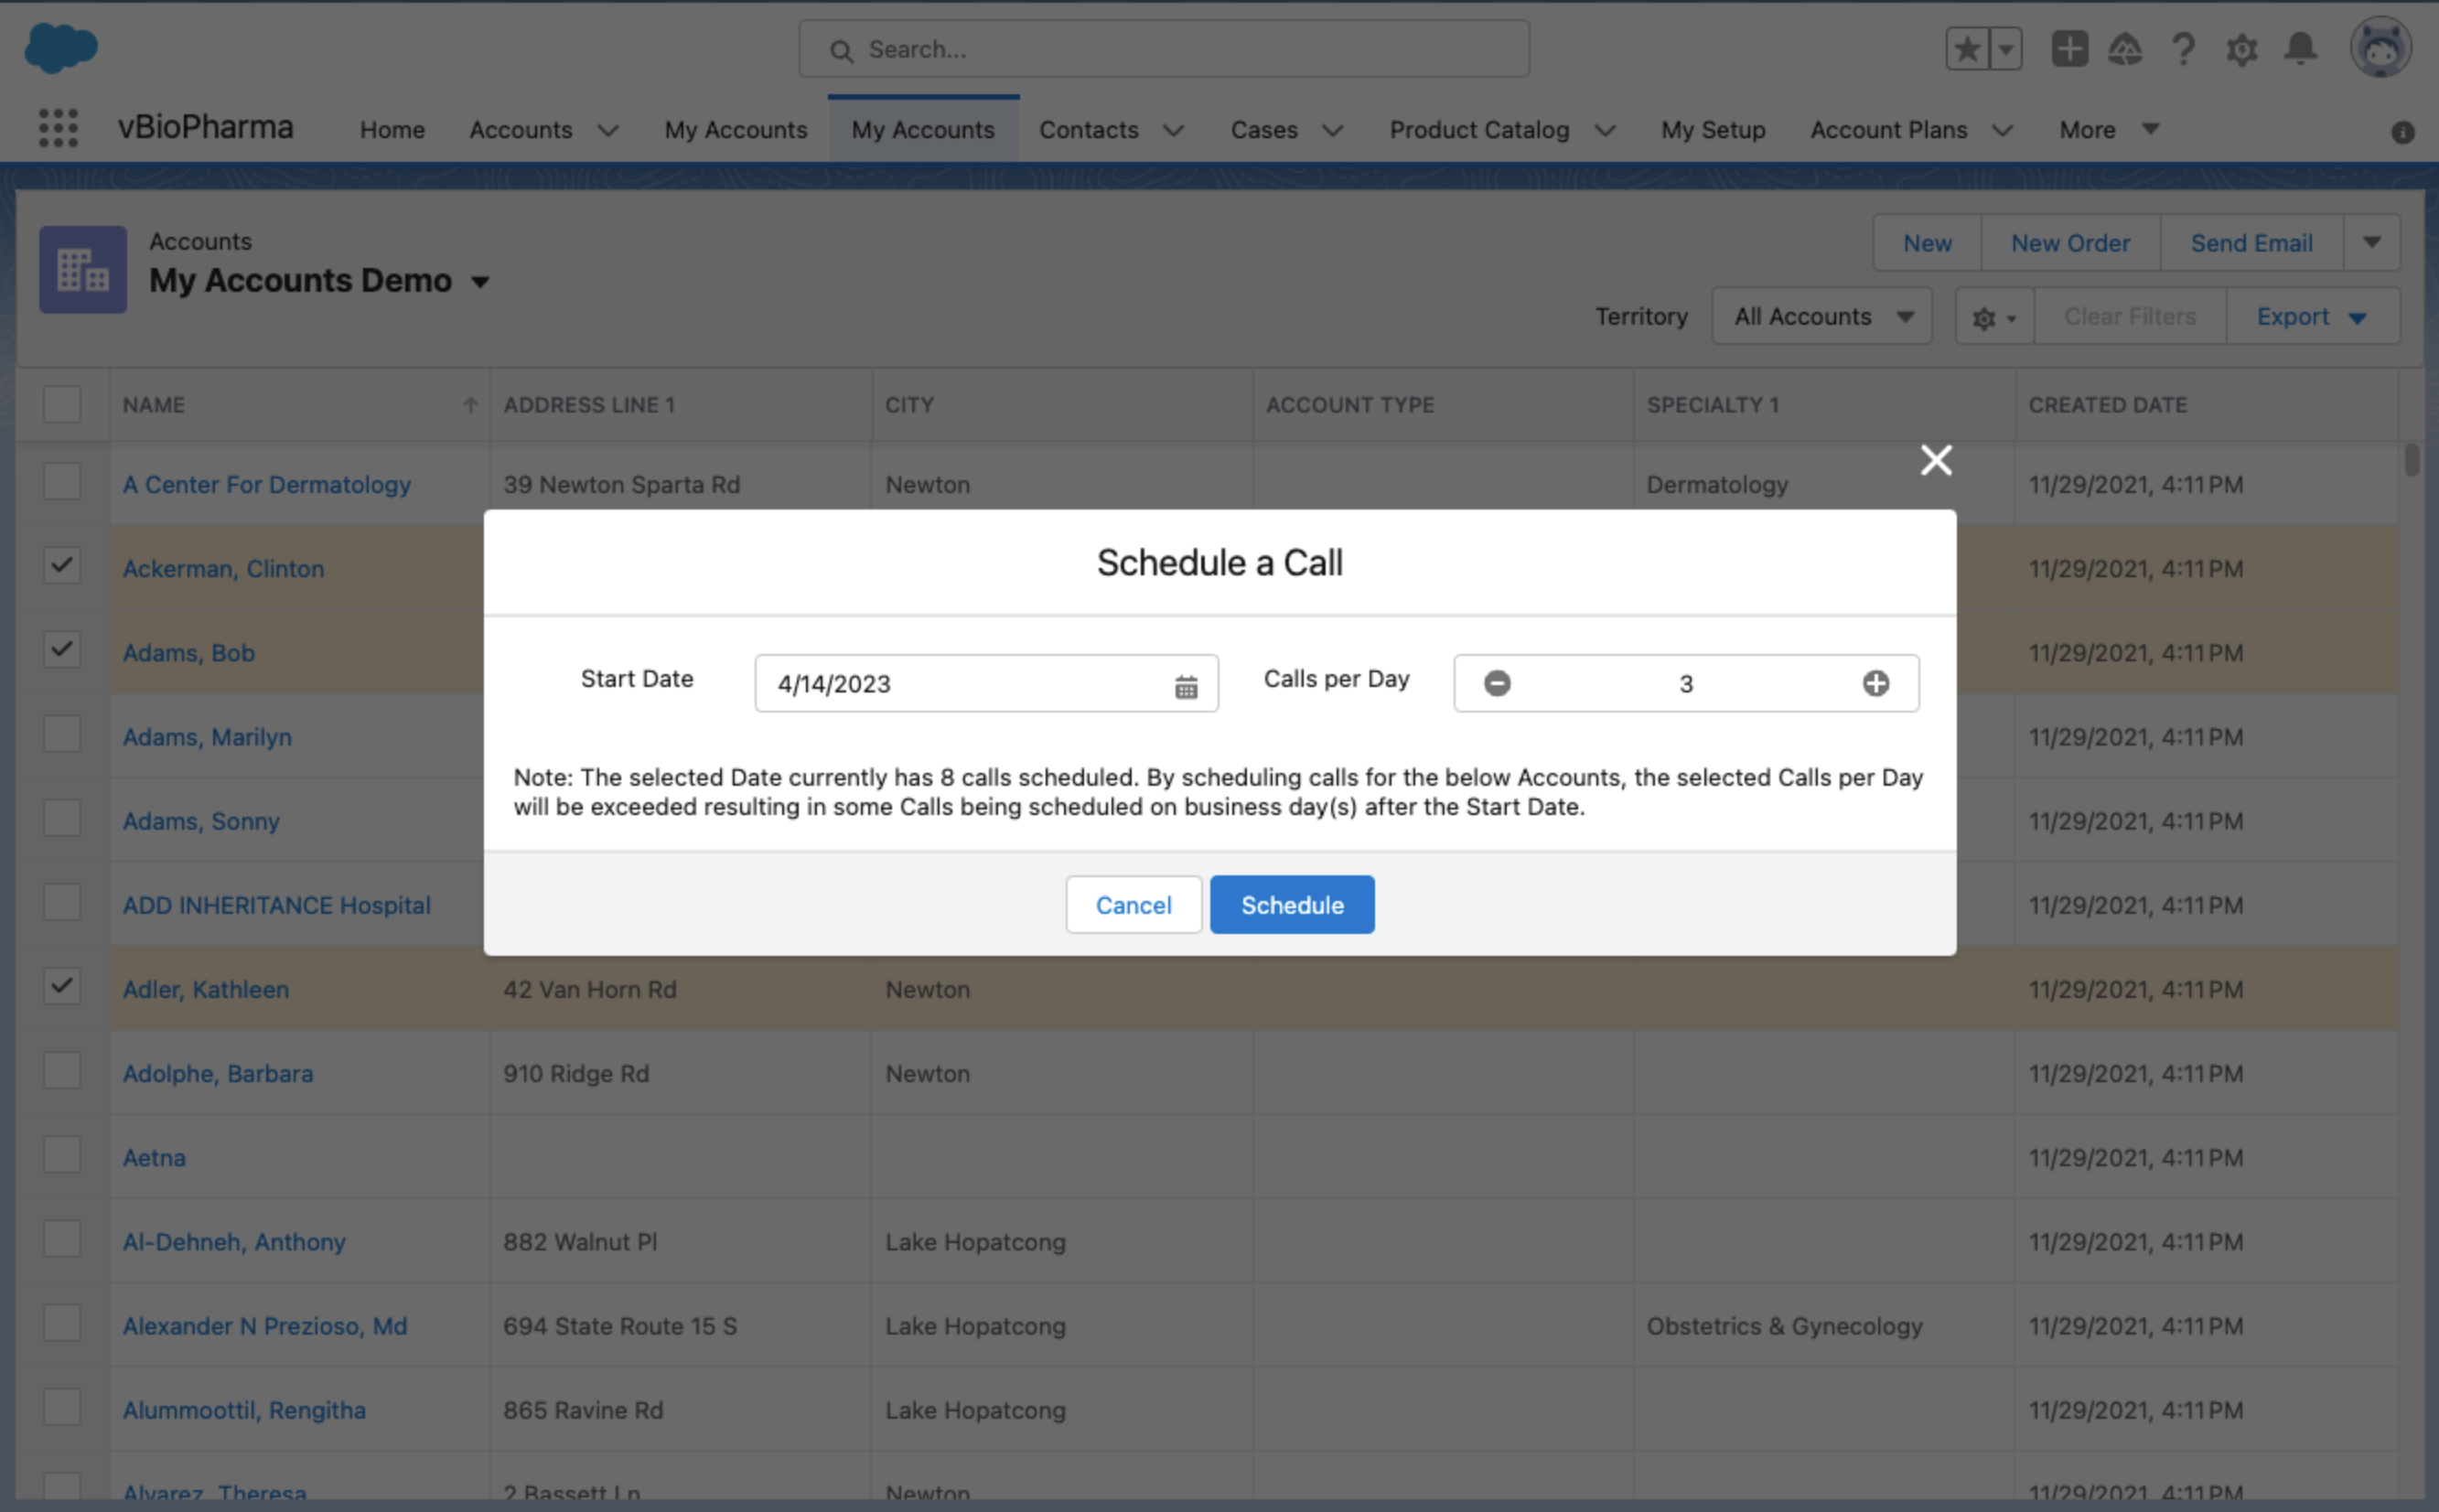
- Adjust the number of Calls per Day. If the number of selected accounts exceeds the value in the Calls per Day field, a message displays stating some calls will be scheduled after the start date.
- The Calls per Day field defaults to the value stored in the Calls_Per_Day_vod field on the Preferences_vod object. If there is no value defined in Preferences_vod.Calls_Per_Day_vod, the field defaults to a value of 8.
- If the user selects a value other than the default, the selected value is saved in Preferences_vod.Calls_Per_Day_vod.
- Select the Schedule button.
Lightning for My Schedule opens and displays the scheduled calls.
Exporting Lists and Views to CSV or Excel
To export a Lightning for My Accounts list or view to CSV or Excel, select the Export button and select CSV or Excel from the dropdown menu. All data in the list or view is included in the exported CSV or Excel file. An error displays if the export is unsuccessful.
