

Viewing Compass Data Using MyInsights
- Browser
- iPad
- iPhone
A Veeva Compass account is required to use this feature.
Content creators can use MyInsights Studio to create a MyInsights page that embeds Compass patient data and aggregated prescription and medical claim data at the HCP and product levels. For example, content creators can create a MyInsights page displaying total HCP treatments at the product level.
Prerequisites
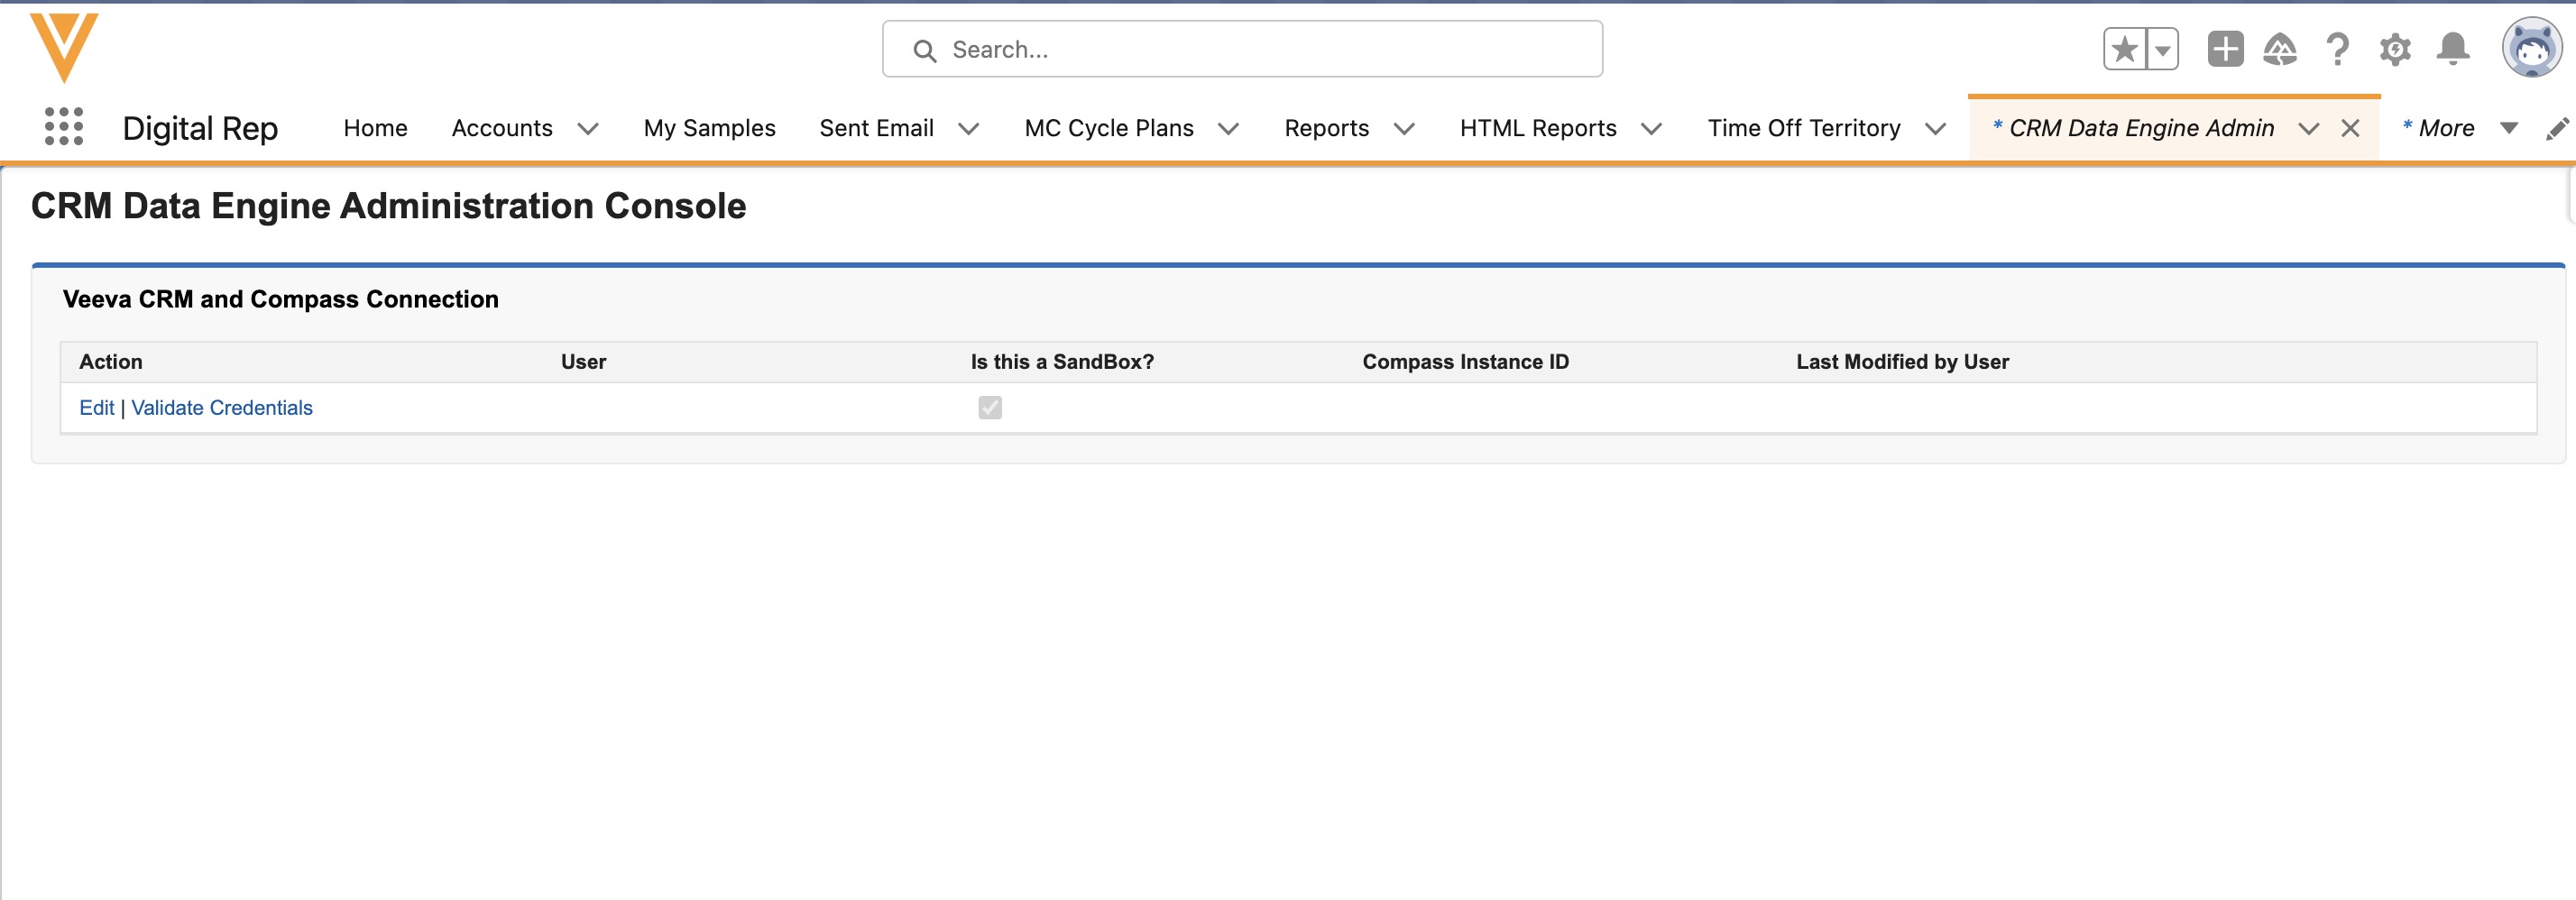
- Ensure the CRM Data Engine Administration Console tab is visible in CRM.
- Ensure MyInsights is configured for end users
- Ensure a MyInsights Studio domain has been requested.
- Ensure the appropriate user profiles have MyInsights Studio deployment permissions
- Create a Standard User for Compass. Select the API Access check box.
- Define the cohort definitions for your Compass query.
- Create or load your Analytic Product Groups, based on the cohort definitions, to define your market and the associated products you plan to visualize in the data. This includes your company’s products and any competitor products you want to compare them to.
- Ensure each account for which you want to see data has a value in the VeevaID_vod or NPI_vod field on the Account object. The Veeva ID or NPI are required to match the CRM account to the Compass claim.
Integrating Compass Data with CRM
To integrate Compass data with CRM:
-
Create an integration user for CRM.
-
Grant the user the following permissions:
Object
OLS
Record Type
Field
FLS
Account
Read
n/a
- External_Id_vod
- id2_vod
- NPI_vod
- VeevaID_vod
Read
Analytics Product Group
Read
n/a
- External_Id_vod
- Parent_Product_Group_vod
- Company_Product_Group_vod
- Market_vod
Read
- Log into CRM as the CRM user.
- Select the CRM Data Engine Administration Console tab.
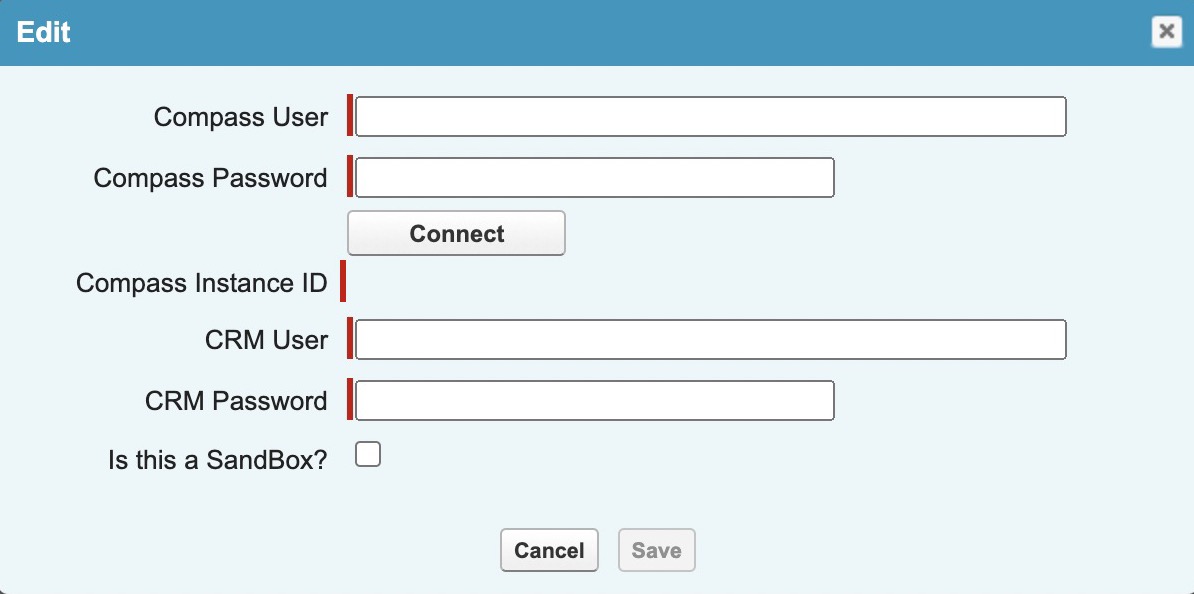
- Select Edit.
-
Enter the Compass User account credentials.
-
Select Connect. (Compass Instance ID is populated if the entered credentials are correct.)
-
Enter the CRM user account credentials.
-
Select Save. The Compass Instance ID is populated when the user information is saved.
-
Select Validate Credentials to verify the CRM user account credentials.
-
Log into the Compass Portal as the Compass user.
-
Define the query job in Compass. Ensure the following settings:
Queries producing more than 10 million total records across the 25 month Time Frame are not supported.
- Veeva Compass Patient
- Returned Records - Selecting Exact Match or Select Records is recommended
- Delivery Schedule - select Daily
- Time Frame for Qualification Criteria - enter dates from the 25 months prior to the current month, for example, From: 01/01/2021 To: 02/01/2023
- Time Frame for Returned Records - ensure the Return transactions for the same time frame used to identify qualified patients check box is selected
- Delivery Location - select CRM
- Time Frame for Deliveries - select Last 3 months
- Schema - customers upgraded to Veeva CRM 25R1.0 or later can select a data schema version:
- Patient Schema V2 (to be retired April 2026)
- Patient Schema V3
- Veeva Compass Prescriber
- Delivery Location - select CRM
- Frequency of Delivery - select Monthly
- Time Frame for the Data - select Last 12 months
- Schema - customers upgraded to Veeva CRM 25R1.0 or later can select a data schema version:
- Prescriber Schema V1 (to be retired April 2026)
- Prescriber Schema V2
- Veeva Compass Zip
- Delivery Location - select CRM
- Frequency of Delivery - select Monthly
- Time Frame for the Data - select Last 12 months
- Schema - customers upgraded to Veeva CRM 25R1.0 or later can select a data schema version:
- Zip Schema V1 (to be retired April 2026)
- Zip Schema V2
Creating a MyInsights Page That Uses Compass Data
Several MyInsights Studio Compass page templates are available for customers to start with:
- Using the Market Trend Page Template
- Using the Diagnosed Patient Page Template
- Using the Compass Prescriber Data Page Template
- Using Page Templates
Alternatively, content creators can create and deploy a custom MyInsights page that uses the queryDataEngine method and the getAlignedTerritories function. See the Veeva Javascript Library for more information.
