

Creating Records for Sample Management
- Browser
Admins create product and user records that Sample Management and Call Sampling rely on to function. For each sample product, users must have access to corresponding product records on the Product Catalog, Lot Catalog, and Sample Lot objects. The product records on these three objects must be aligned. In addition, admins must create Rep Roster records for each Sample Management user, Call Sampling user, and potential sample return recipient.
For example, Alice Adams is an admin at Verteo BioPharma. She creates a rep roster record for each user on the initial setup of the Sample Management and Call Sampling modules, and as needed going forward. She then creates the appropriate product and sample lot records for each of Verteo BioPharma’s current products, allowing users to access Sample Management and Call Sampling functionality.
By default, only sample-type products are supported for Sample Management. See Managing Non-Sample Products for information on using Sample Management for products without lot numbers (BRCs, high value promotional items, promotional items, reprint, and custom items).
Ensure initial configuration is complete to use this functionality.
Creating Rep Roster Records
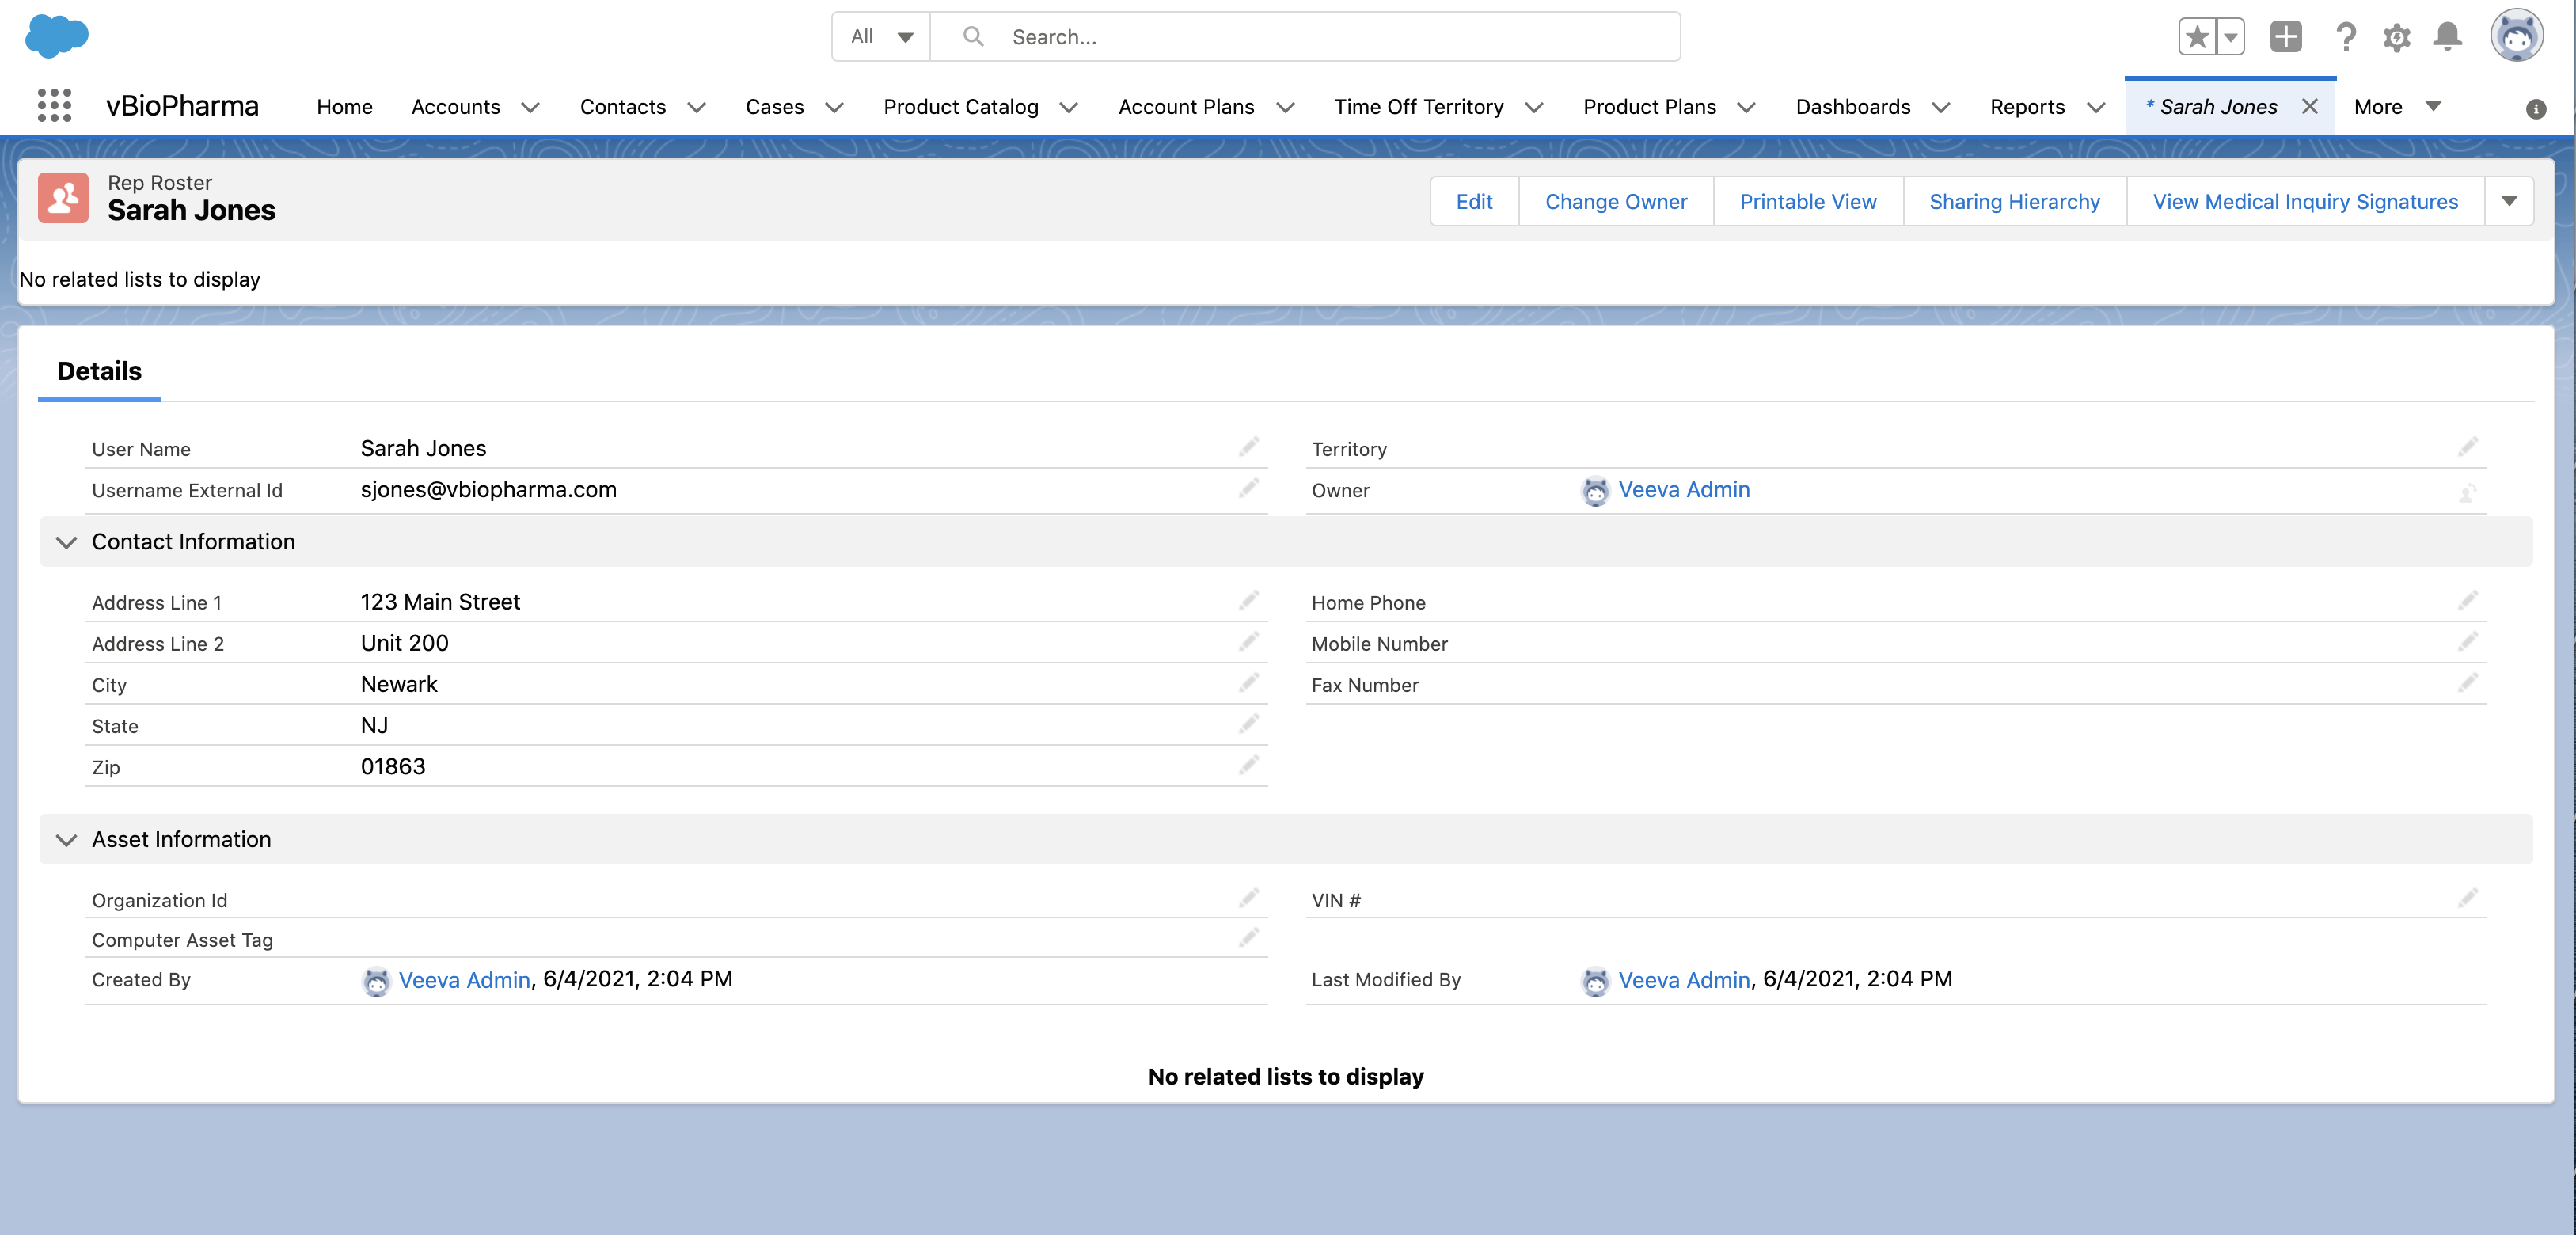
Admins create Rep Roster records for each user and sample return recipient. Rep Roster records store information related to Territory Management and HR information, for example, address and asset tag numbers. For sample compliance, all Sample Management and Call Sampling users must have a Rep Roster record with their address and the location of their sample storage locker. Additionally, all potential recipients for a sample return—for example, the sample distributor, sample warehouse, and company headquarters—must have Rep Roster records with their address information.
Admins can create Rep Roster records through a bulk data load from an existing source or manually. When creating Rep Roster records, the following fields must be populated on user and sample return recipients' Rep Roster records:
|
Field |
Value for Users |
Value for Sample Return Recipients |
|---|---|---|
|
Name |
End user’s name |
Organization’s name |
|
Username_External_Id_vod |
End user’s Salesforce username This field must exactly match the end user’s Salesforce username. Otherwise, the address field will not populate on sample transactions. |
Organization’s name, exactly matching an option in the Return To picklist This field must exactly match a picklist value in the Return _To_vod field on the Sample_Transaction_vod object. Otherwise, the address field will not populate on sample transactions. (For more information on sample returns, see Returning Products.) |
|
Address_Line_1_vod |
Physical location of end user’s sample inventory—usually a storage locker location |
Appropriate shipping address for sample returns—usually a distribution center |
|
Address_Line_2_vod |
||
|
City_vod |
||
|
State_vod |
||
|
Zip_vod |
Always create a new user record and Rep Roster record when adding a new user to the system. The Samples Management module depends on unique users and user IDs for inventory and recordkeeping. Do not reuse an inactive user record for a new user.
Creating Rep Roster Records via Data Load
To create Rep Roster records though the Data Import Wizard or the Data Loader:
- Create a .csv file that contains Rep Roster records for the appropriate sample lots.
Data must be in a .csv file format.
- Select the Rep Roster tab.
- Select Import.
- Follow the prompts in the Data Import Wizard or Data Loader to select the data to upload, edit field mappings as needed, and import the data.
Creating Rep Roster Records Manually
To create a Rep Roster record manually:
- Select the Rep Roster tab.
- Select New.
- Enter the appropriate information.
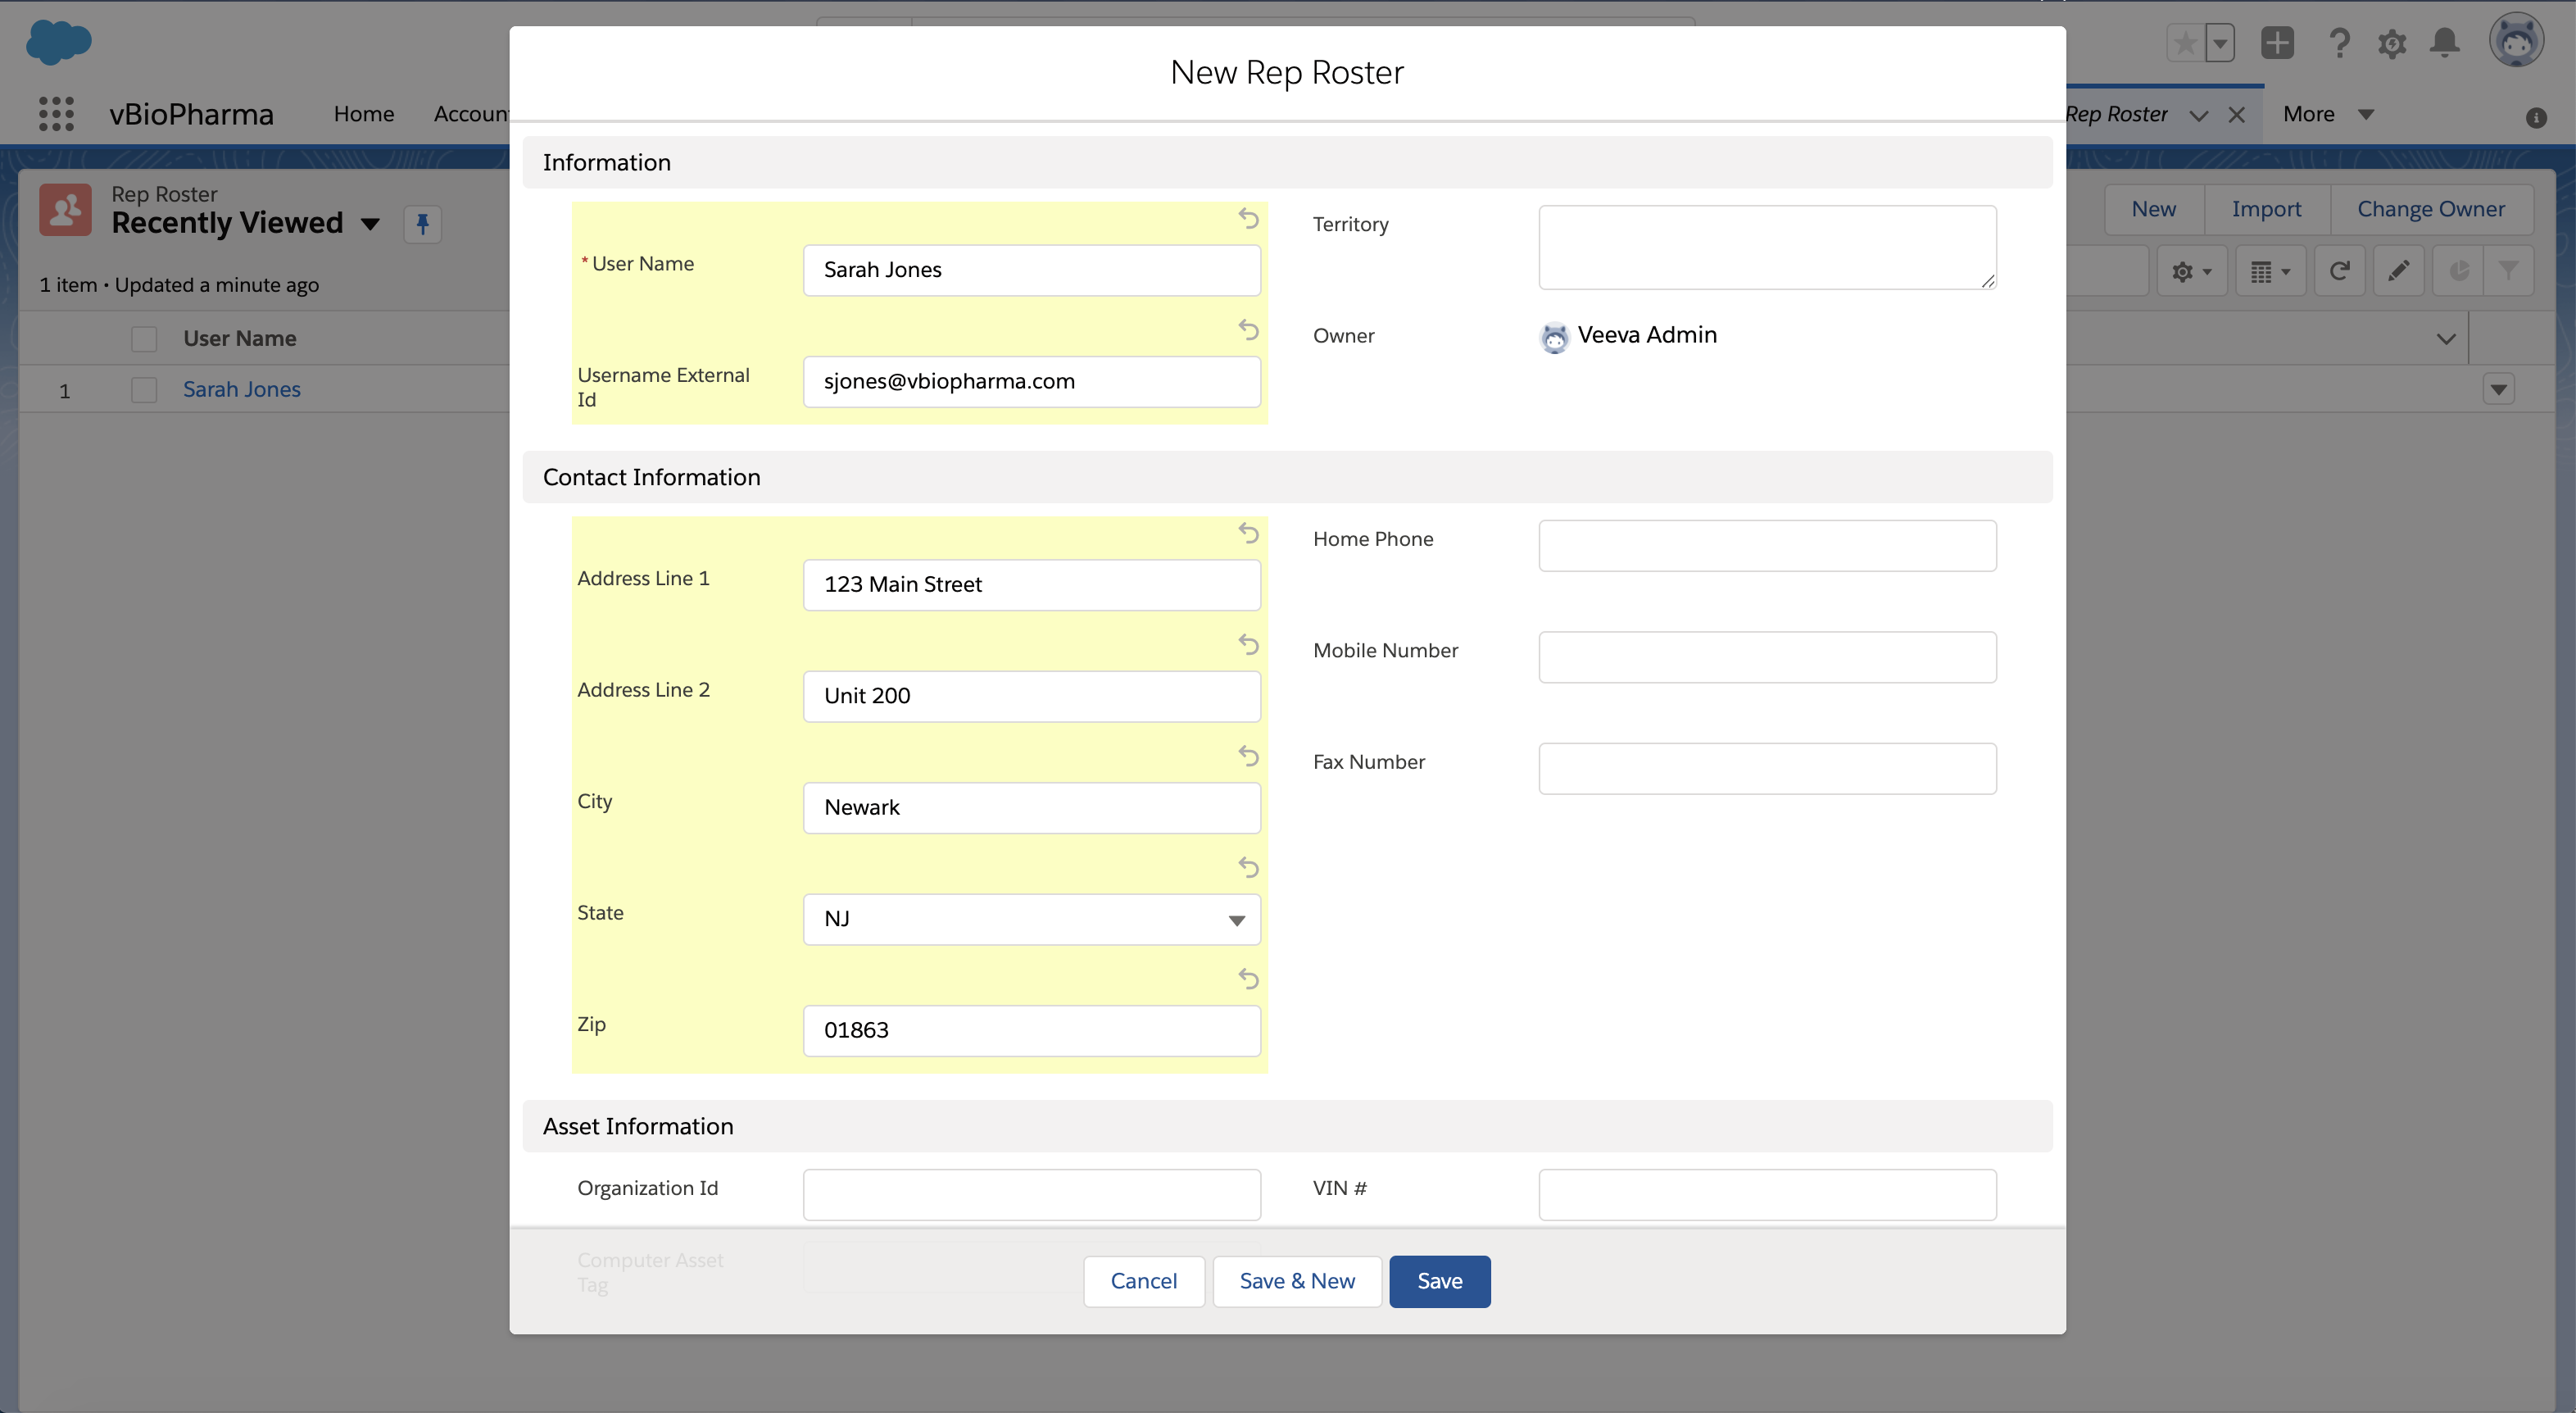
- Select Save.
Creating New Product Records
To make new products available for sampling, an admin must ensure each product has the following product records:
- A detail-type parent product record in the product catalog
- A sample-type child product record
- For information on configuring Sample Management for non-sample products like sample requests/BRCs, see Managing Non-Sample Products
- A My Setup record for the parent product
- At least one active Sample Lot record
Admins are the only users who should have the permissions needed to create new products (Create, Read, Update, Delete for the Product_vod object). Users should only have Read access to the Product_vod object and its fields.
Creating the Parent Product Record
Sample products must have a parent detail product record in the Product Catalog. To create a new parent product:
-
Select the Product Catalog tab.
-
Select the New button to create a new detail product. Ensure the new product record has the following values:
Field
Value
Product Name
Name of product
Product Type
Detail
Manufacturer
Appropriate manufacturer
Company Product
Check box selected
The Company Product check box must be selected on the parent product record to make related products available for Call Sampling. When a parent product with Company Product selected is assigned to the user in My Setup, all related product records (BRCs, alternative samples, high value promotional, promotional, reprints, or custom products) are then available for Call Sampling.
-
Select Save.
Creating the Child Product Record
Once the parent detail product record is created, an admin can create the child product records for sampling.
-
Select the Product Catalog tab (if the tab is not visible, select the plus icon to view additional tabs).
-
Select the New button to create a new product. Ensure the new product record has the following values:
Field
Value
Product Name
Name of product, including the strength—for example, Cholecap 10mg. Including the strength in the product name enables users to quickly identify and select the appropriate sample on the call report.
Parent Product
Appropriate parent product (must be a detail type product)
Product Type
Appropriate product type
Manufacturer
Appropriate manufacturer
Sample Quantity
Enter the appropriate number, if other than 1-20
Sample U/M
Appropriate picklist value
Company Product
Check box selected
-
Select Save.
Creating New Sample Lot Records
In order to select sample-type products on the call report, users must have access to one or more active, corresponding Sample Lot records, in addition to the corresponding product records on the Product Catalog. If needed, create new Sample Lot records to ensure users have access to the appropriate sample-type products. Do not create duplicate Sample Lot records for the same combination of product, product type, lot, and owner.
Restricting access to the parent detail-type product record in My Setup does not restrict users’ ability to distribute the corresponding sample-type product. For sample products, availability is determined primarily by access to active Sample Lot records.
Sample Lot records can be created:
- Manually, from the lot catalog tab
- Via data load, by an admin user with Create permission for the Lot_Catalog_vod object
- By a back-office or external software integration, through Salesforce API
Data Loading Sample Lot Records
Administrators can use the Data Import Wizard or the Data Loader to create and update Sample Lots records in bulk. This method automatically calculates the expected quantity based on the new sample lots, unlike manually creating Sample Lot records.
Data must be in a .csv file format.
To create Sample Lot records through the Data Import Wizard:
- Create a .csv file that contains Sample Receipt records for the appropriate sample lots.
- Select the Sample Receipt tab.
- Select Import.
- Follow the prompts in the Data Import Wizard to select the data to upload, edit field mappings as needed, and import the data.
- Select the My Samples tab.
- Confirm the new sample receipts (for more information, see Confirming Product Receipt). This creates sample transactions for the new sample lots, which the Expected Quantity is based on.
Next, admins must transfer the appropriate sample lots to users (for more information, see Transferring Sample Lots To Users). If external systems—for example, a sample fulfillment vendor—are integrated with Sample Management, admins must also ensure the new sample lots are reconciled with the external integration.
Manually Creating Sample Lot Records
Admins can generate multiple Sample Lot records for a selected user via the Create Sample Lots button.
Expected Quantity is not automatically calculated for records created by this method. This method should only be used when creating records for new Sample Lot products during an initial Sample Management setup.
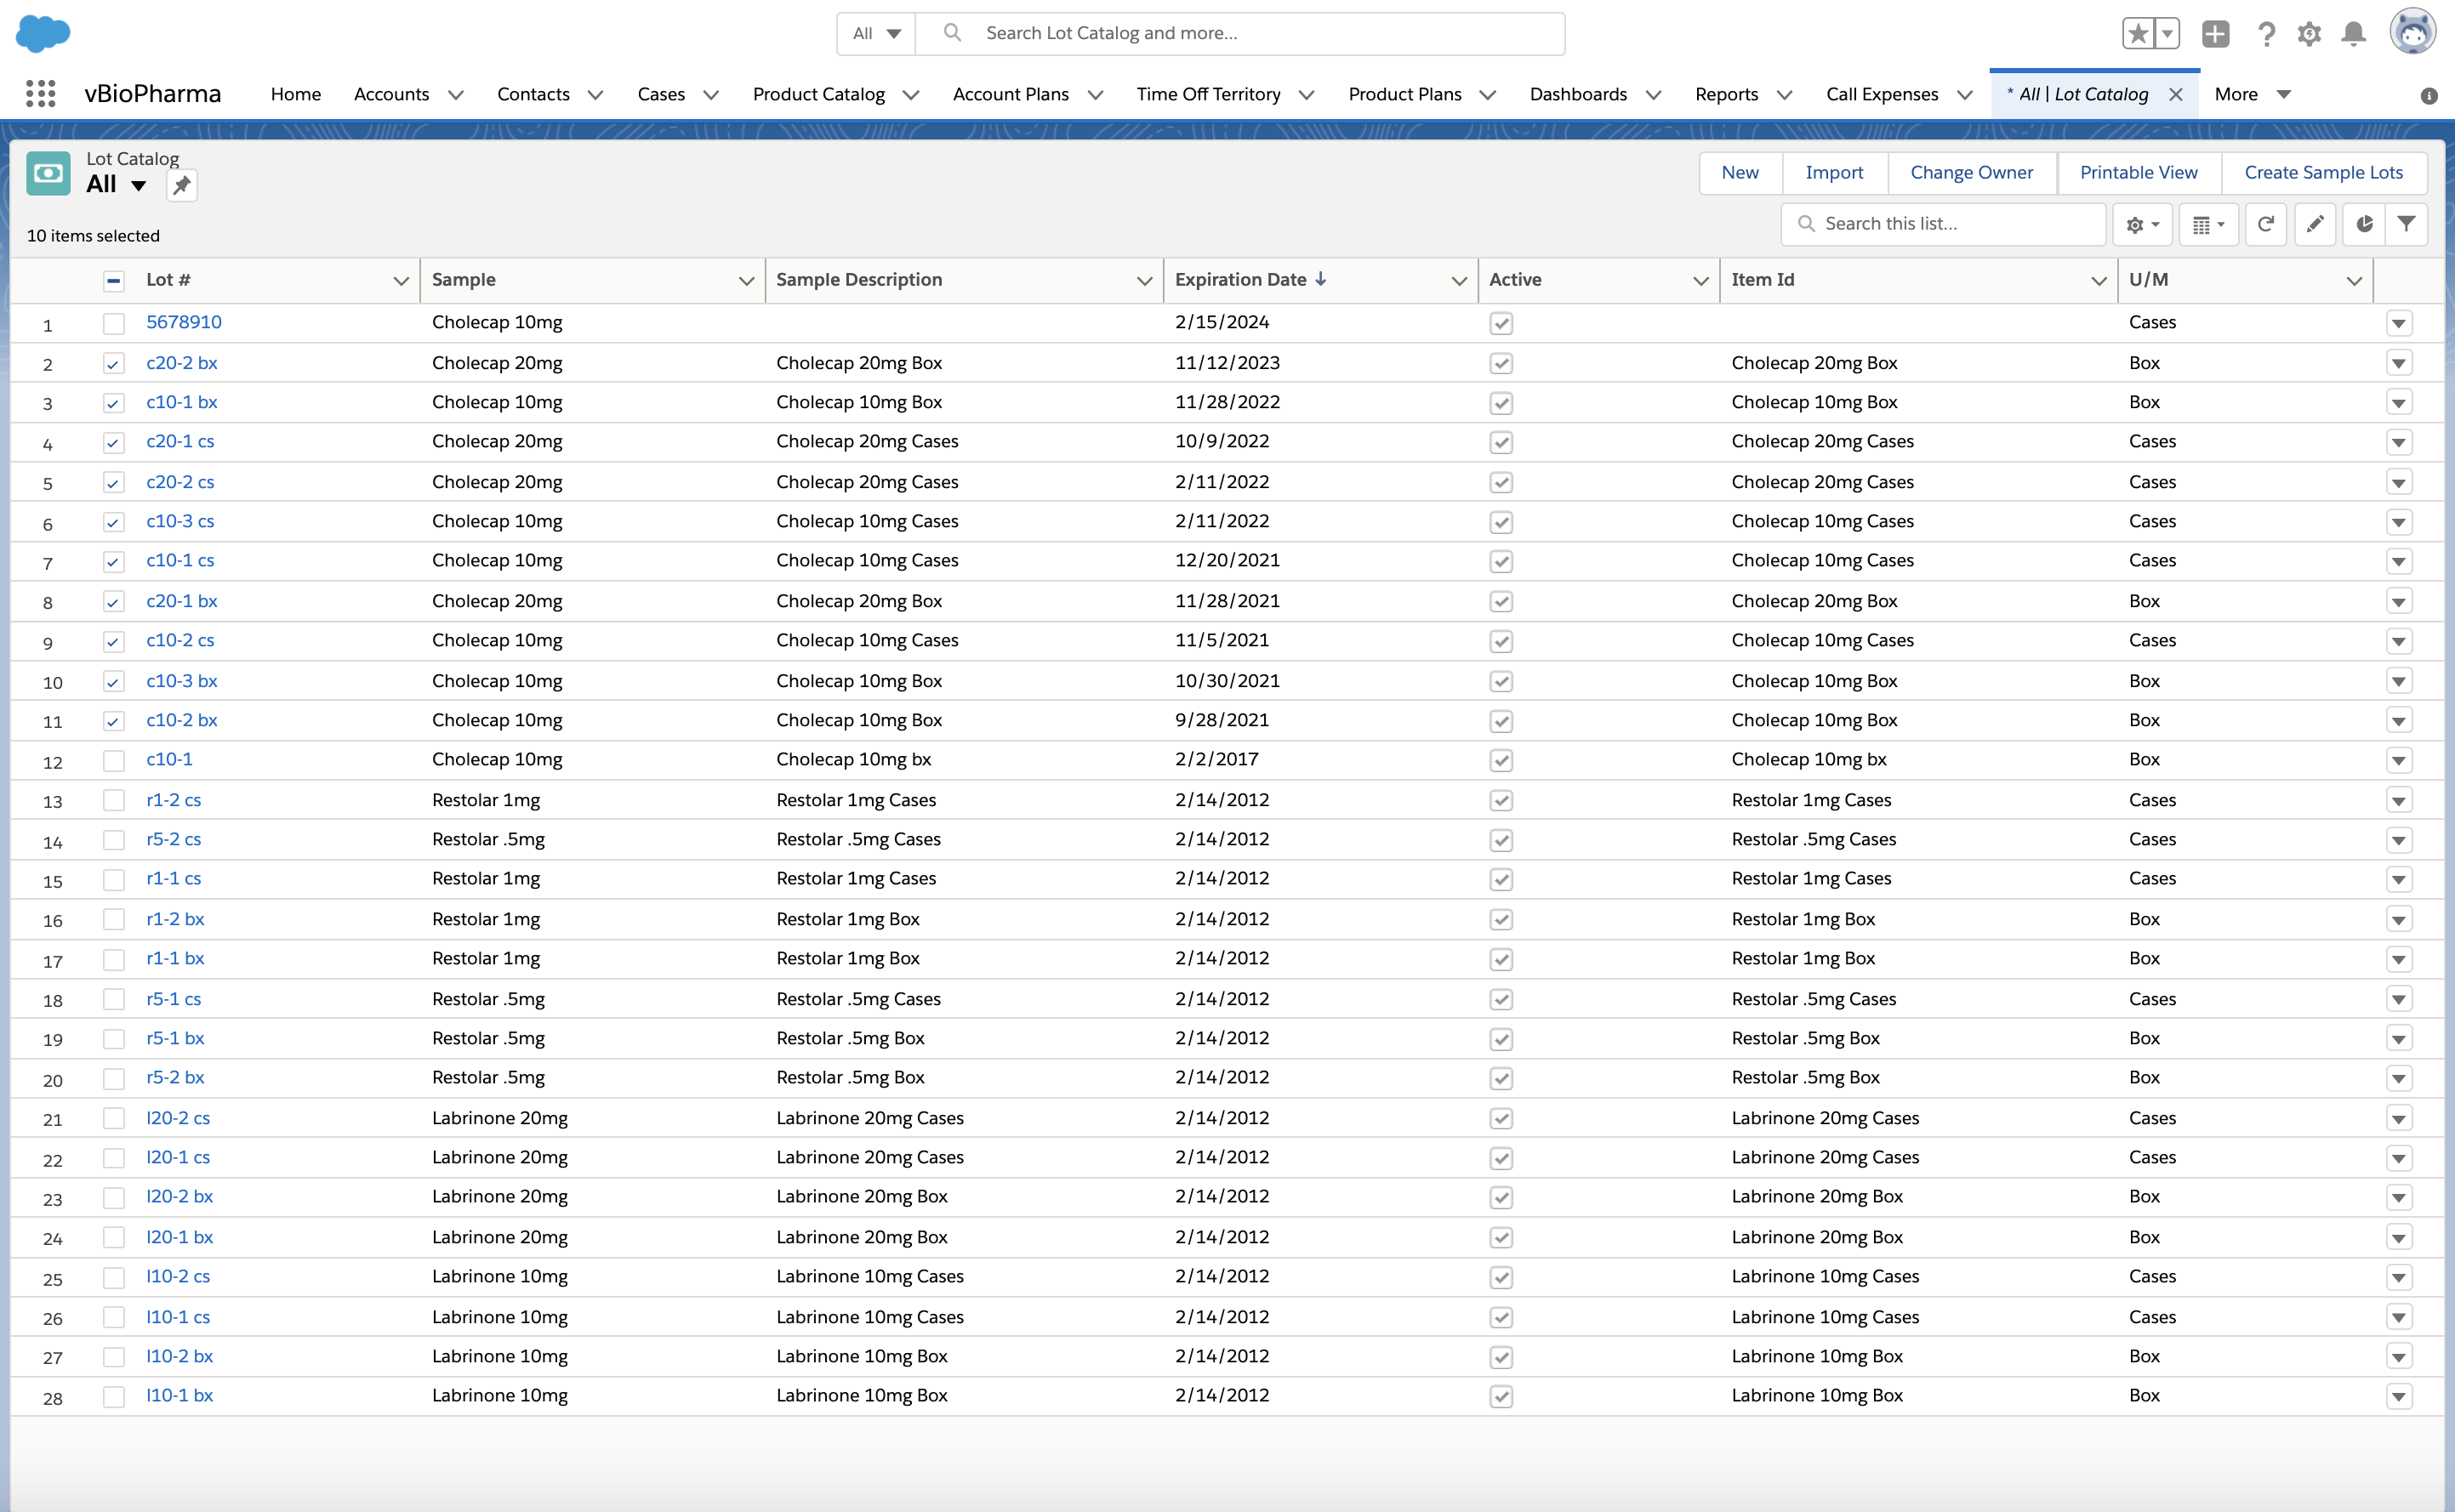
To create new Sample Lot records manually:
- Select the Lot Catalog tab.
- Select the appropriate sample lots.
- Select Create Sample Lots.
- Use the Create For lookup field to select the appropriate user.
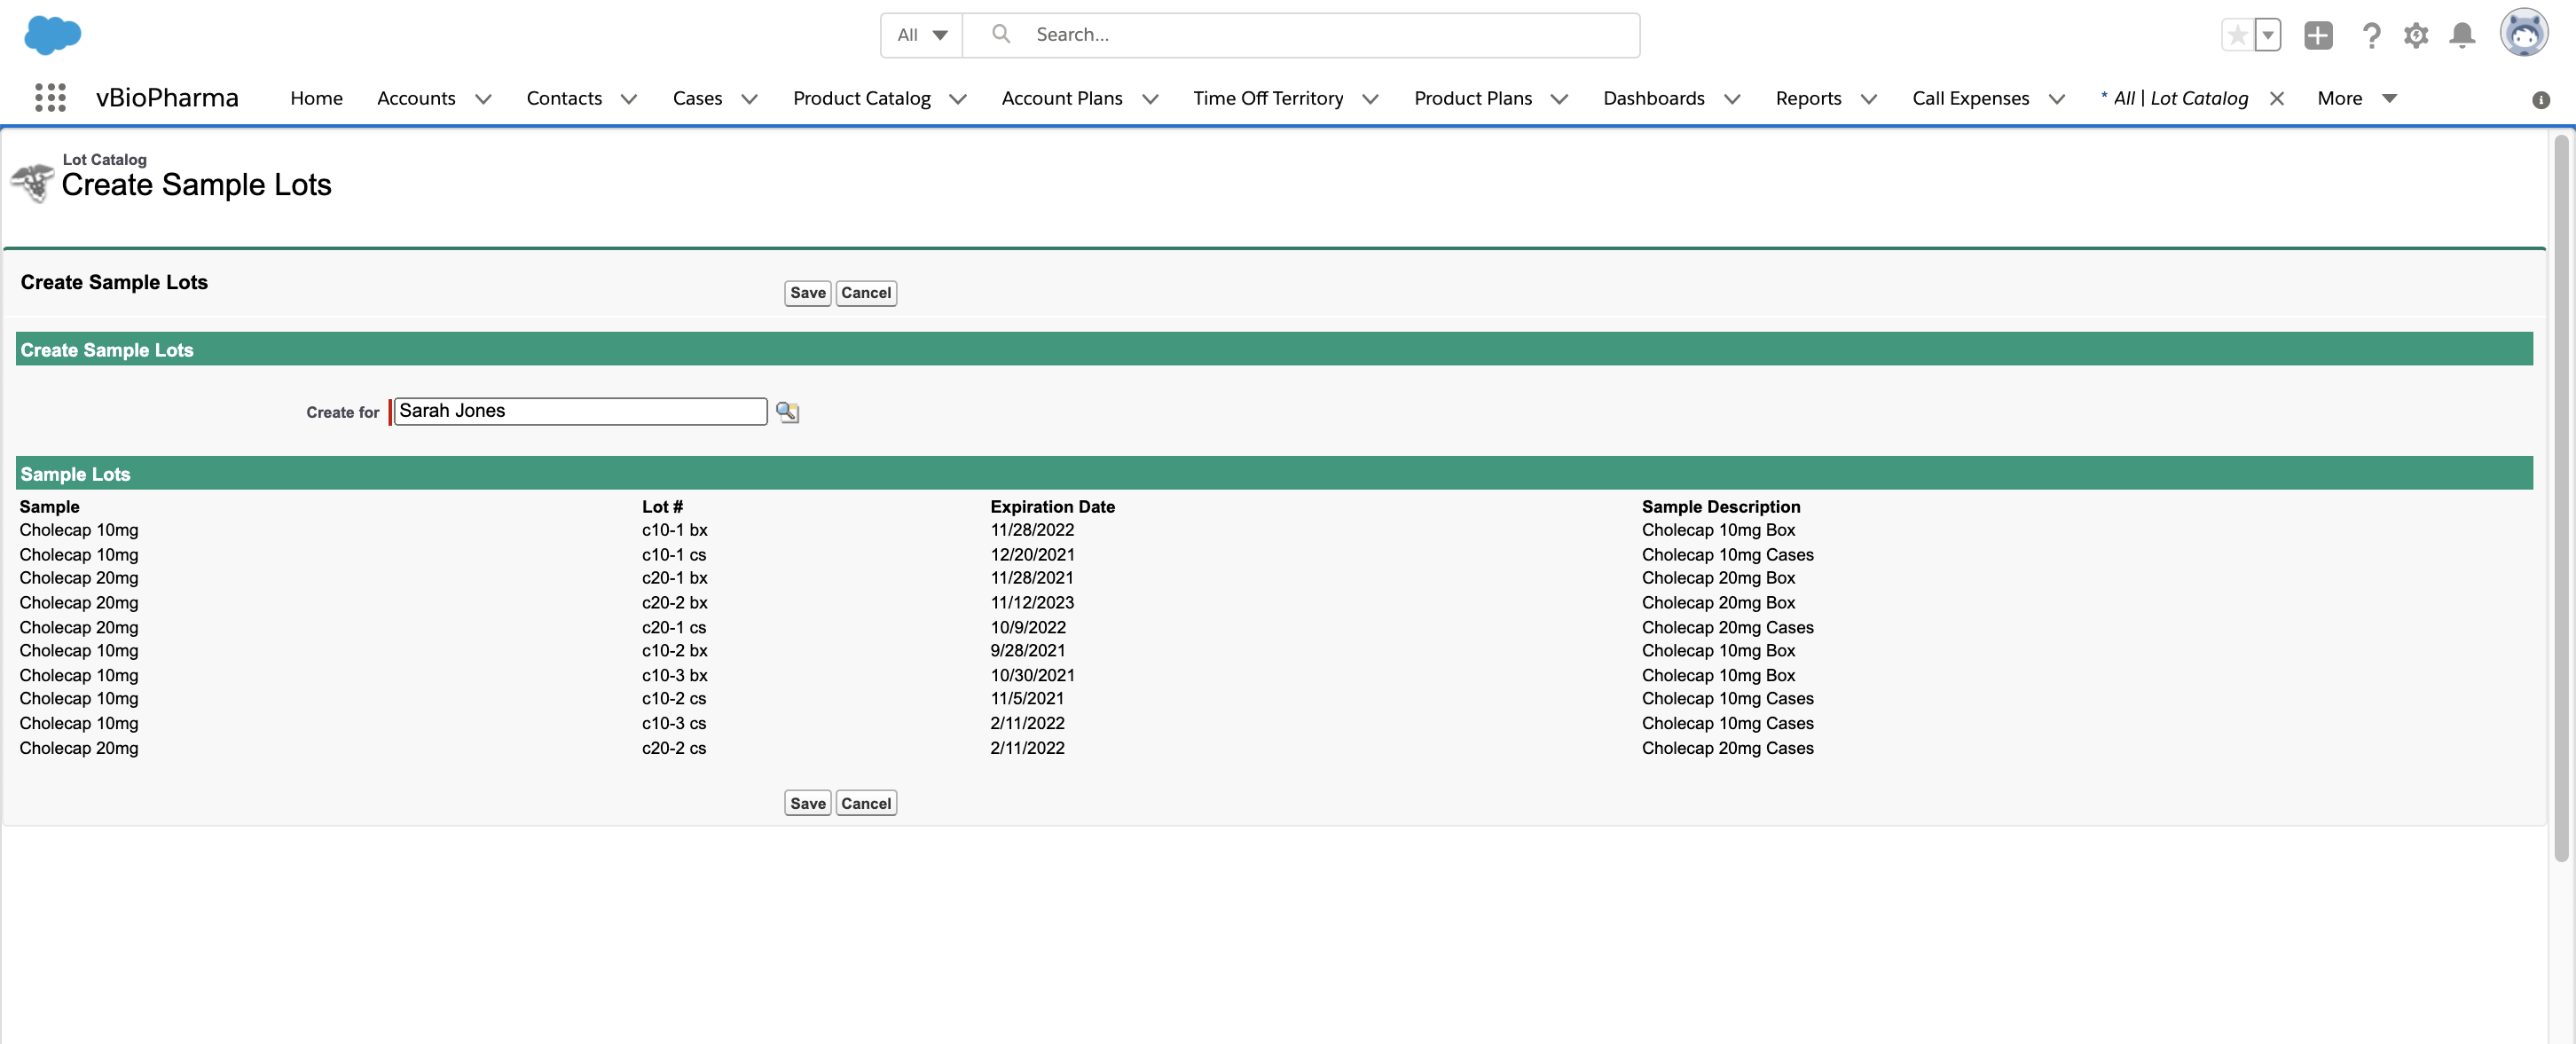
- Select Save.
Creating Sample Lot Records with Distribution Systems or External Software Integrations
Veeva CRM can be integrated with external software systems or distribution systems for sample fulfillment, data management, and sample accountability. To create Sample Lot records when the Sample Management module is integrated with another system for sample fulfillment:
- Define the integration between the external system and the Sample_Receipt_vod object. The Sample_Receipt_vod object stores all pending sample receipts for users. The records on this object are the basis for Expected Quantity calculations.
- Using the Salesforce Data Loader, upsert Sample_Lot_vod records to Veeva CRM for the appropriate products and users.
- Using the Salesforce Data Loader, insert Sample_Receipt_vod records to Veeva CRM for the appropriate products and users.
- From the external system, transfer sample lots to users. This creates Sample Transaction records for the new sample lots.
- Ensure the new sample lots are reconciled with inventory counts in the external system.
When an external system or distributor is integrated with Veeva CRM, the required fields and configuration instructions vary depending on the external system.
