

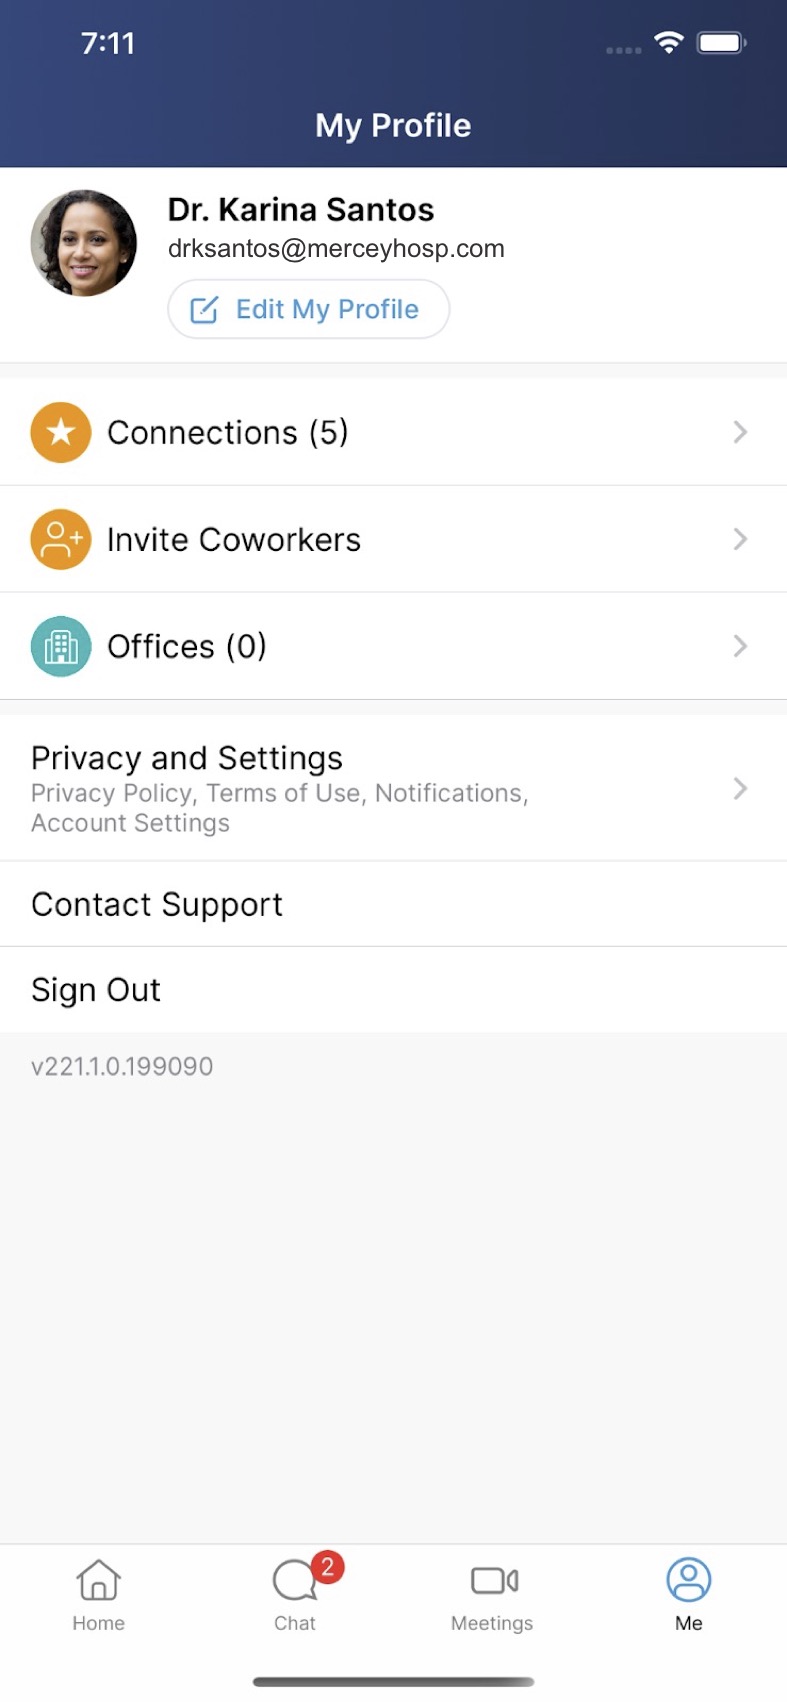
Using the Me Tab as an HCP
The Me tab enables HCPs to manage their associations and personal information, including performing the following tasks:
- View and edit their profile information
- View their connections and send brand resources via chat
- Invite coworkers to connect and chat
- Join or create offices
- Manage notifications and privacy settings
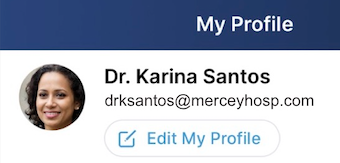
Editing Profiles
To edit a profile:
-
Select Edit My Profile.
-
Update the appropriate contact information, display name, and profile photo. Edits to the display name are displayed throughout the app.

Information in the Private Profile section does not display to connections and cannot be updated. Additionally, once a user edits their display name, updates to their first name or last name are no longer automatically reflected in the display name.
- Select Save Changes.
The country field is automatically populated based on the device or browser when the HCP signs up for Engage and can be updated from the profile.
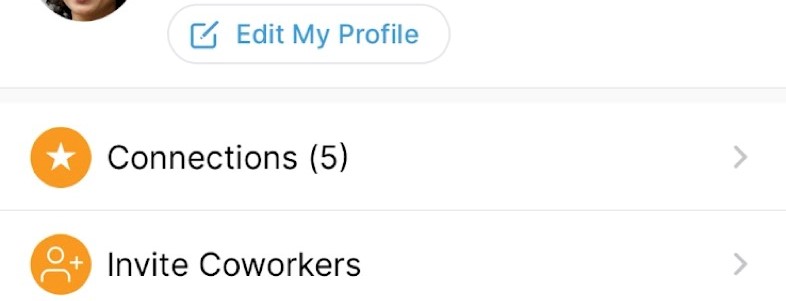
Viewing Connections
HCPs can also view their connections from the Me tab by selecting the Connections section. The number of connections for the HCP displays in parentheses.
Connections with a briefcase icon on their profile photo represent connected CRM users.
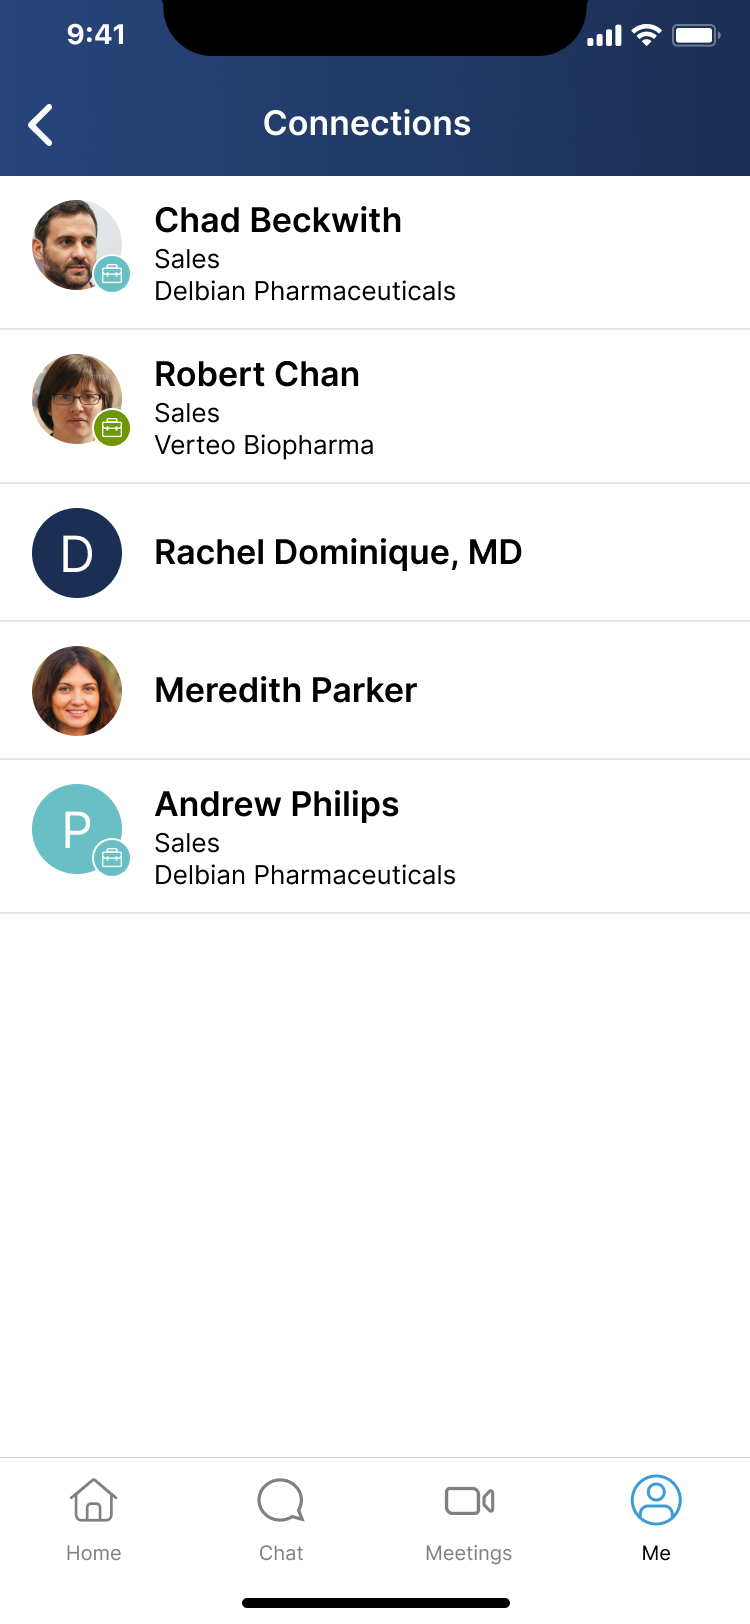
Select a connection to display the connection’s profile.
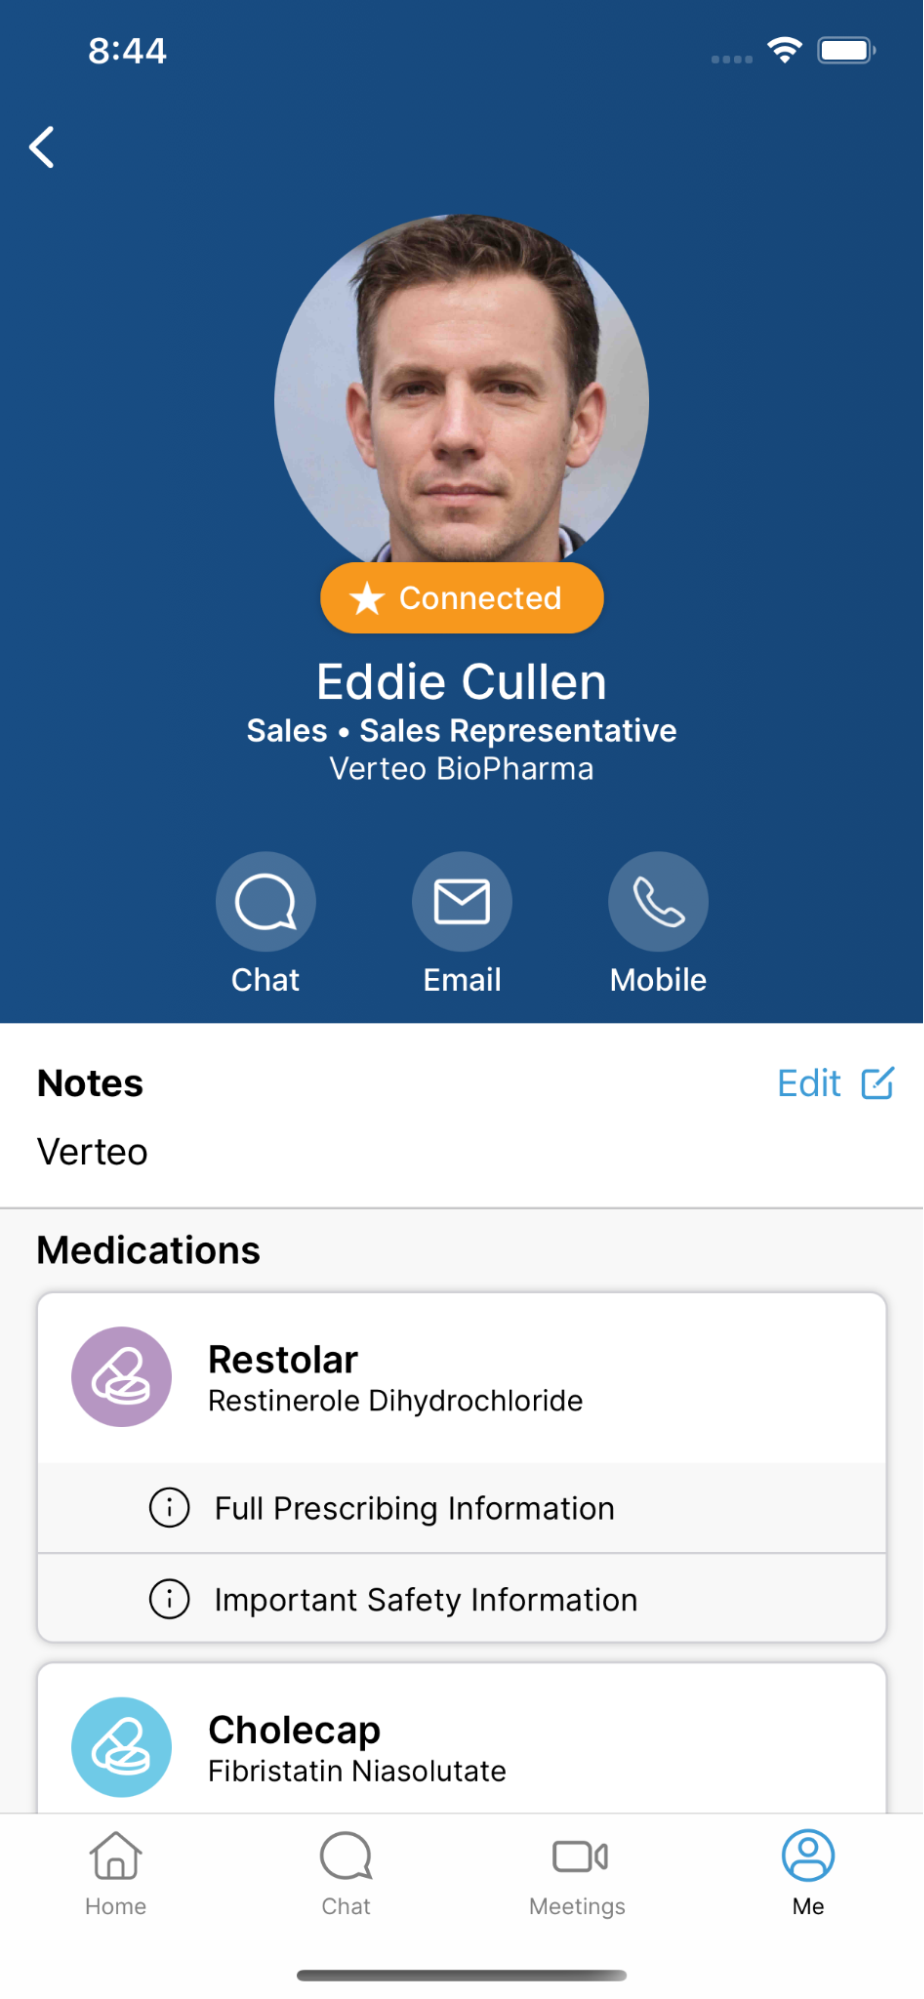
CRM user profiles display information based on the CRM user’s company configuration. The CRM user’s profile also displays a list of products that the user is configured to use. HCPs can select a brand to display the corresponding Brand profile.
If the brand does not have a configured brand profile, the brand displays as grayed out in the list.
Sending Brand Profile Resources
HCPs can send brand profile resources to new and existing connections via chat, allowing them to quickly and easily share useful information with their connections, including HCPs and CRM users.
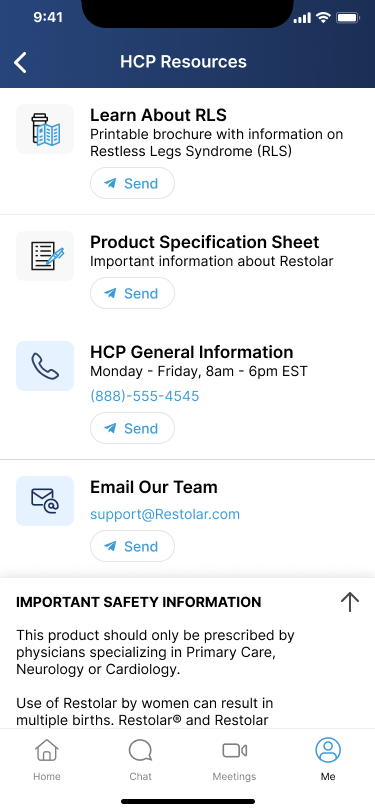
When viewing the available resources for a brand profile, HCPs can send a resource:
- Select Send for the appropriate resource.
- Select the appropriate recipient or enter the recipient’s email address. Alternatively, select Add My Contacts to add address book contacts to Engage. See Adding Address Book Contacts for more information.
- Enter an optional message if desired.
- Select Send.
Brand profile resources sent via chat cannot be copied, but can be forwarded to other recipients as long as the following are true:
- The original sender has an active Engage account
- The resource is sent in an active chat thread
See Copying and Forwarding Chat Messages in Engage Connect for more information about forwarding messages.
Brand profile resources sent via chat are tracked in the Engage Connect reports tracking chat activity and brand profile resources. See Engage Connect Reports for more information.
Brand profile resources sent via chat are included when importing chat logs into CRM as chat messages, but not as call records. See Importing Engage Connect Chat Logs into CRM as Chat Messages and Importing Engage Connect Chat Logs into CRM as Call Records for more information.
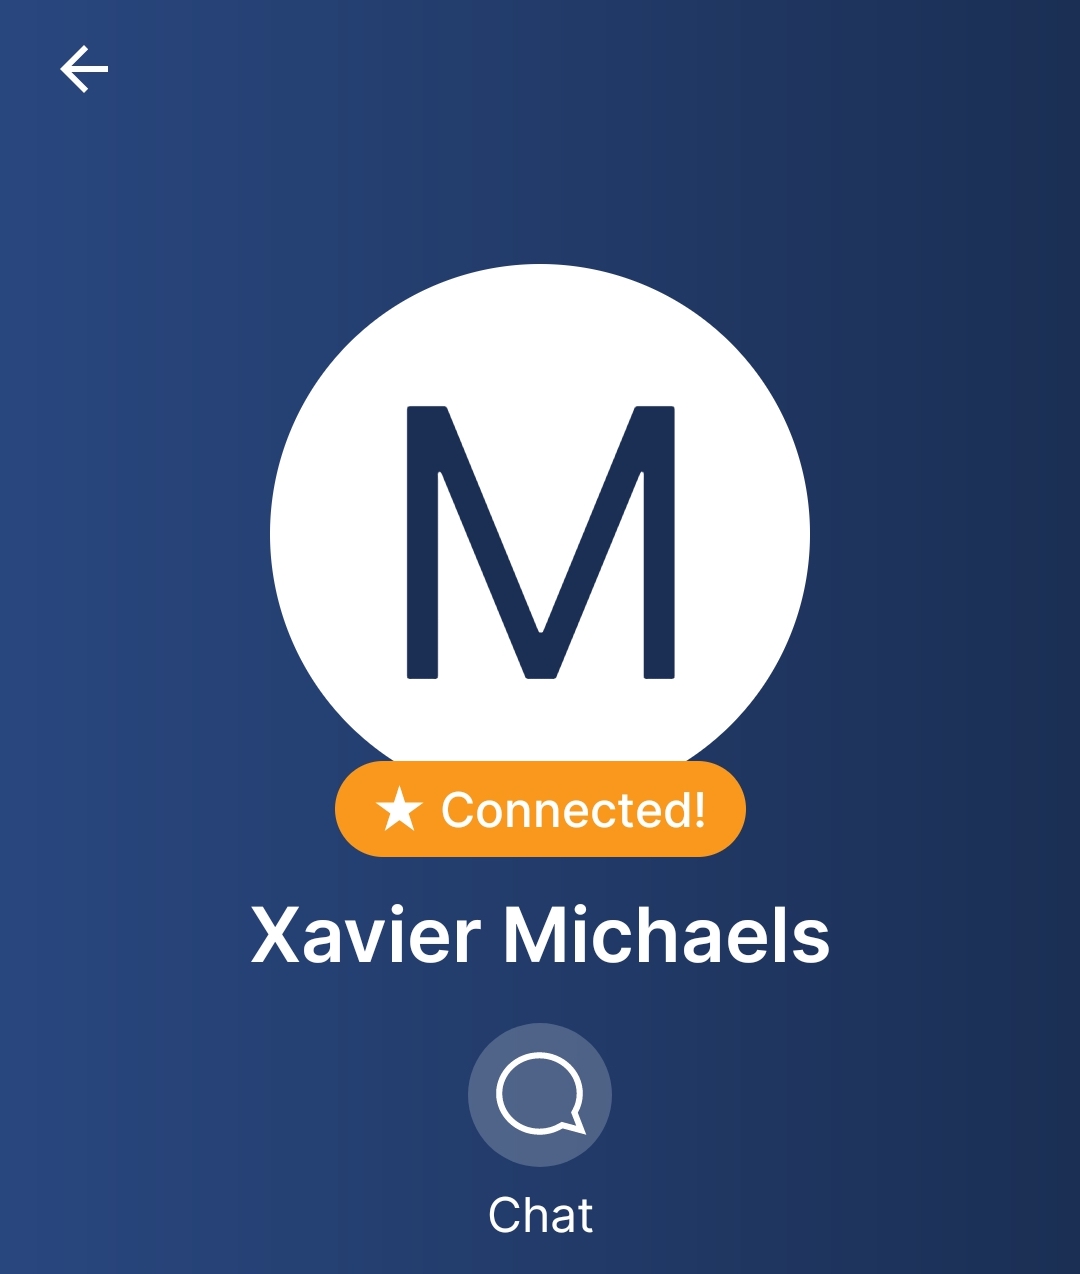
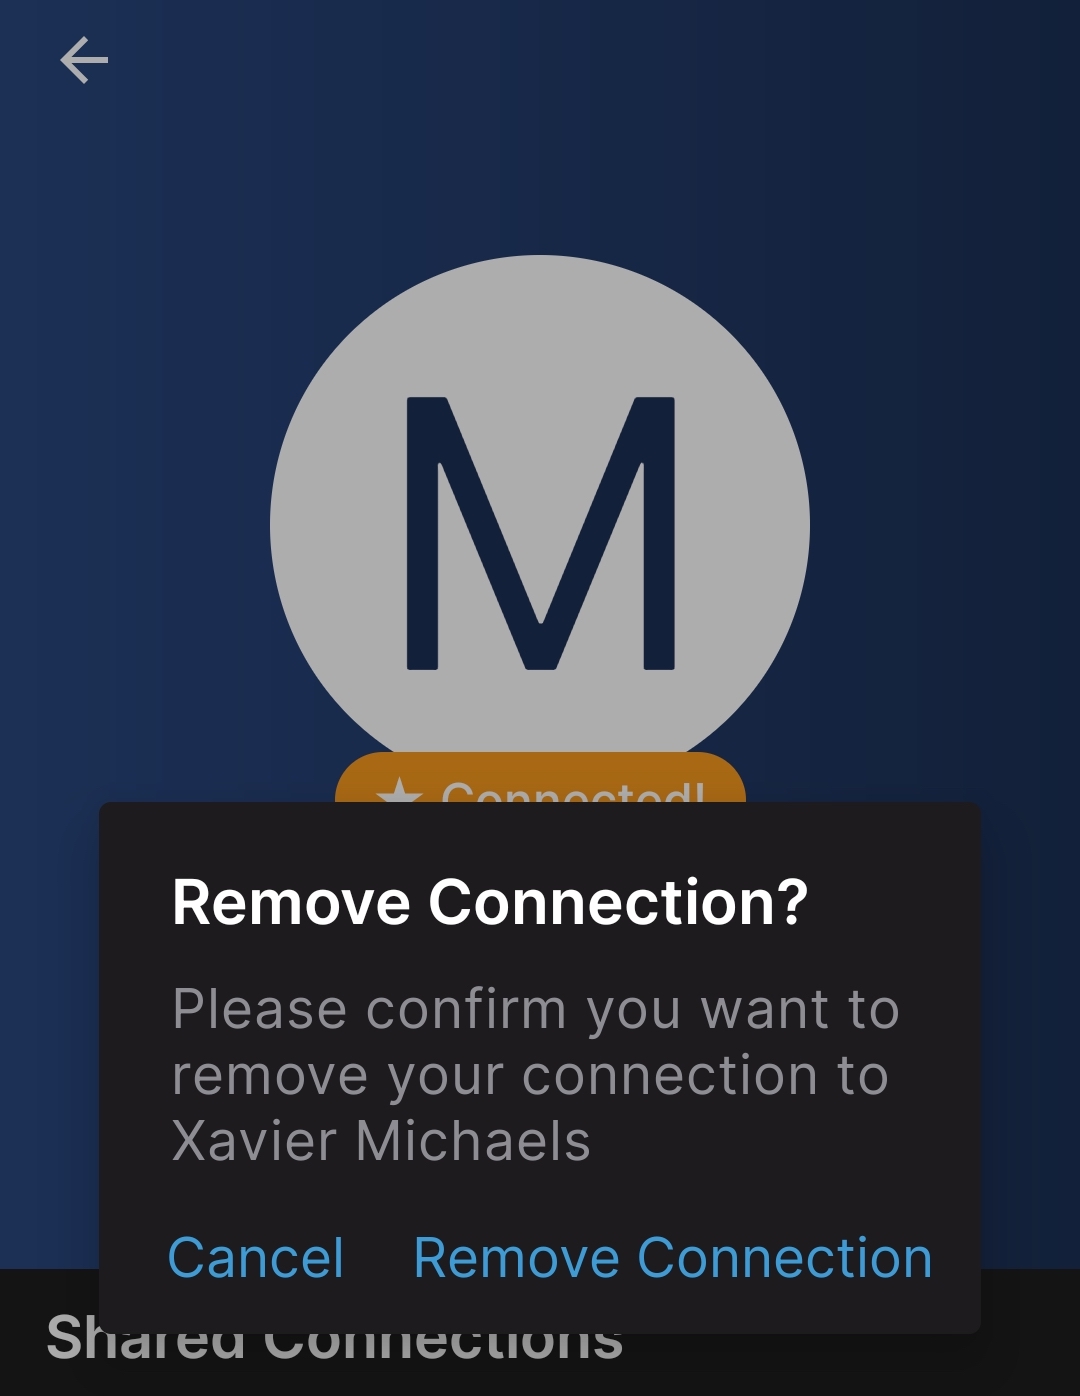
Disconnecting from a Connection
To disconnect from the connection:
- Navigate to the appropriate connection.
-
Select the Connected! button beneath the profile photo
- Select Remove Connection in the confirmation modal.
Inviting Coworkers
From the Me tab, HCPs can invite coworkers to connect and chat with them in Engage.
To invite coworkers:
-
Select Invite Coworkers from the Me tab.
-
Enter the appropriate email address.
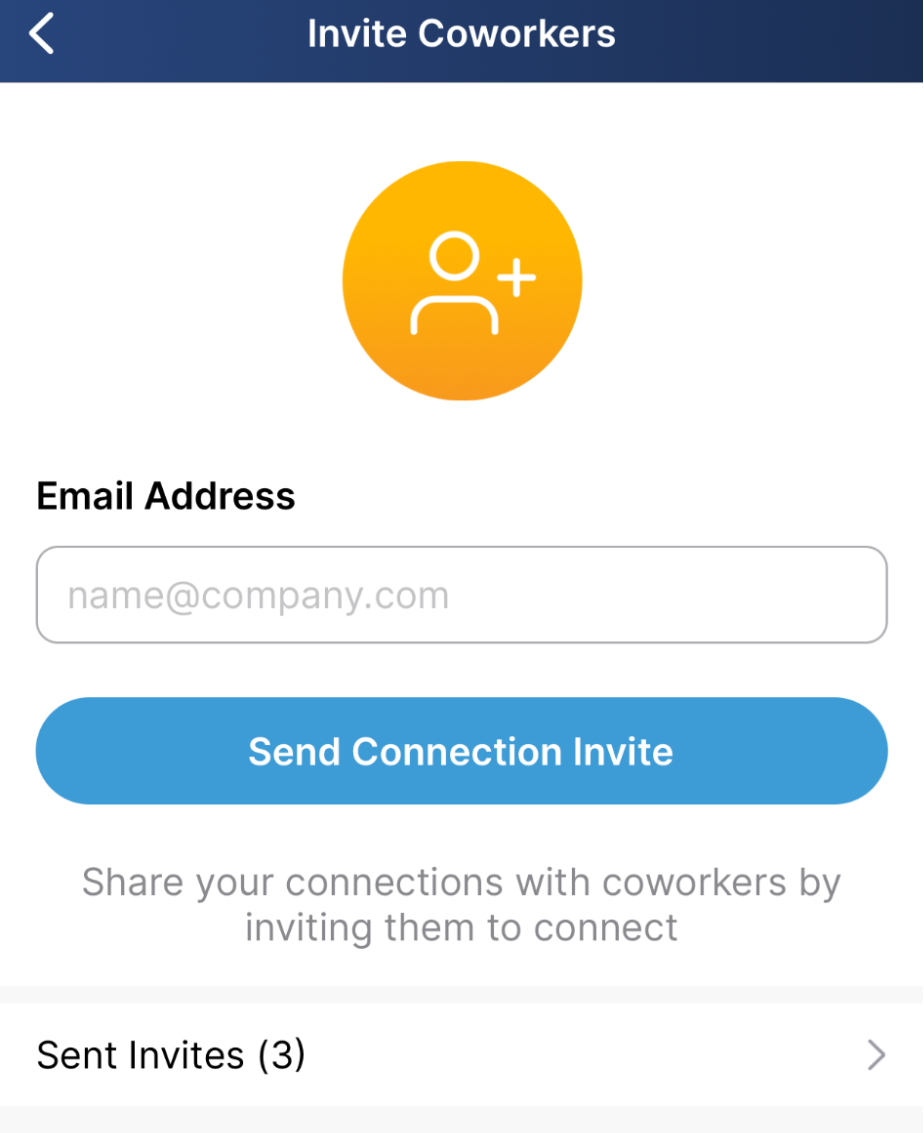
- Select Send Connection Invite.
HCPs can also view their previously sent connection invitations by selecting Sent Invites.
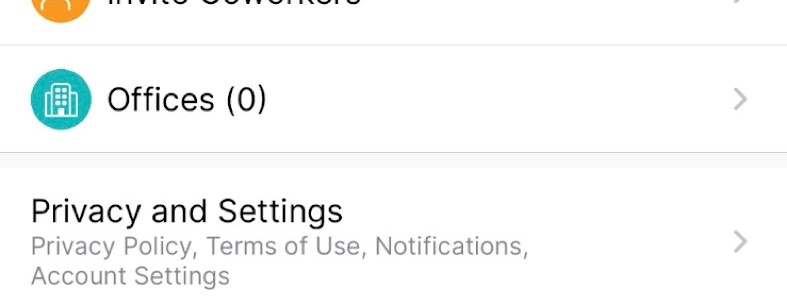
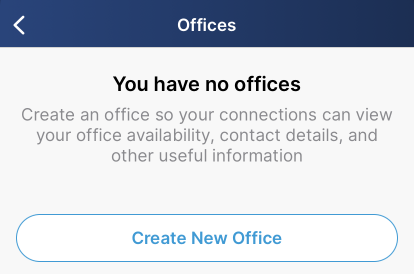
Managing Offices
HCPs can view and manage offices from the Me tab. Offices display information, for example, time zone, postal codes, and visitor policies and are used by CRM users when scheduling meetings with HCPs.
To create a new office:
-
Select the Offices section from the Me tab.
-
Select Create New Office.
-
Enter the appropriate office information.
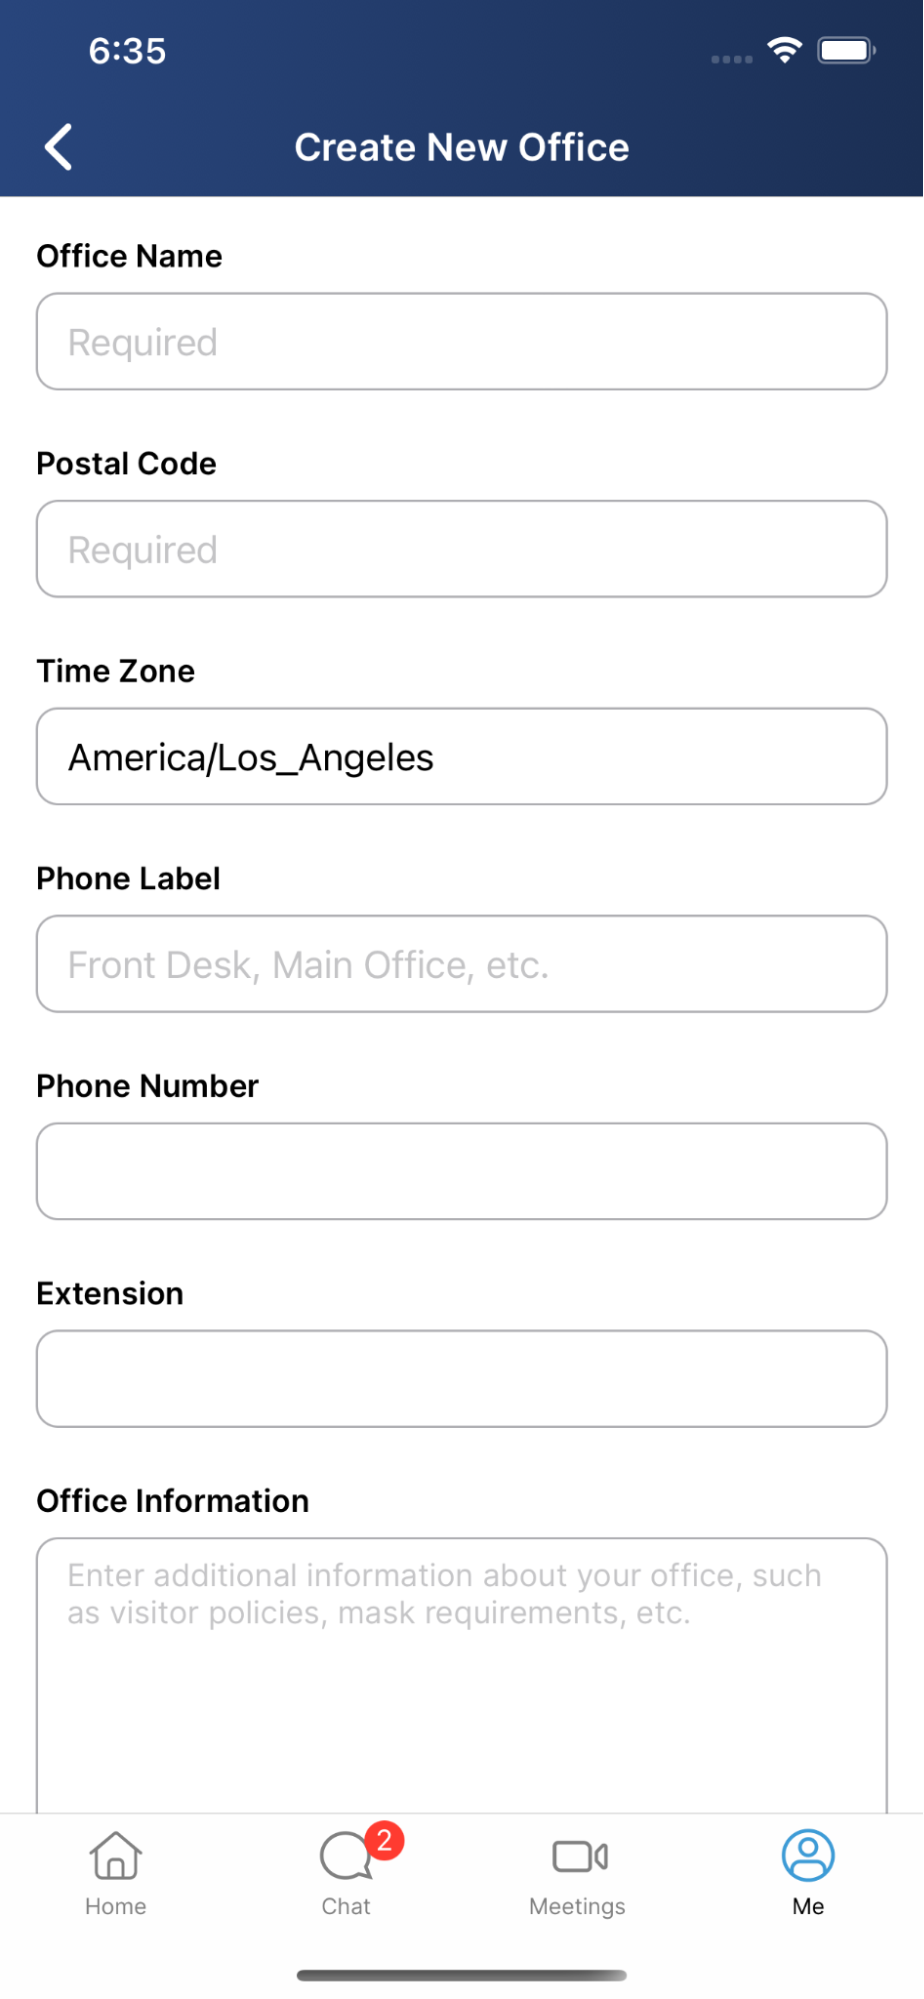
- Select Save.
In addition to creating new offices, The Offices page also prompts HCPs join existing offices of connected coworkers.
To edit or leave an office:
- Select the appropriate office from the list of offices.
-
Select the … button.
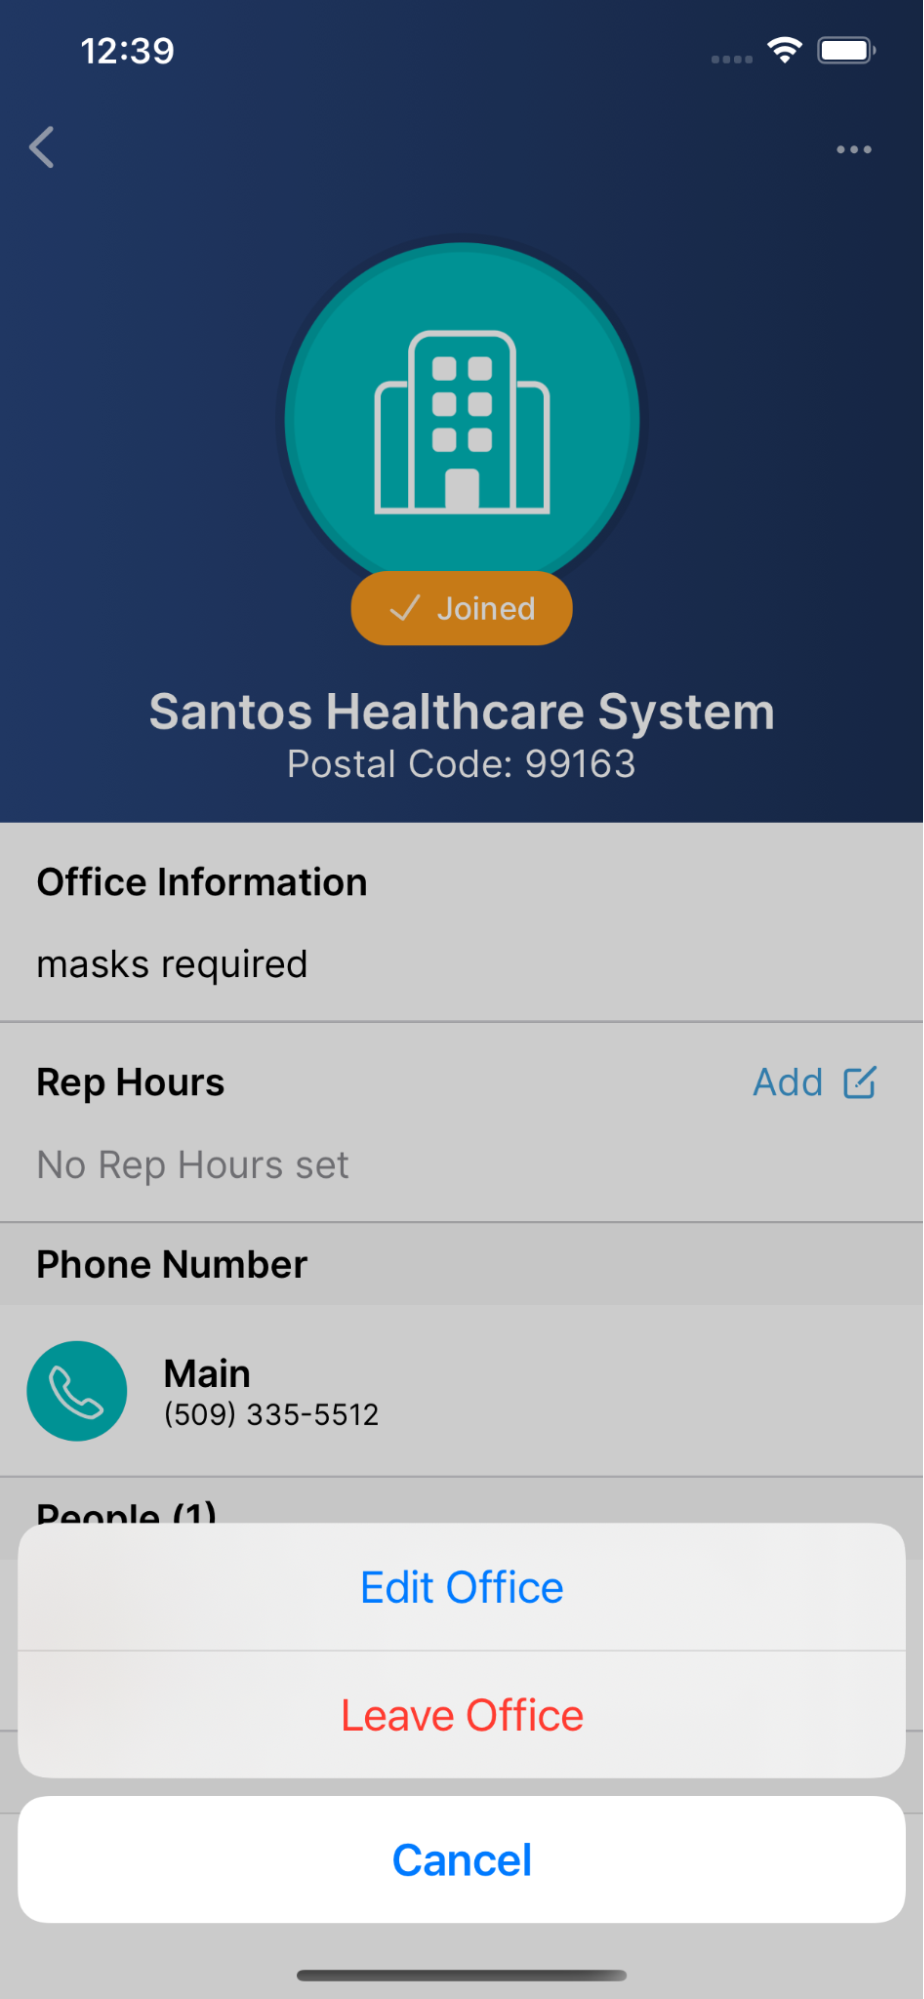
- Select either Edit Office or Leave Office.
Defining Rep Hours
Rep hours are HCP-defined periods of time when HCPs associated with an office prefer to meet with CRM users, enabling easier scheduling.
Rep hours are for informational purposes only and do not limit selectable times within scheduling.
To define rep hours for an office:
- Navigate to the appropriate office.
- Select Add in the Rep Hours section.
-
Select the link for the appropriate day.

-
Select Add Hours to add a block of hours for availability.
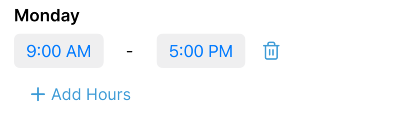
-
Select the appropriate start and end times for the block.
A day can contain multiple blocks of availability.
- Select Save.
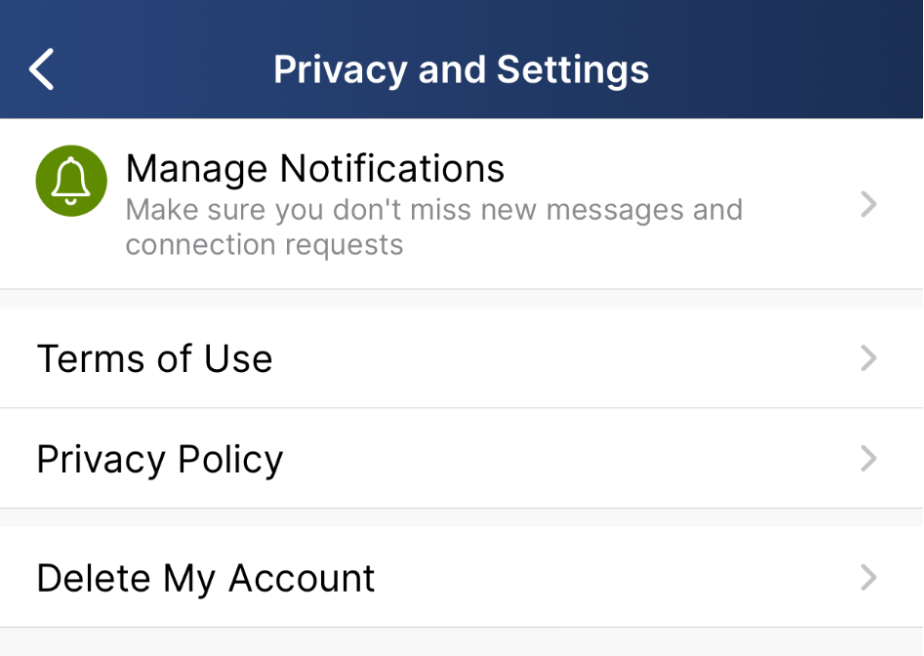
Privacy and Settings
HCPs can select Privacy and Settings from the Me tab to manage their notifications, view their terms of use, privacy policy, or delete their account.
Managing Notifications
HCPs can manage all the notifications they receive about the Engage app in the Me tab, including email and push notifications. This gives HCPs control over which notifications they want to receive from the app.
Managing Push Notifications
HCPs can manage their push notifications for new chat messages and connection requests.
To manage push notifications in the Engage app:
- Navigate to the Me tab.
- Select Manage Notifications.
- Select App Notifications to launch the device’s notification settings for the app.
Managing Email Notifications for Unread Chat Messages
HCPs can manage email notifications about unread chat messages to prevent them from missing new messages from CRM users or other HCPs. This is especially useful for HCPs using Engage Web or who have push notifications disabled, who can easily miss new messages in Engage and not respond.
Additionally, HCPs can select the frequency they receive email notifications. The available frequency options include:
- Recommended – Notified approximately 12 hours after missing a chat message. This is selected by default.
- Immediate – Notified a few minutes after missing a chat message
Email notifications are enabled by default with the Recommended frequency.
To manage email notifications in the Engage app:
- Navigate to the Me tab.
- Select Manage Notifications.
- Select the Email Notifications for Chats toggle to enable or disable notifications.
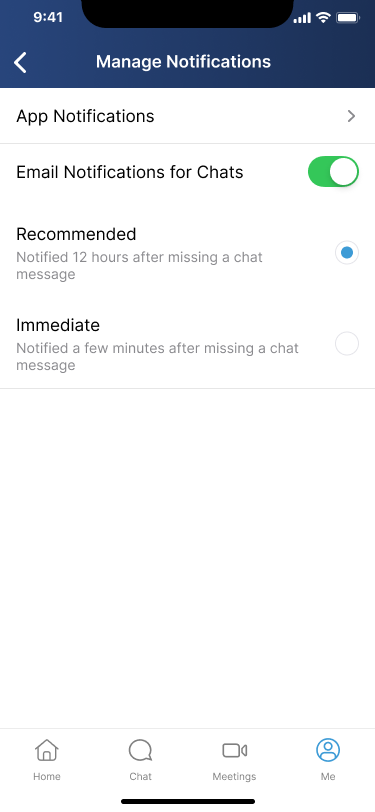
- Select the appropriate frequency if enabling notifications.
To enable email notifications on Web:
- Select the account dropdown menu.
- Select Settings.
- Select the Email Notifications for Chats toggle to enable or disable notifications.
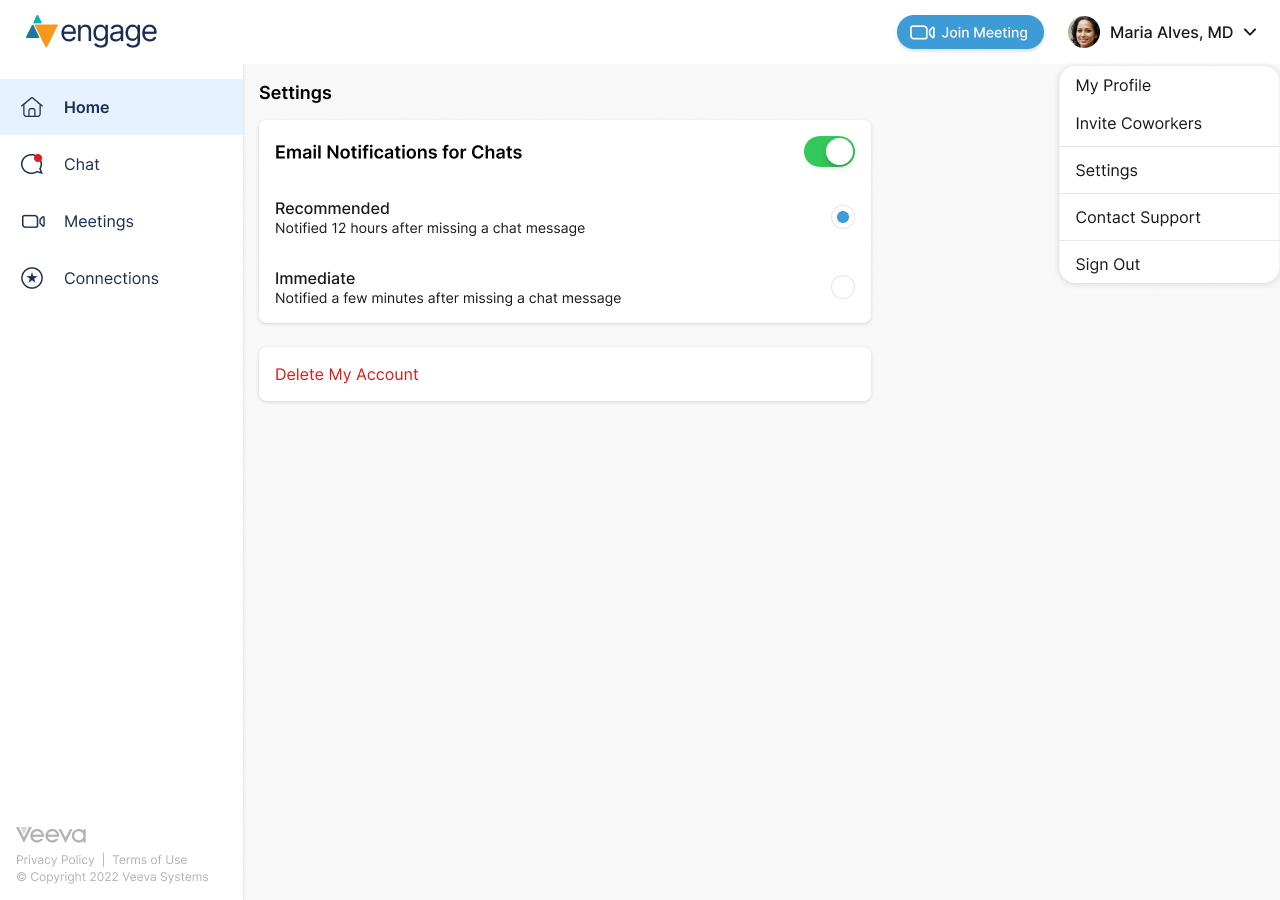
- Select the appropriate frequency if enabling notifications.
Unsubscribing from Email Notifications
HCPs can also manage or unsubscribe from email notifications for unread chat messages directly from an email notification. The Manage Notifications and Unsubscribe links display at the bottom of each email.
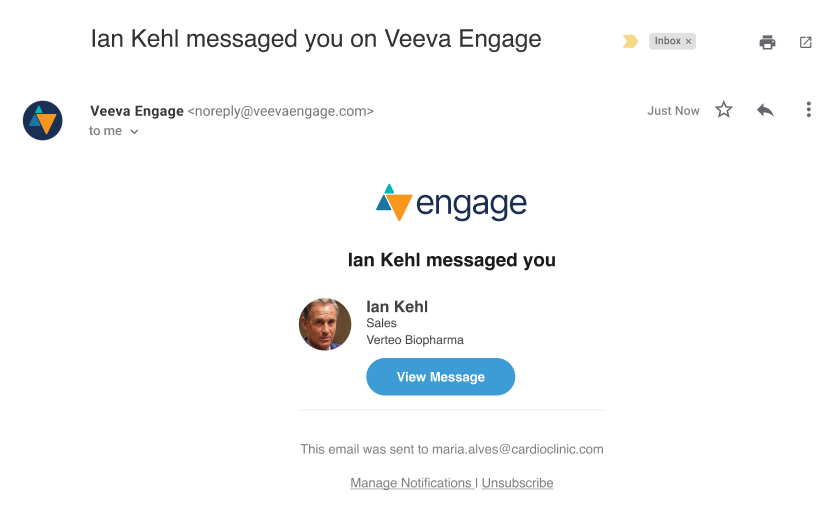
Selecting Manage Notifications displays the Manage Notifications menu in the Engage app, if installed, or the Settings page in the browser. If HCPs are not already signed in, the login screen displays and they must sign in.
Selecting Unsubscribe displays a confirmation page in the browser. HCPs must select the Unsubscribe button to confirm they want to stop receiving email notifications for unread chat messages.
