

Using the Chat Tab as an HCP
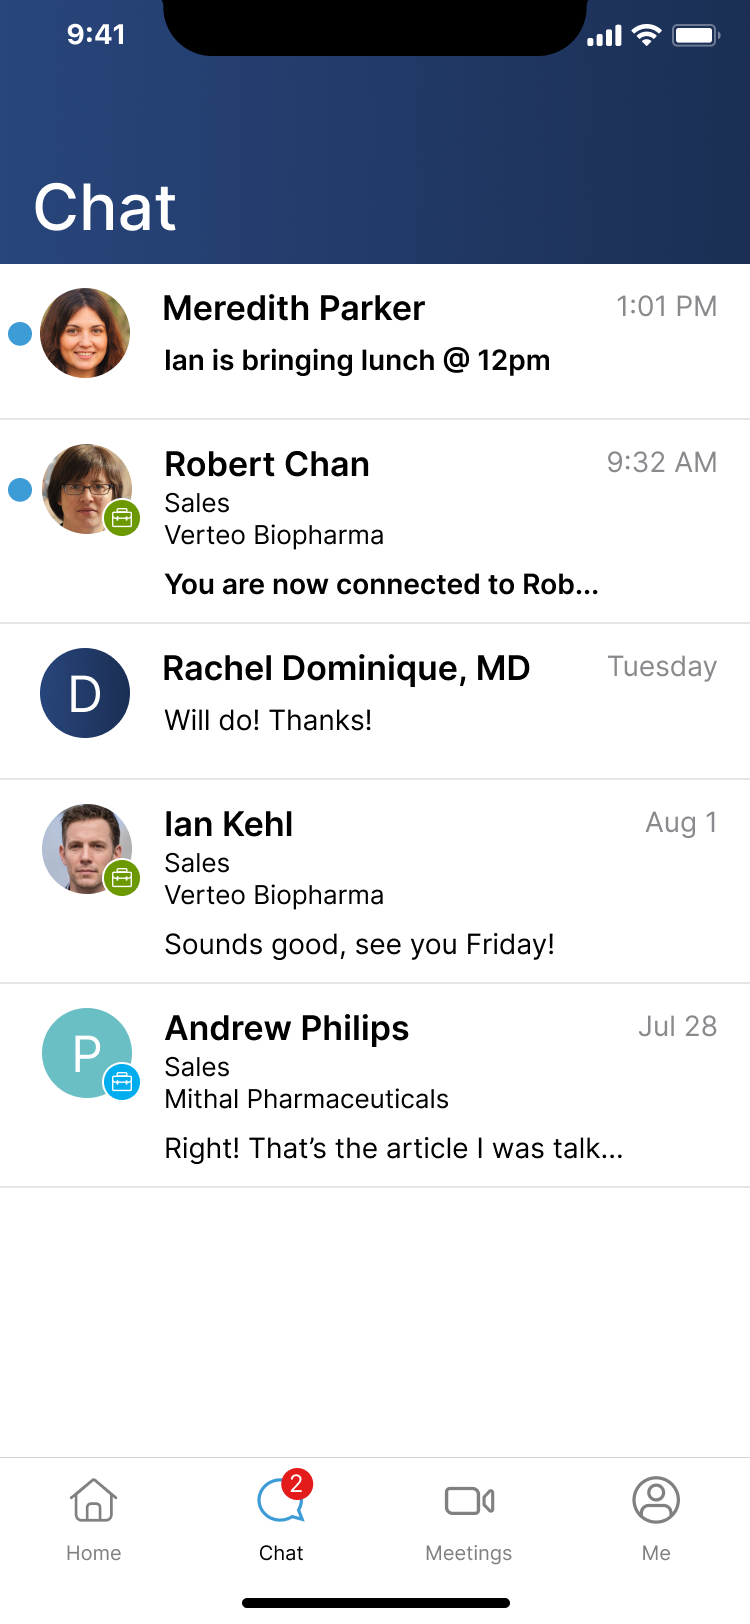
The Chat tab enables HCPs to message with connected CRM users and other HCPs.
In the Connections list in the Me tab and in the Chat tab, a briefcase icon displays on a user’s profile photo if the user is a CRM user. This allows HCPs to quickly distinguish between HCP and CRM user connections.
HCPs can use the Chat tab to type and send messages. Line breaks, links, and emojis in chat messages are supported.
Adding images and files in chat is not supported.
When an HCP is using the browser and has unread chat messages, a red dot displays on the tab icon and the number of unread messages displays in the tab name. When the tab is in the background, the tab name switches between the number of unread messages and “New message…”
The red dot indicator does not display on Safari.
HCPs can also copy and forward messages. See Copying and Forwarding Chat Messages for more information.
Additionally, HCPs can receive contacts or approved content shared with them by CRM users.
Sending New Messages
HCPs can select the New Message button in the header of the Chat tab to start a chat thread or search for an existing chat thread. This allows HCPs with many connections and chat threads to quickly and easily send messages to the appropriate connection. HCPs can also invite new coworkers and CRM users to connect by sending a personalized invitation message.
Selecting the New Message button displays the New Message modal. HCPs can:
- Select or search for an existing connection to navigate directly to that chat thread
- Enter an email address to invite an HCP or CRM user to connect with an invitation message
- Select Add My Contacts to invite an HCP or CRM user from their device’s address book contacts to connect with an invitation message. See Adding Address Book Contacts for more information.
Adding address book contacts is not supported on the Web platform.
Adding Address Book Contacts
HCPs can allow Engage to access their device’s address book contacts to quickly invite and share valuable resources with other HCPs. Contacts in the address book must have at least one email address. HCPs can then forward chat messages or share brand profile resources using their address book contacts.
Engage does not store address book contacts. Additionally, adding address book contacts is not supported on web.
When HCPs view the list of available recipients to forward messages or send brand profile resources to before adding address book contacts, the Add My Contacts button displays at the top of the list. Once the HCP starts entering search terms, the Add My Contacts button displays below the email recipients. To add their address book contacts:
- Select Add My Contacts from the recipient list.
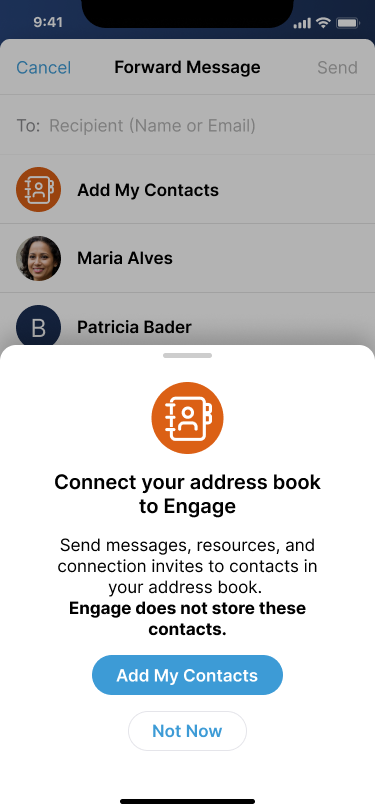
- Select Add My Contacts in the slide up modal to display the confirmation modal.
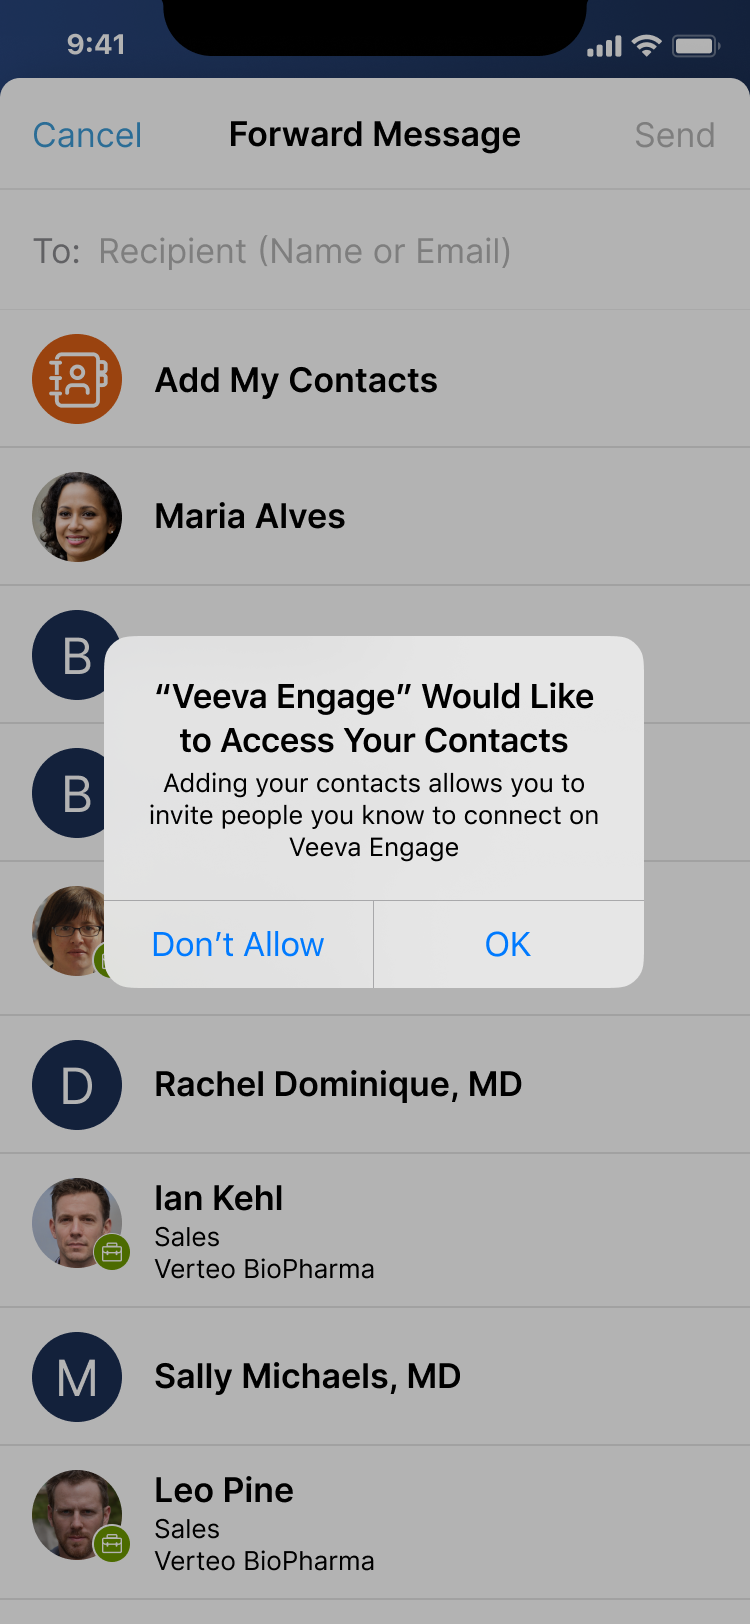
- Select OK (iPad, iPhone) or Allow (Android) in the modal to grant the Engage app access to the address book.
For users who previously denied the Engage app access to the address book, a slide up modal displays with the option to grant access in the device’s settings.
Contacts from their address book do not display in the list of available recipients until HCPs start entering search terms in the recipient search field. Contacts from their address book display with the address book icon.
Recipients who are not already using Engage receive a notification email about the forwarded message or brand profile resource, which includes an invite to sign up for Engage. Recipients who are already using Engage receive a notification email about the forwarded message or brand profile resource, which includes an invite to connect in Engage. Recipients must connect with the sender to view the messages and reply.
Managing App Access to Contacts
HCPs can manage permission to the device’s contact list from the Me tab. When users have not granted access to their contacts, Add My Contacts displays in the Me tab.
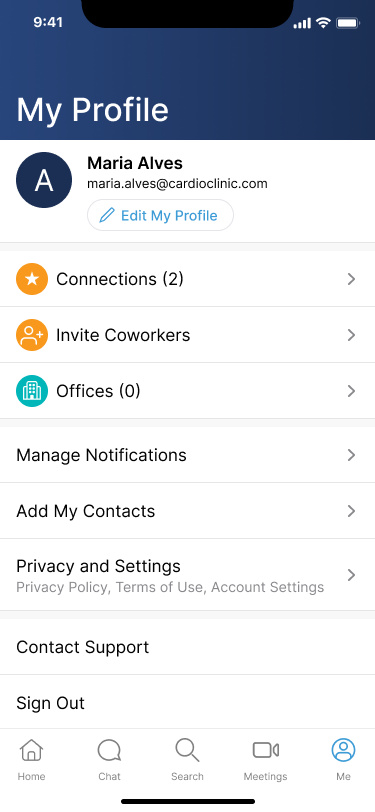
Select Add My Contacts to grant the Engage app access to the device’s contact list.
When users have already granted access to their contacts, Manage My Contacts displays in the Me tab.
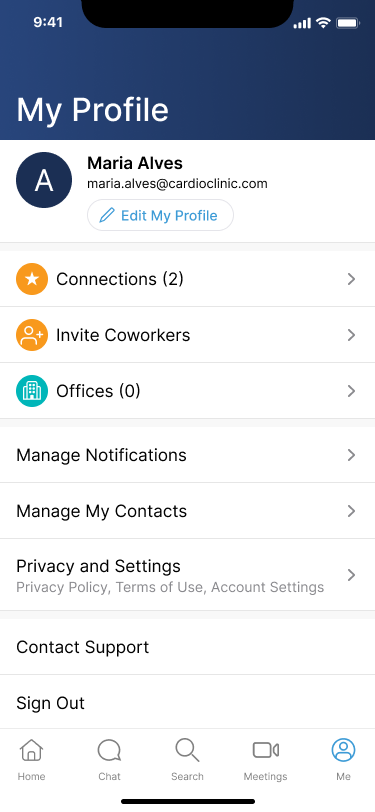
Select Manage My Contacts to navigate to the app settings on the device and toggle access to the Contacts on or off.
Filtering Approved Content and Samples to Share in Engage Chat
Admins can define content filters for Engage Connect groups to restrict the approved content CRM users can share via Engage chat in the Engage tab in Veeva CRM or in Engage Connect, and the samples and materials HCPs can request from those users in Engage. Content filters work in conjunction with a user's country, user type, and assigned brands to determine which content is available to share. For example, there may be multiple indications for a product, but users in a particular Engage Connect group only have permission to share approved content for a specific indication via Engage chat.
Configuring Content Filters
To configure content filters for approved content and samples and materials, admins must define the content filters in both the company configuration file and the appropriate Engage Connect group setting. Filters are defined by customers and do not need to follow any specific format, as long as they match in the company configuration file and in the Engage Connect group settings. Multiple filters are supported and can be listed in any order.
If filters are not defined for a given piece of content on the company configuration file, it is available to all users regardless of whether their Engage Connect group specifies any filters. For example, an admin defines Filter A for the Engage Connect group. The admin then includes Filter A in the company configuration file for an approved content file, but not for a specific sample. Users in the Engage Connect group can share the approved content file in chat, and HCPs can still request the sample from users.
In another example, an admin defines Filter A and Filter B for the Engage Connect group, and includes Filter B and Filter C in the company configuration file for an approved content file. Users in the Engage Connect group can share the approved content file because Filter B is configured in both the group setting and the company configuration file.
To update the company configuration file:
- Navigate to the Engage Connect Administration tab.
- Navigate to the Company Data Import/Export section.
- Select Export Data to download the formatted company configuration file.
- Open the downloaded file.
- Navigate to the Content Tab to define filters for approved content, and the Sample Tab to define filters for samples and materials.
- Populate the Content Filters column appropriately with a semicolon delimited list of filters. The Content Filters column displays immediately before the Active? column in both the Content Tab and the Sample Tab.
The column is limited to 80 characters. Leading and trailing spaces are not supported.
- Save the file.
- Navigate back to the Company Data Import/Export section of the Engage Connect Administration tab.
- Select Choose File to upload the edited company configuration file.
- Select Import Data.
To update the Engage Connect Group settings:
- Navigate to the Engage Connect Administration tab.
- Select Edit for the appropriate Engage Connect Group.
- Populate the Content Filters field appropriately with a semicolon delimited list of filters.
The field is limited to 80 characters. Leading and trailing spaces are not supported.
- Select Save.
Requesting Samples and Materials
HCPs can select the Samples & Materials button to request from a list of preconfigured samples or materials related to one of the CRM user's associated Brands.
The Samples & Materials button is labeled dynamically depending on whether samples, materials, or both are configured in the company configuration file for CRM users. If only samples are available for a particular CRM user, the button is labeled Samples in their chat threads with HCPs. If only materials are available for a particular CRM user, the button is labeled Materials.
The Samples & Materials selector only displays samples and materials based on the following criteria:
- Assigned brands
- User role
- Country
- Content filters
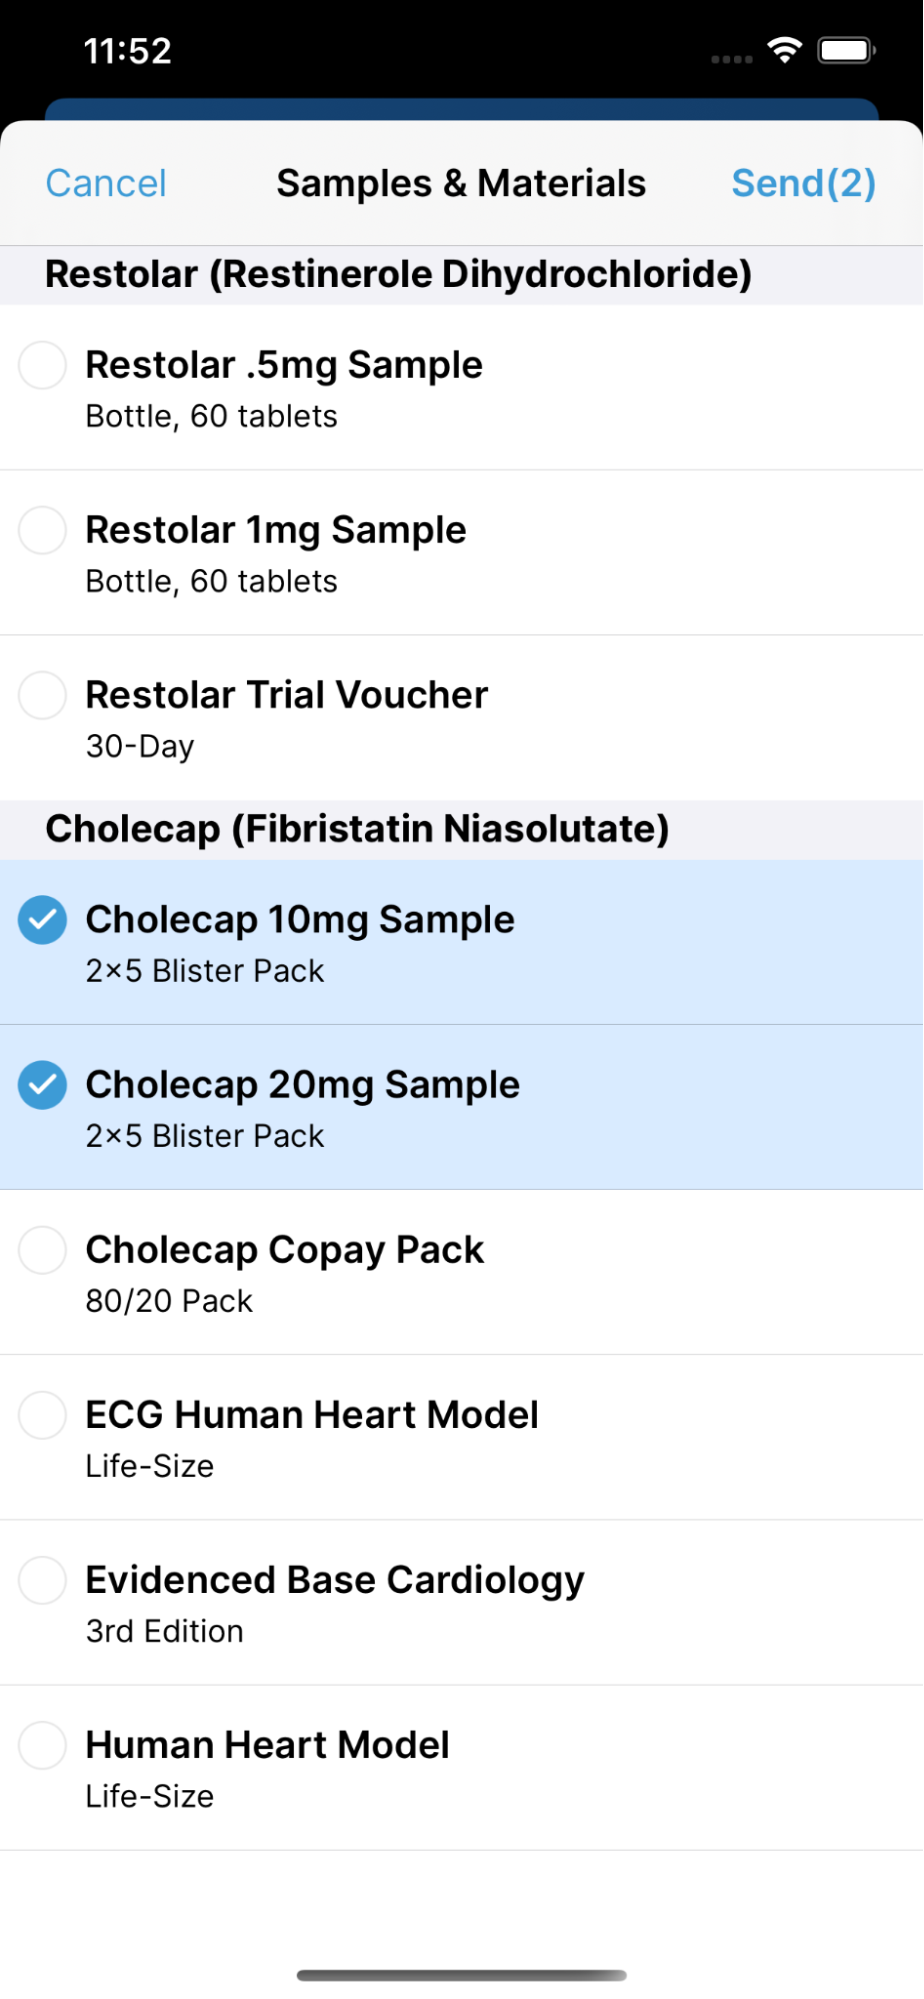
Brand configuration is done via import, and CRM users are assigned to Brands via an Engage Connect group.
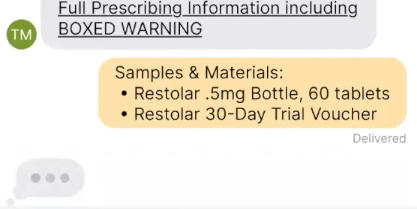
Requested samples display as plain text within the chat feed. CRM users can use this information to either set up a meeting with the HCP to distribute the sample, or to switch over to CRM and distribute the samples there instead.
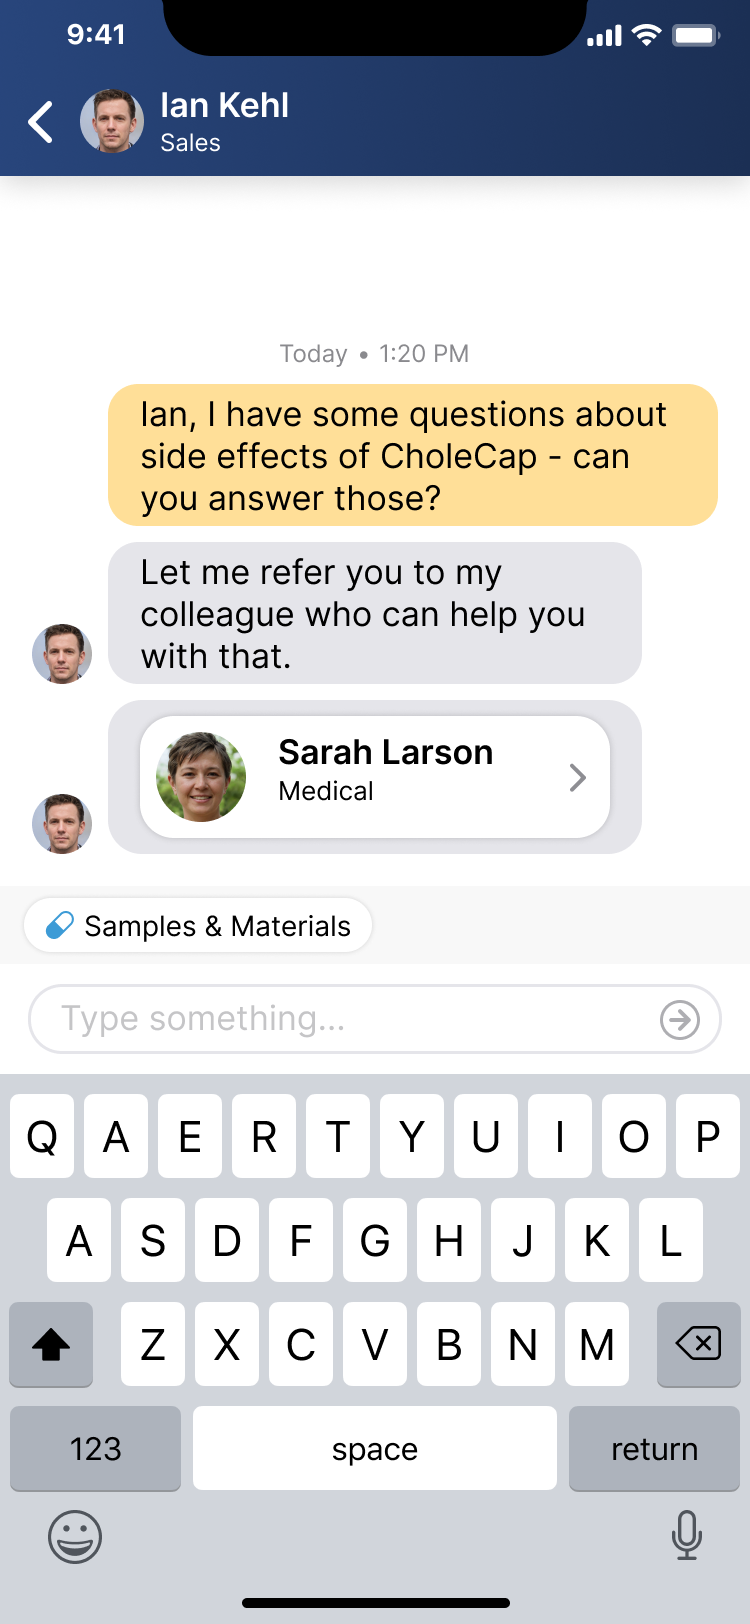
Sharing Contacts as an HCP
The Share a Contact button allows HCPs to recommend and share connections with coworkers via chat. This helps the right people in the HCP’s office get connected to the right people in your company to discuss specific products.
In HCP chat threads with other HCPs, the Share a Contact button displays in the action bar. Select the button, then select the appropriate contact to send to the HCP recipient.
You can send a contact as a card within a chat message. Recipients can select the card to display the contact's profile in Engage. If the contact is a CRM user, recipients can connect with the CRM user directly from the profile. If the contact is an HCP, recipients can invite the HCP to connect. An HCP can include a message when inviting another HCP to connect
