

Non-Blocking Sync
- iPad
- iPhone
Non-blocking sync is a regular, automatic sync that allows users to continue using Veeva CRM while syncs are occurring. This is a significant improvement over the current incremental sync process, which requires users to select the sync button and blocks the user from using the app until the sync is complete.
Non-blocking sync works by downloading data (CRM records) and metadata (permissions, settings, object changes), including Approved Email content, while the user continues to use Veeva CRM. When the sync is complete, the user is notified to apply the updates. Applying updates is a quick process that typically takes only a few seconds.
After the updates are applied, updates to existing CLM content are automatically downloaded. New CLM content can be manually downloaded as needed; CLM content downloads continue while users use Veeva CRM.
Users must upgrade to the 233.0.100 version of Veeva CRM or later to use non-blocking sync. Additionally, ensure the device has at least 64GB of storage.
A non-blocking sync initiates when the following are true:
- The user opens Veeva CRM while still signed in or signs into the app for the first time on a given day
- The user is actively using Veeva CRM
- The device is connected to the internet
External data, including Fixed Reports/VInsights and Nitro, must be refreshed separately.
When a non-blocking sync is in progress, the Veeva CRM app does not go to sleep.
This table illustrates the differences between non-blocking sync and incremental sync.
|
Stages of Sync |
Incremental Sync (Default) |
Non-Blocking Sync (New) |
|---|---|---|
|
Initiating Sync |
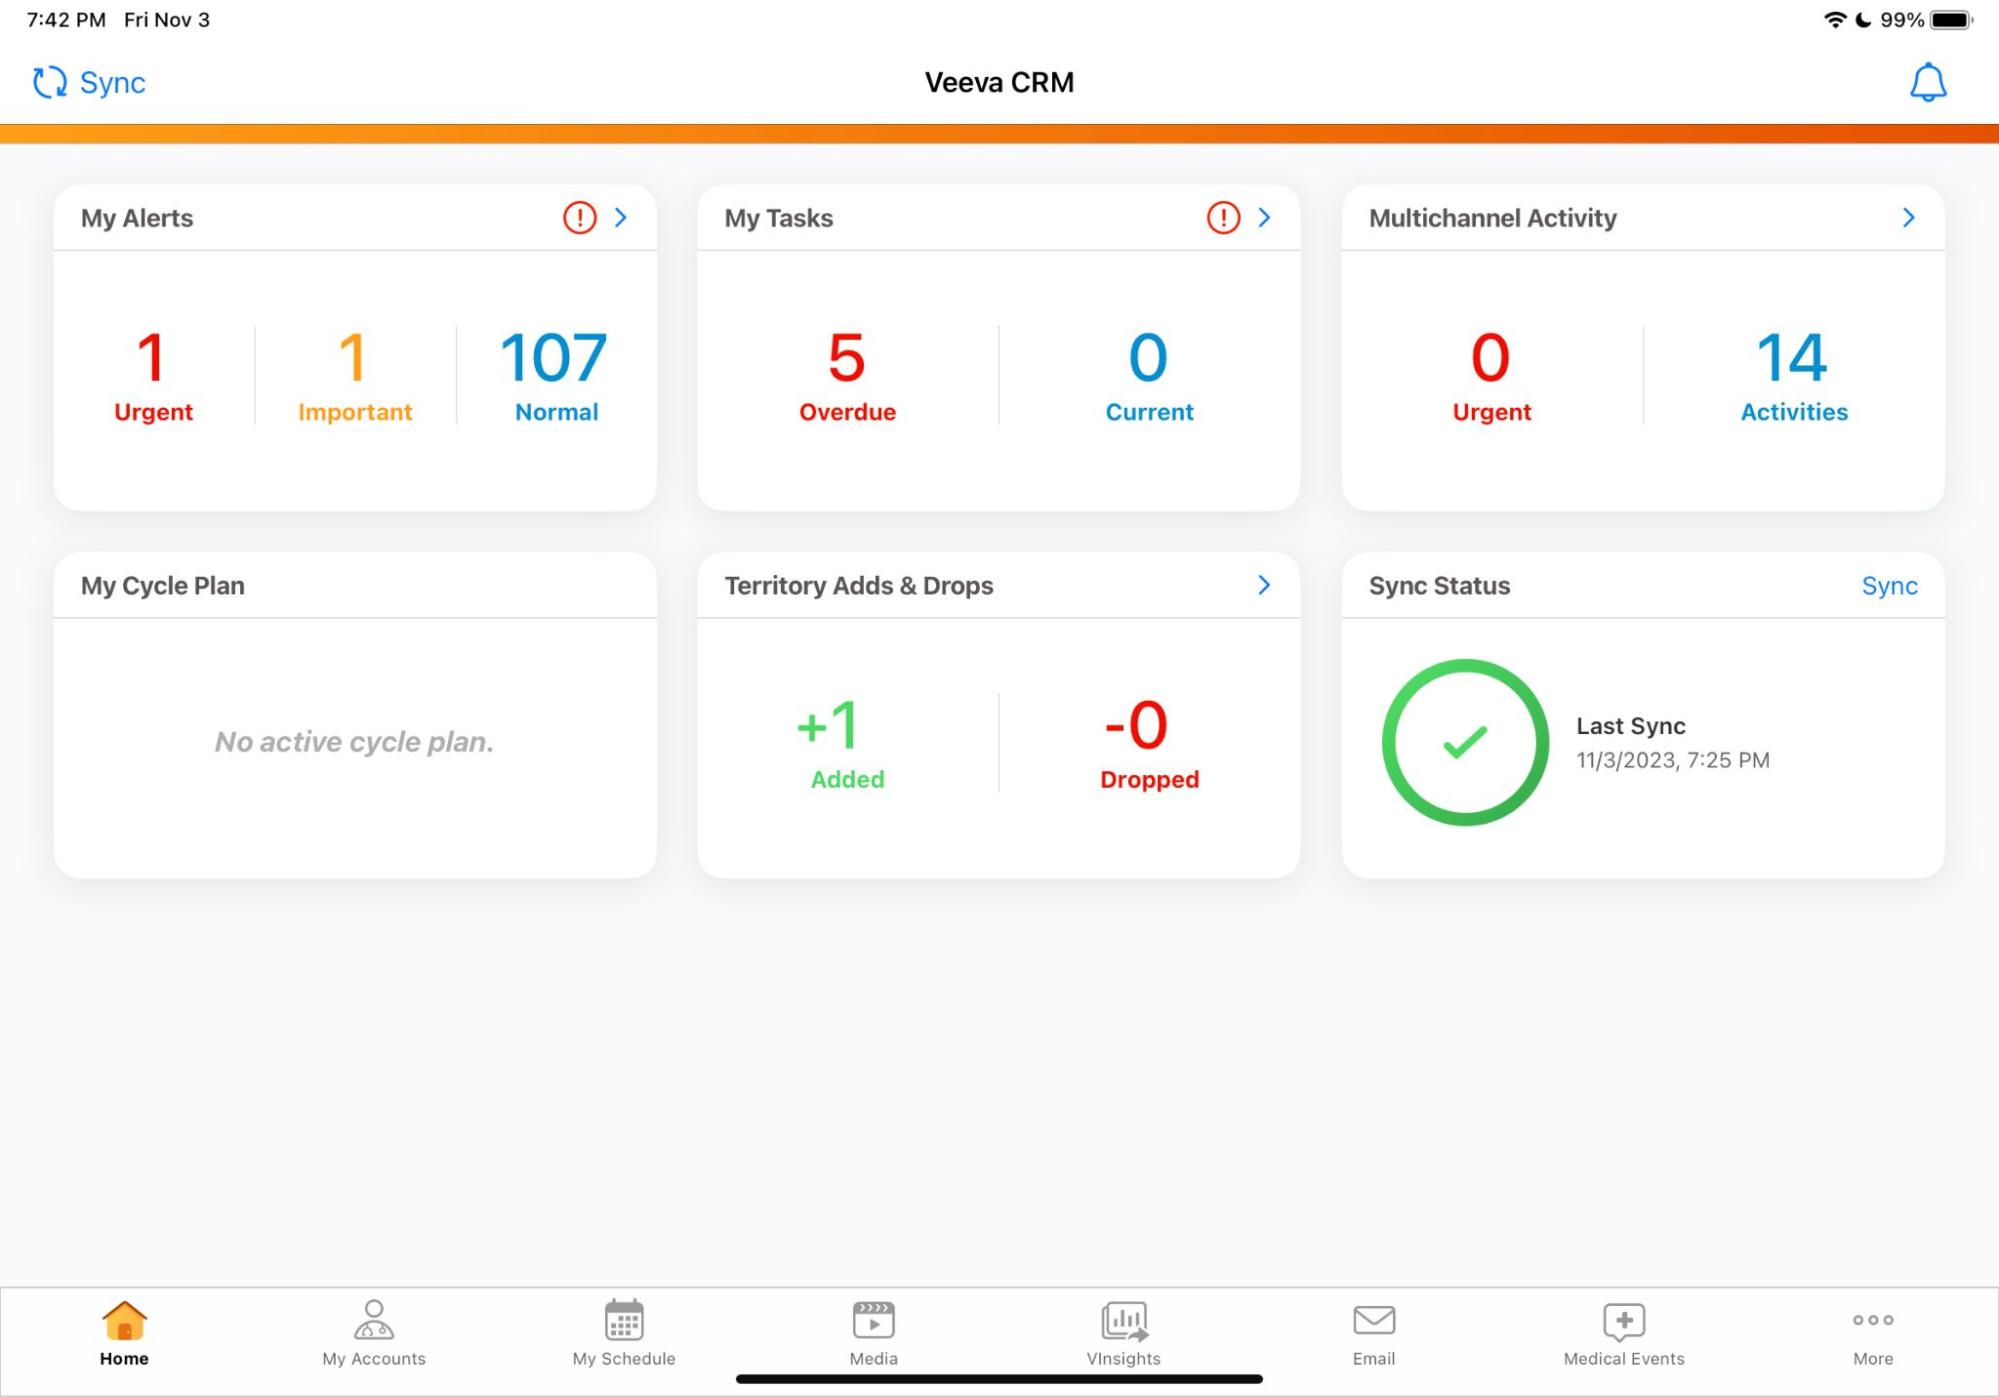
The user signs in and selects the Sync button on the home page to initiate an incremental sync. |
The user signs in and a non-blocking sync automatically starts. |
|
Sync in progress |
The user cannot use the app until the entire sync process is complete. This can take in excess of 30 minutes. |
The user can continue using the app. |
|
|
|
|
|
Applying updates |
After the incremental sync completes, all data and metadata on the device is up to date. |
The user must select Apply Update from either the tab bar or the Status widget to update the data, metadata, and content on the device. This only takes a few seconds. |
|
|
|
|
|
Downloading media |
Updates to CLM data and metadata are retrieved as a part of sync. Content download begins after all the data and metadata changes are downloaded and applied. The user is prevented from using the app until the entire CLM content library is downloaded. |
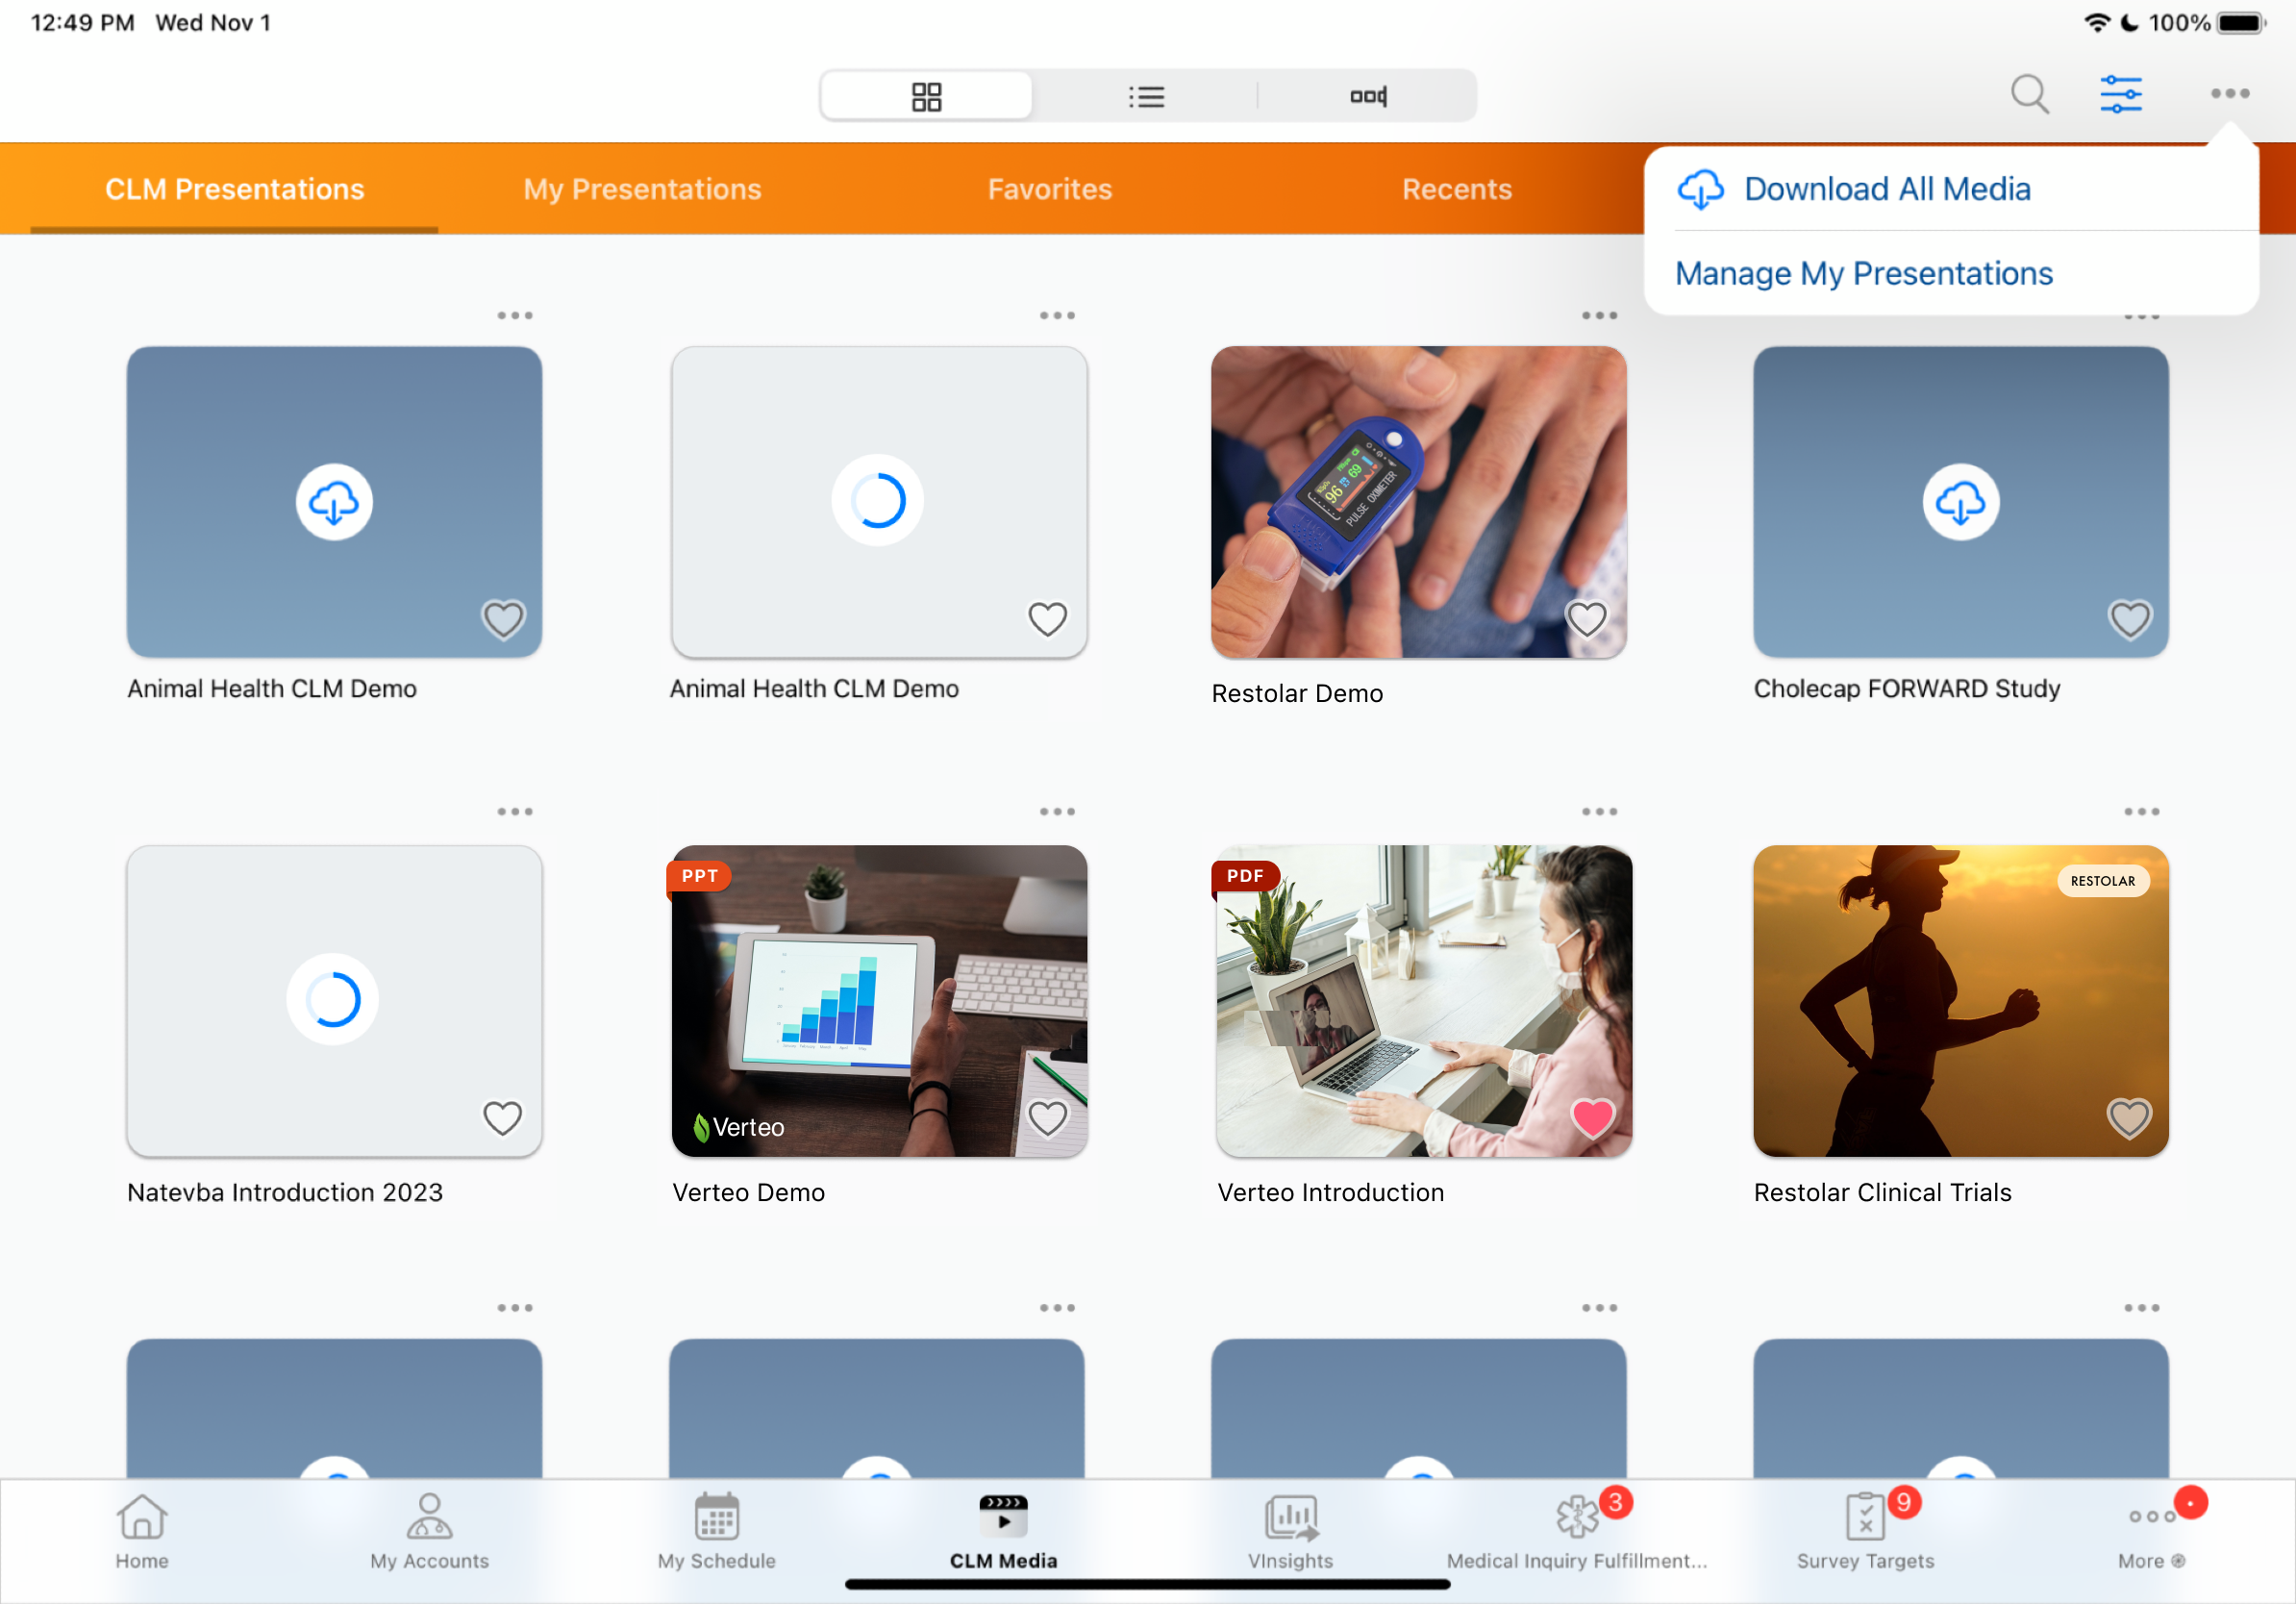
Updates to CLM data and metadata are retrieved as a part of sync. After the user selects Apply Updates (from the row above), updates to previously downloaded CLM content are automatically downloaded. For new content, the user can download specific presentations or select Download All Media from the More Actions menu to download all the new content. The user can continue using the app. |
|
|
|
|
|
Syncing external data |
After content download, external data (Fixed Reports/VInsights and Nitro data) syncs. The user is prevented from using the app. |
If Fixed Reports/VInsights or Nitro are configured, the Refresh External Data button displays in the Status widget. The user can select Refresh External Data to sync external data. The user is prevented from using the app. |
|
|
|
|
|
Uploading data |
Data uploads from the device via autosync. If there is data on the device that has not been uploaded to the online server when sync is initiated, this data is uploaded before any data is downloaded. |
Data uploads from the device via autosync. If there is data on the device that has not been uploaded to the online server when sync is initiated, this data is uploaded before any data is downloaded. |
Non-Blocking Sync User Scenarios
To understand the timing of when non-blocking sync will initiate, here are some user scenarios.
First Non-Blocking Sync After Enablement
Your admin enables non-blocking sync at 8AM. You perform an incremental sync on your iPad to receive the change and are prompted to sign out. You sign back in at 8:15AM. Non-blocking sync is now enabled on your device and the first automatic non-blocking sync runs when you first open the app the following day. The Refresh Mode toggle in the Options tab is enabled.
Daily CRM Usage
You open Veeva CRM every day to plan calls and review content. Non-blocking sync starts immediately when you open the app for the first time each morning (3AM local time is the start of each day). You continue using the app while it runs and apply the updates when it completes.
Pausing and Resuming Non-Blocking Sync Within 12 Hours
You open Veeva CRM at 9AM and a non-blocking sync begins running. However, you have to leave at 9:15AM for an event, so you lock your device before the non-blocking sync completes. Since you are no longer actively using the app, the non-blocking sync pauses.
At 1PM, you open Veeva CRM again to finish planning calls. Since less than 12 hours have passed since the non-blocking sync paused, it resumes. You continue using the app while it runs and apply the updates when it completes.
Restarting Non-Blocking Sync After More Than 12 Hours
You open Veeva CRM at 9AM and a non-blocking sync begins running. However, you navigate to a different app at 9:30AM, before the non-blocking sync completes. Since you are no longer actively using the app, the non-blocking sync pauses.
At 11PM, you realize that you forgot to submit a call from earlier in the week and open Veeva CRM again. Since non-blocking sync did not complete earlier and more than 12 hours have passed it stopped, it is canceled and a new non-blocking sync starts. You continue using the app while it runs and apply the updates when it completes.
Restarting Sync Overnight
You open Veeva CRM at 9PM on Monday to finish submitting calls from the day and a non-blocking sync starts running. At 10PM, the non-blocking sync is still in progress, but you lock your device to go to sleep, which pauses the sync.
On Tuesday, you open Veeva CRM at 9AM. Since the non-blocking sync did not complete before 3AM local time, it is canceled and a new non-blocking sync starts. You continue using the app while it runs and apply the updates when it completes.
Applying Updates
When the latest updates are downloaded, users must apply the updates from either of the following:
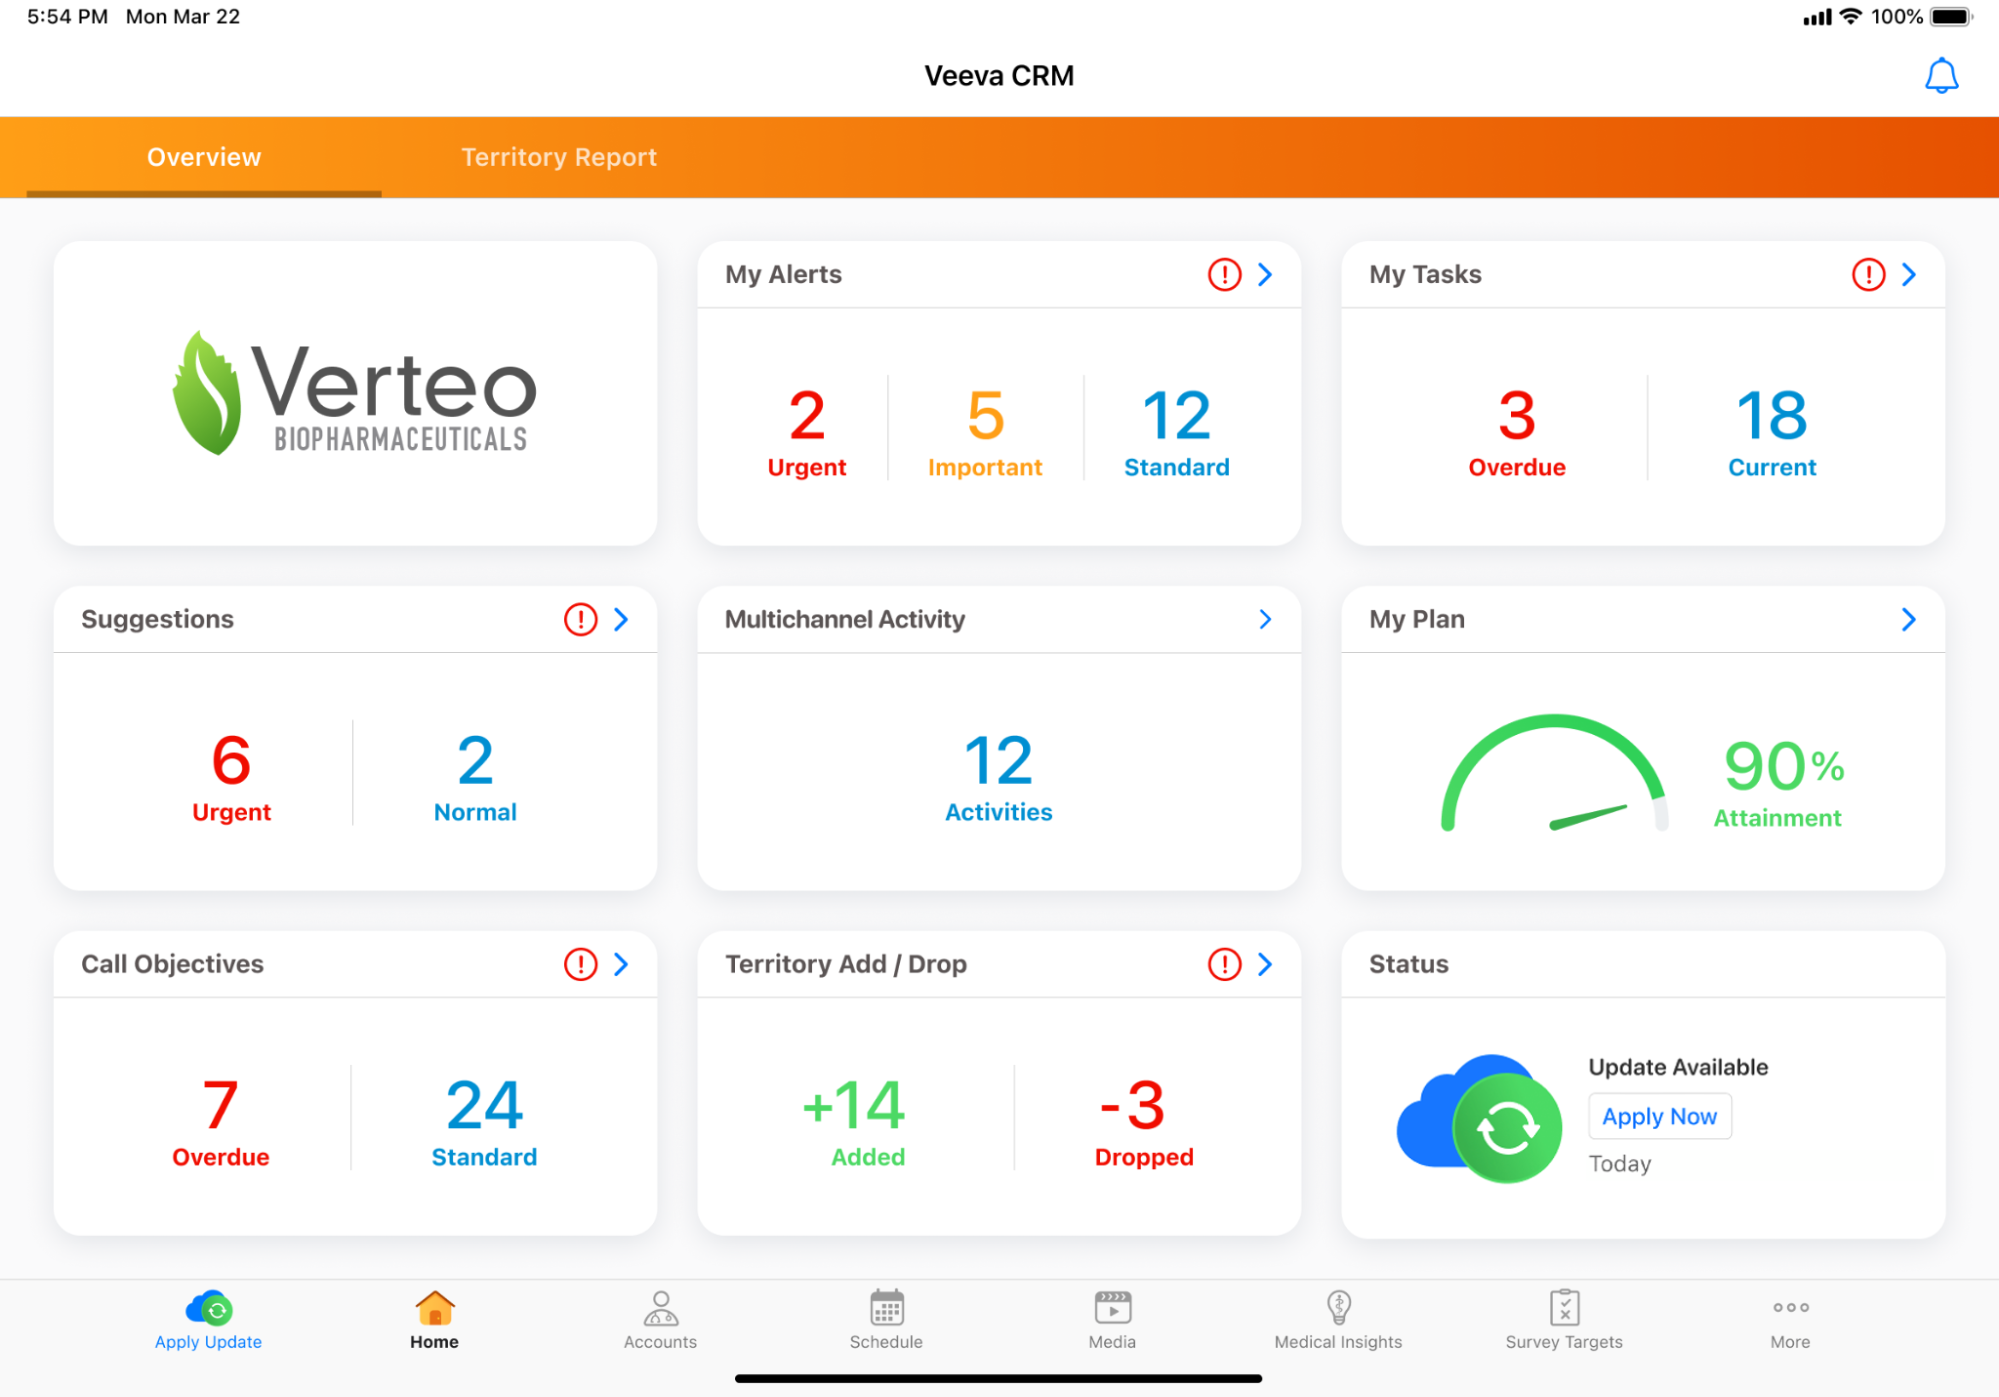
- The Apply Update button in the navigation bar to the left of the home tab
The button color depends on how many days have passed since updates became available:
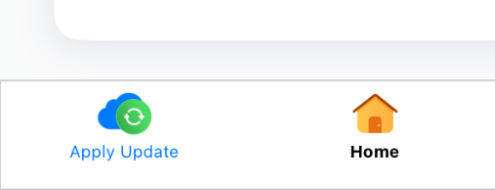
- Blue/green - Less than a day
- Orange - One to two days
- Red - More than two days
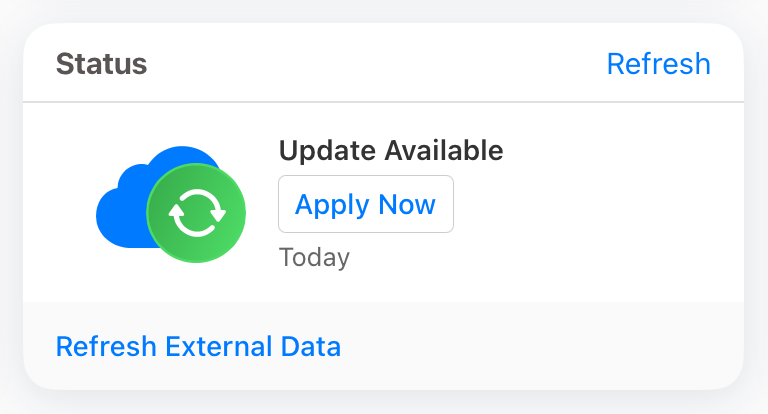
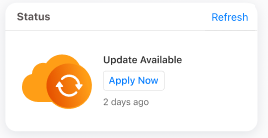
- The Apply Now button on the Status widget on the home page. See Using the Status Widget for more information about the widget states.
Selecting Apply Update displays a modal from which users can apply the updates and be redirected to the home page, or cancel.
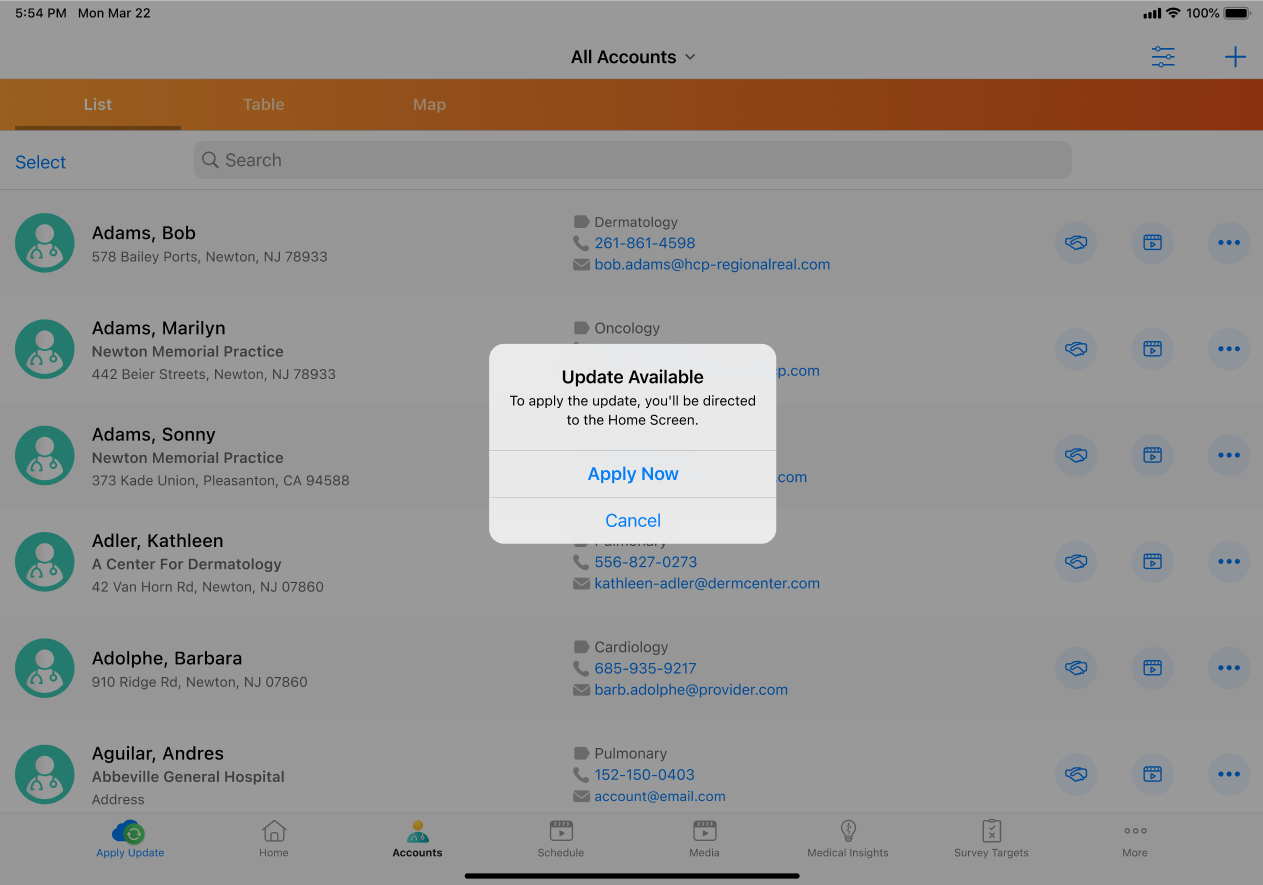
Applying updates only takes a few seconds to complete. Once complete, either the home page or the MyInsights default landing screen displays. The Apply Update button next to the Home tab no longer displays and the Current as of date in the Status widget is updated.
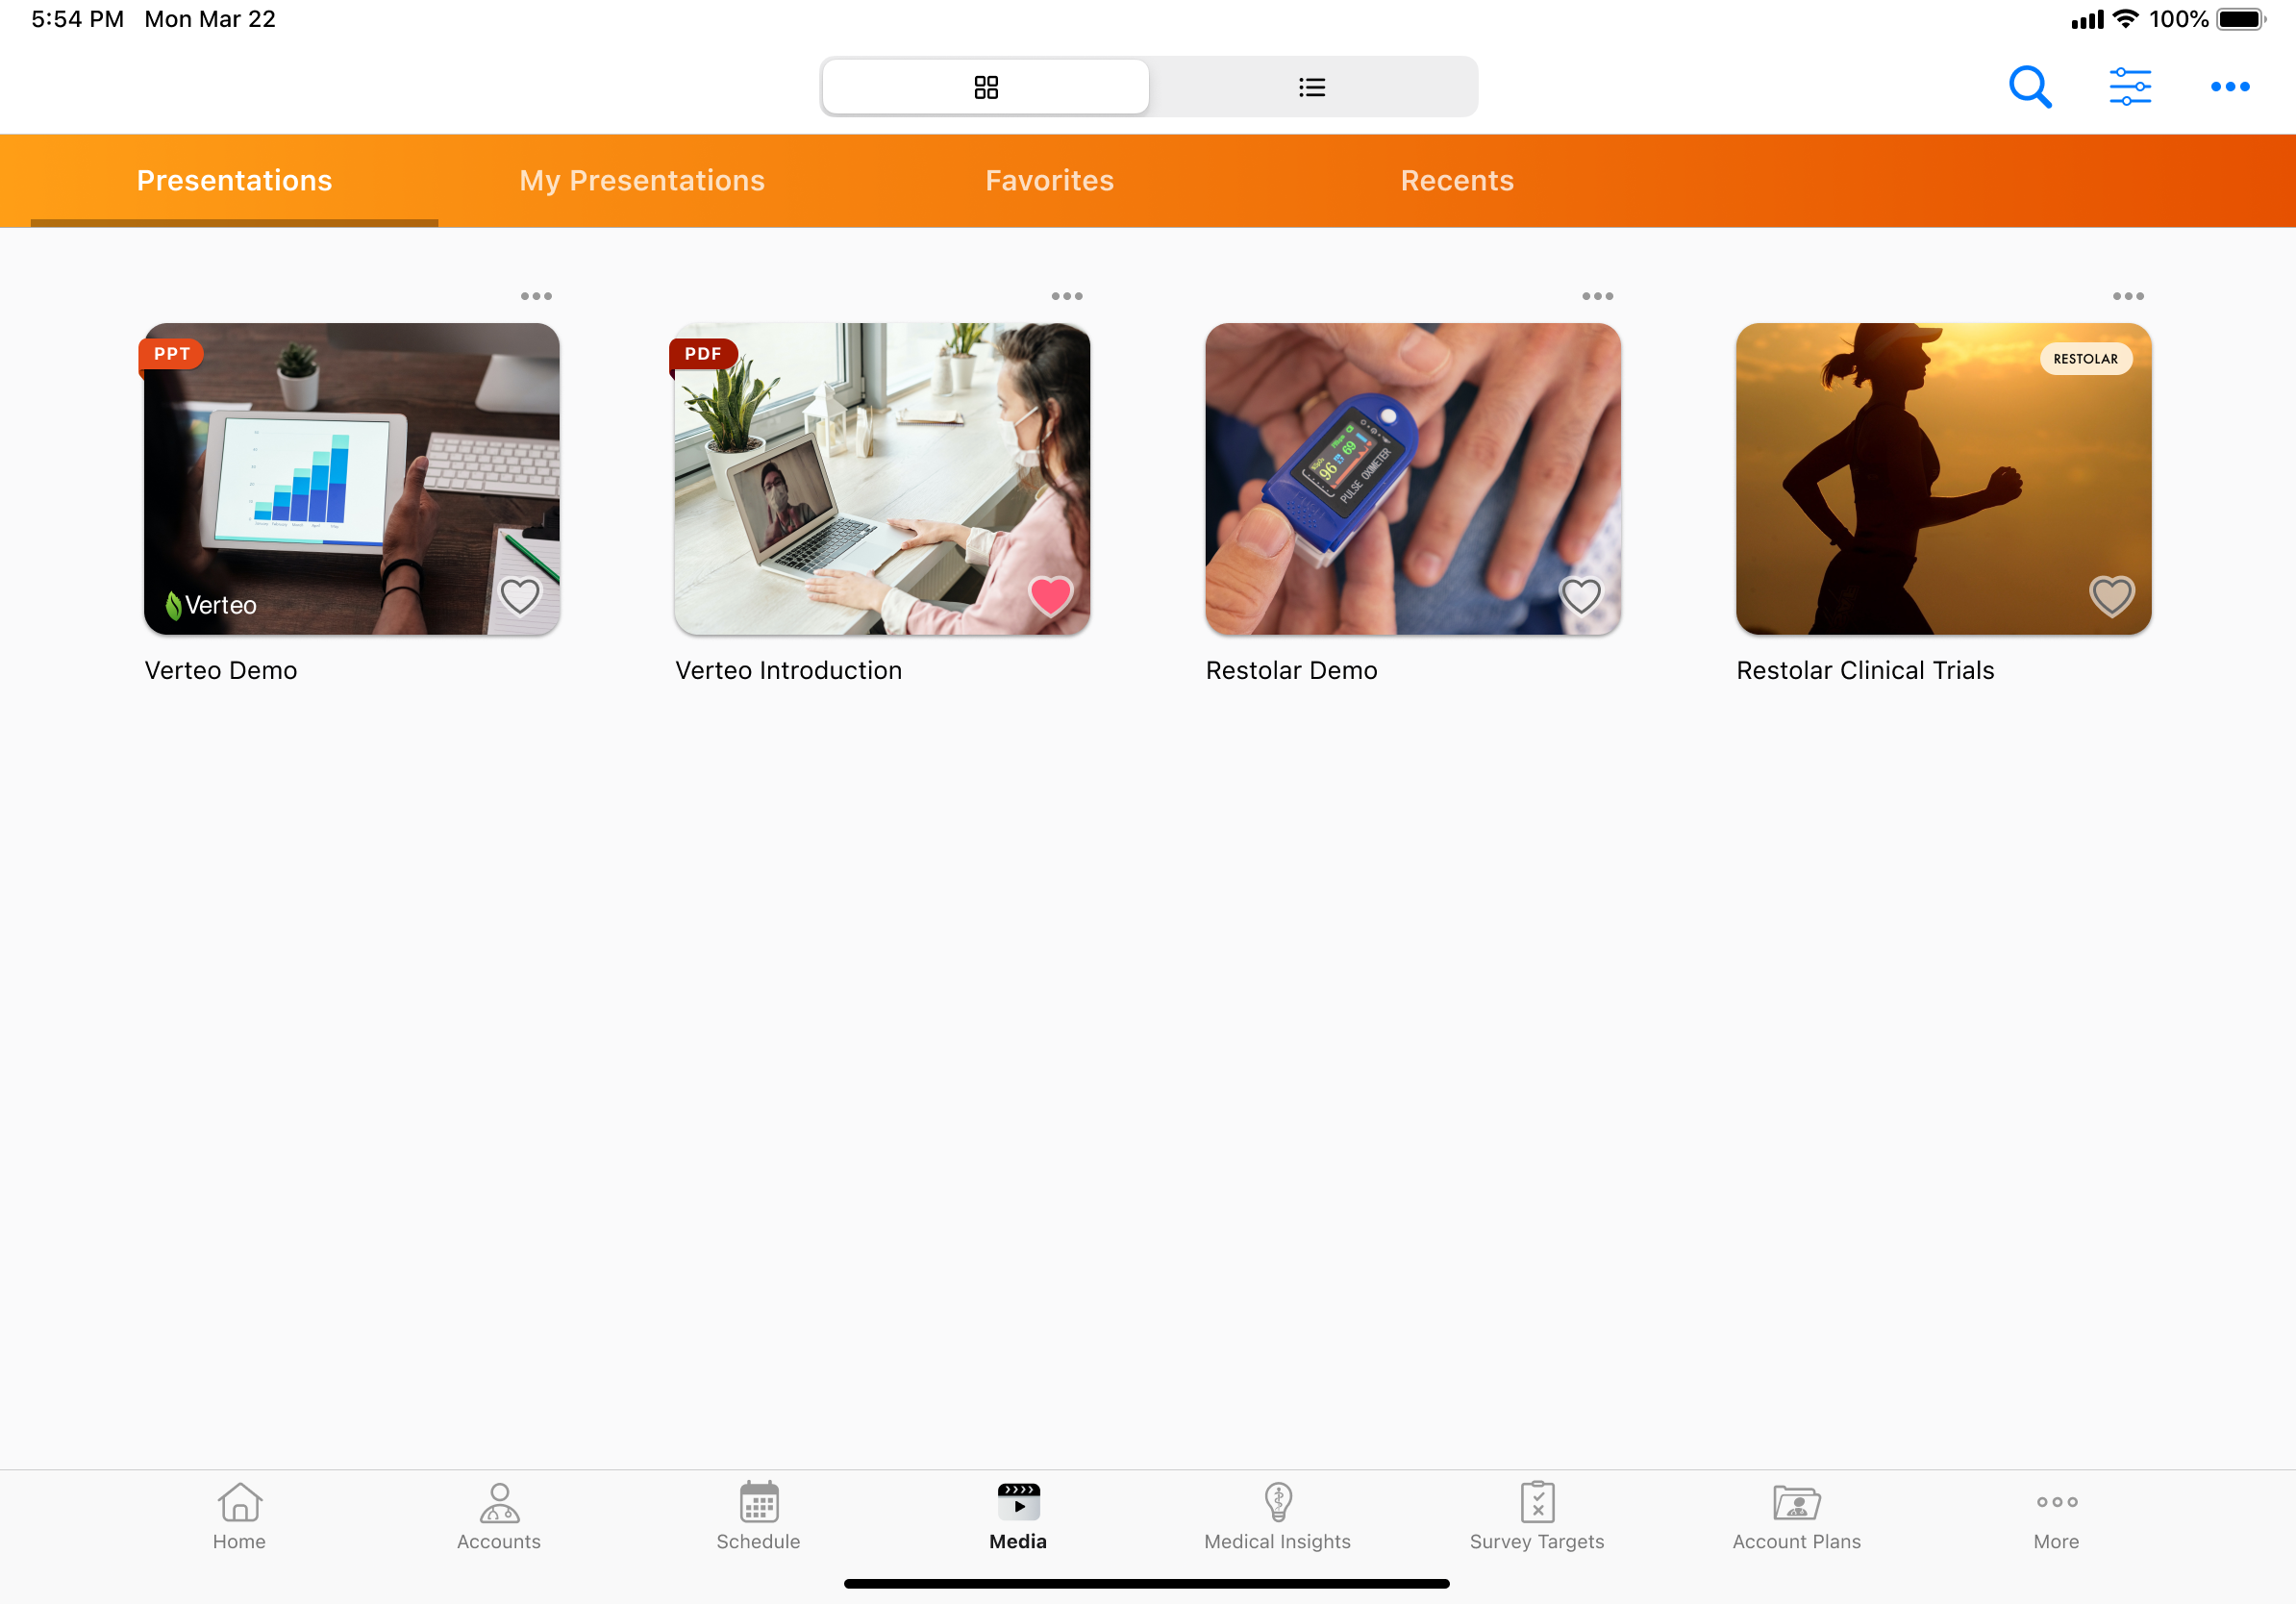
Downloading CLM Content
After the data and metadata updates are applied, updates to previously downloaded CLM presentations automatically begin downloading when the app is in the foreground. If there are multiple updated presentations, queued presentations display a download status of Update Pending until each download begins. Content with the Update Pending status cannot be opened. Hidden presentations and thumbnails for website content are also automatically downloaded.
If applying updates from non-blocking sync includes new CLM presentations, these display in the media library with the status of Download Required. Users can choose to download individual presentations or select Download All Media from the More Actions menu. The Download All Media button does not display during a call.
Users can choose to cancel content downloads after selecting Download All Media. This pauses the download for partially downloaded content. If users select download for a partially downloaded presentation, the download resumes.
Users can download CLM content from the following entry points:
- Call objectives
- Suggestions
- MyInsights via deep linking
- Orders
Content that is not downloaded still displays in search results where users can download the content.
When users navigate to a slide or a presentation that is not yet downloaded, for example, via the goToSlide or launchSelector JavaScript functions, a prompt displays to download the presentation if both of the following conditions are met:
- The presentation is in the media library
- The presentation is available for the call
Manually Initiating Non-Blocking Sync
Users can also manually initiate a non-blocking sync to receive updates more than once a day. A manually initiated non-blocking sync is referred to as a refresh in the app. To manually initiate a refresh, select the Refresh button in the top right corner of the Status widget on the home page.
The Refresh button does not display in the Status widget when a non-blocking sync is already in progress or when there are existing sync errors. See Handling Sync Errors for more information.
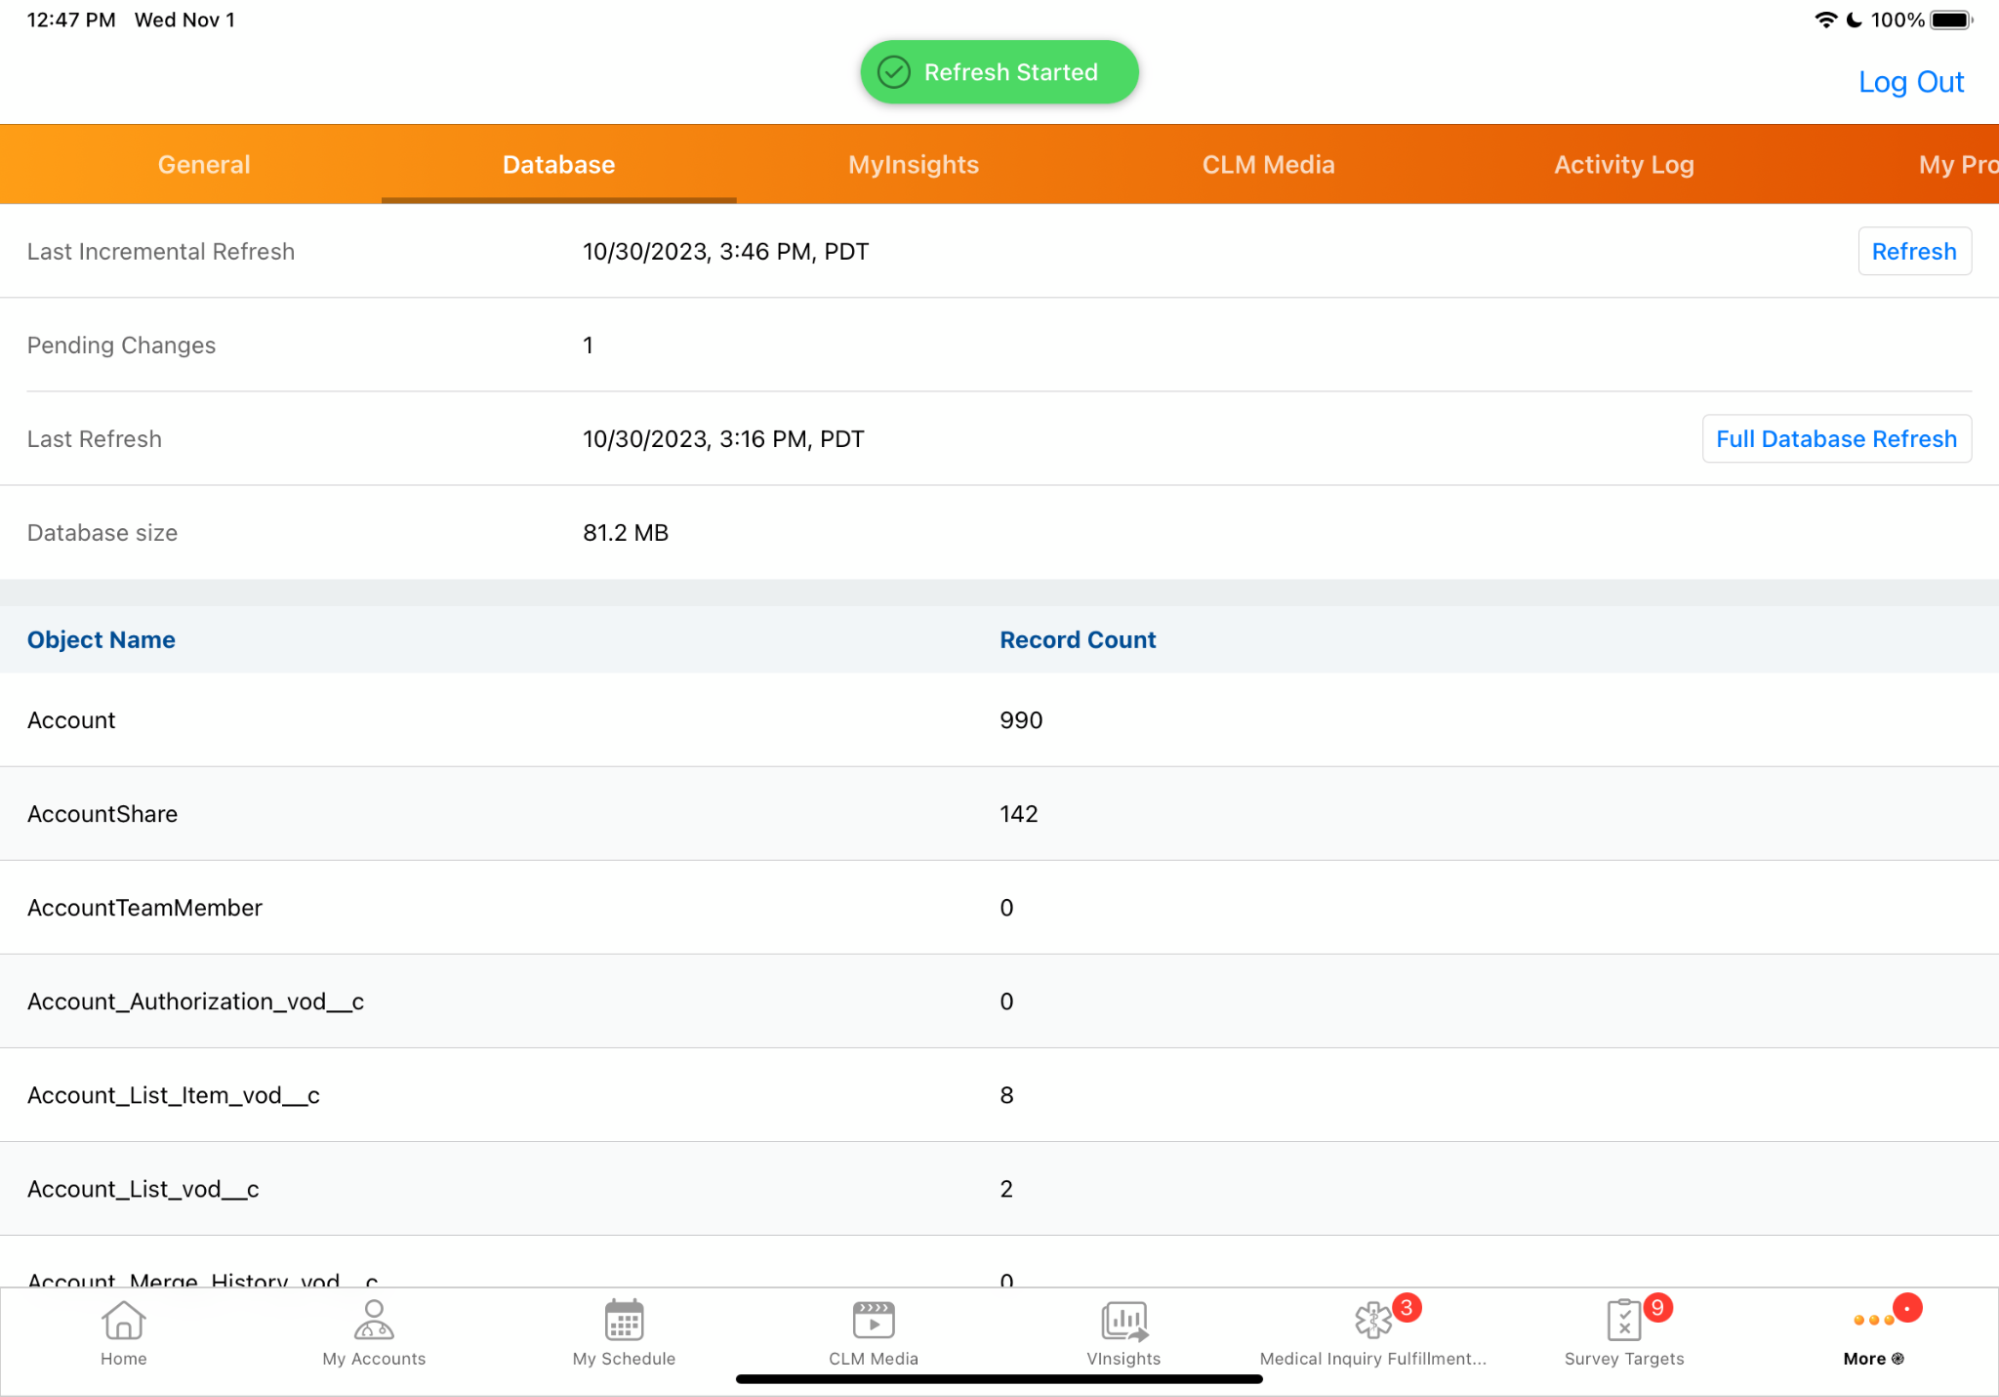
Alternatively, users can manually initiate a refresh from the Options tab:
- Navigate to Options > Database.
- Select Refresh in the Last Incremental Refresh row. A green pill labeled Refresh Started displays when the refresh starts successfully.
If a non-blocking sync is already in progress, a modal displays from which users can select to restart the sync. If users restart the sync, a new Sync_Tracking_vod record is created and the Sync_Completed_Datetime_vod field is populated when it completes.
Admins can update the label for the Refresh button by populating the REFRESH;;Sync Veeva Message with the appropriate text.
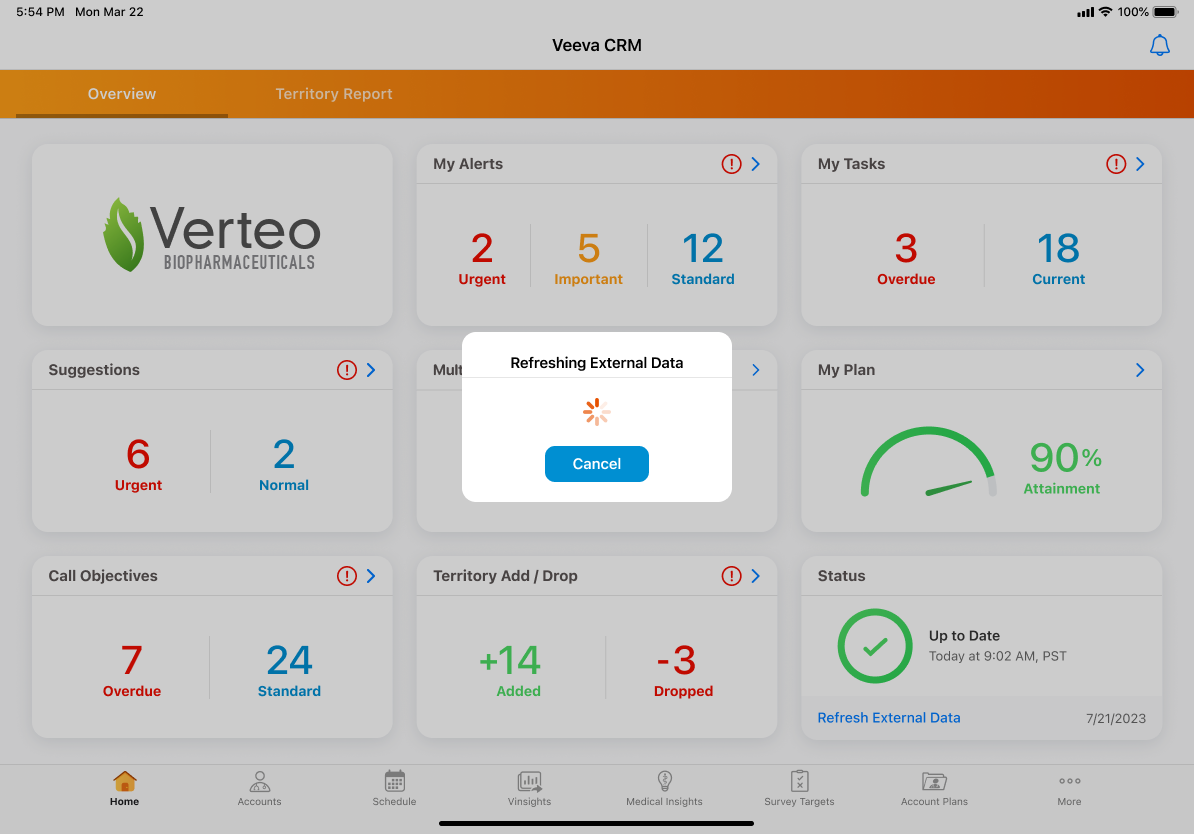
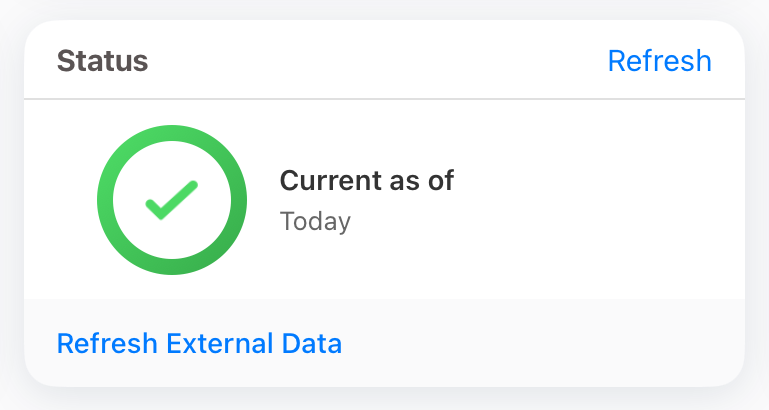
Refreshing External Data
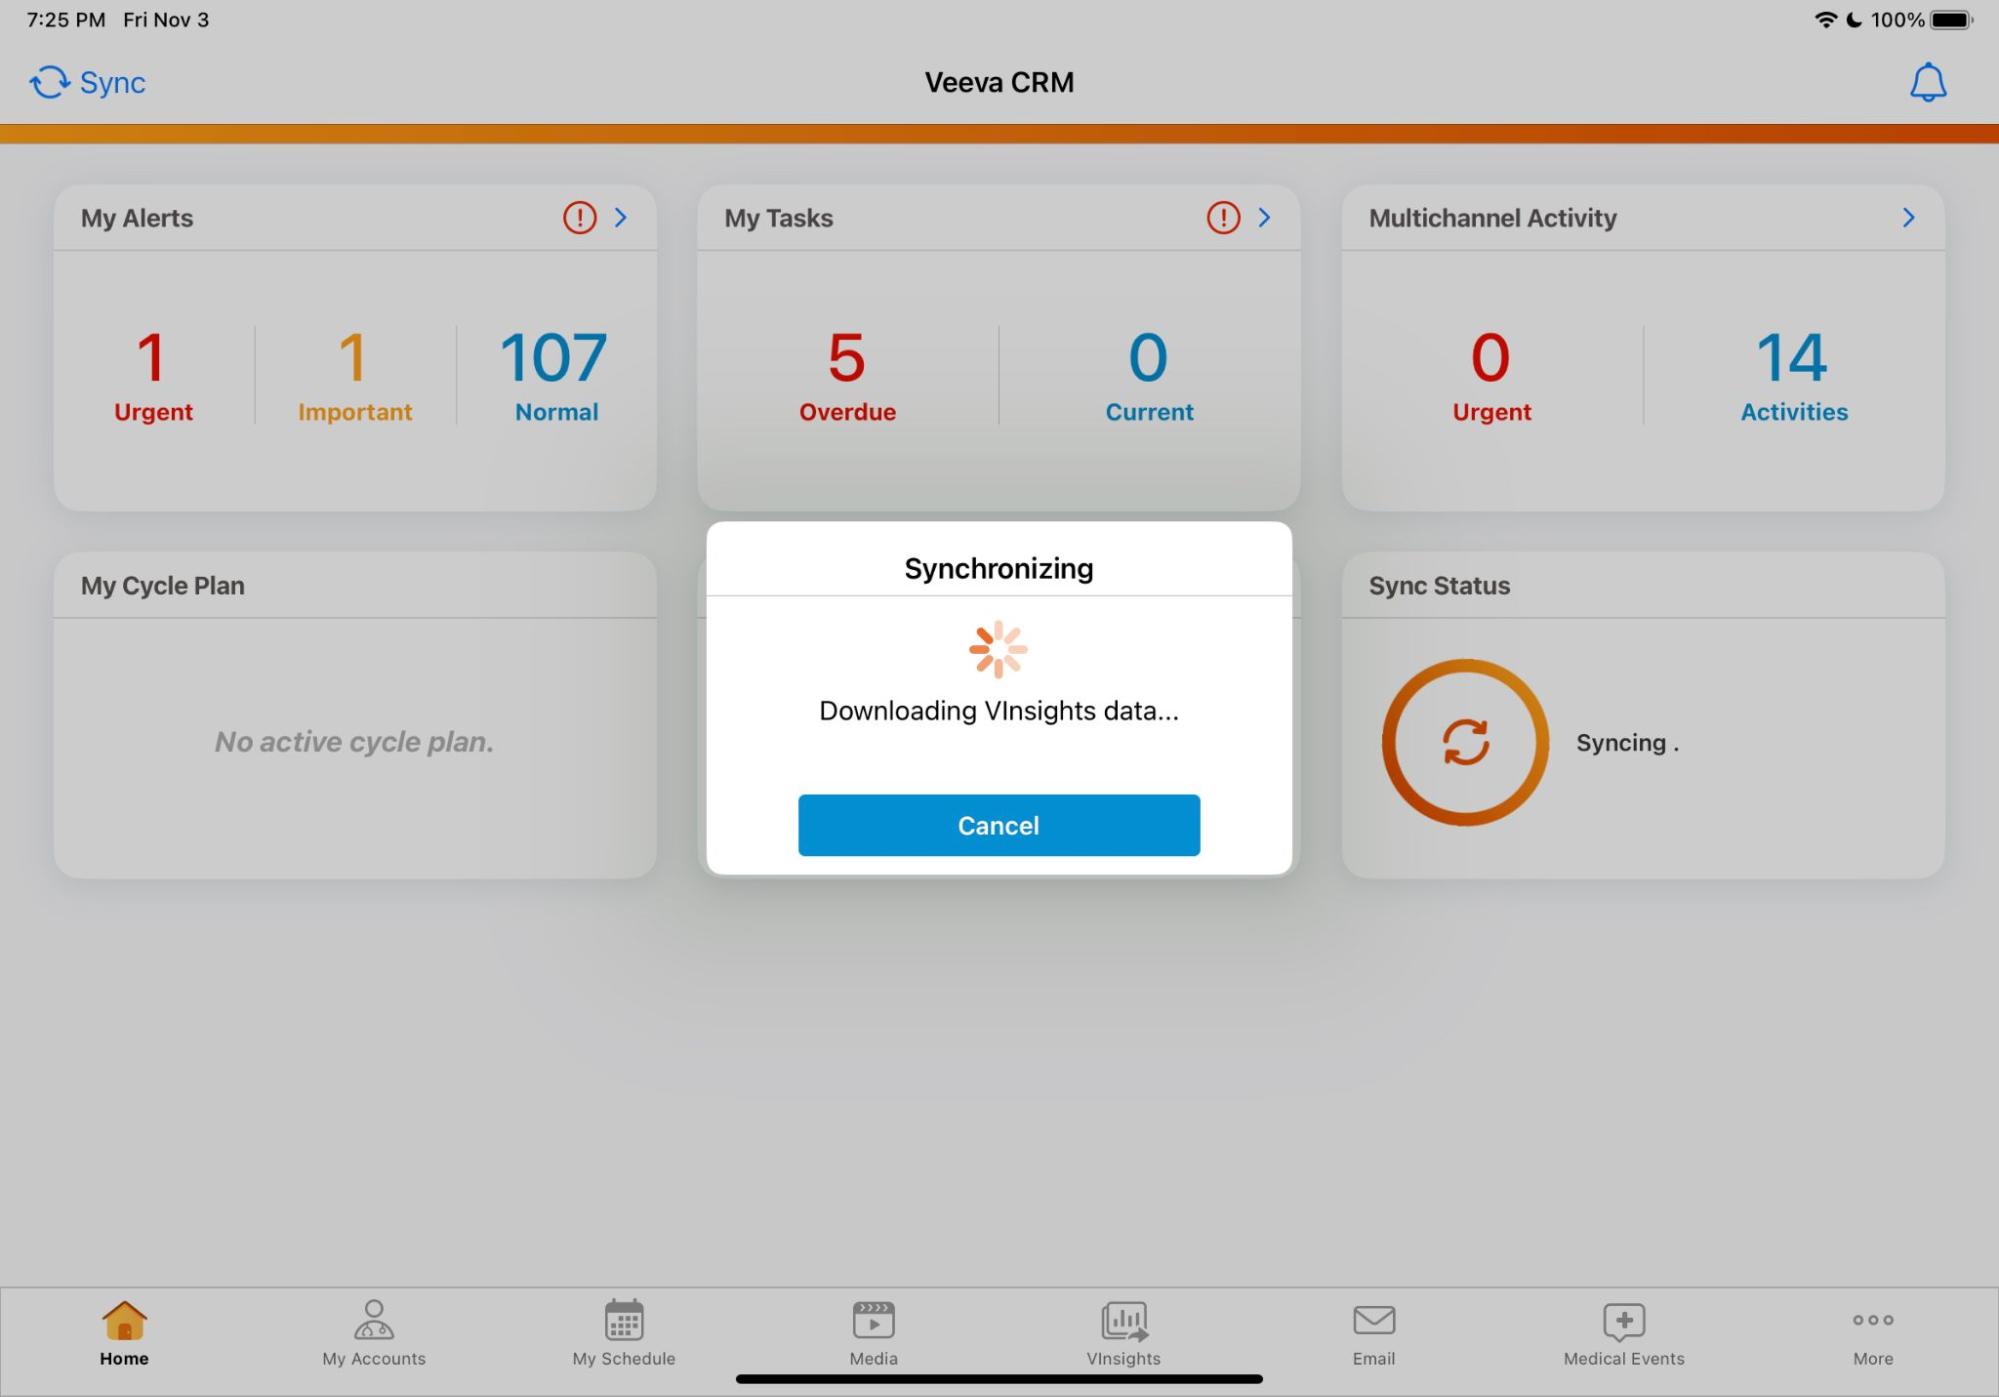
When Fixed Reports/VInsights or Nitro are configured, the Refresh External Data button displays in the Status widget on the homepage. Since data and metadata for Fixed Reports/VInsights and Nitro are not retrieved during the non-blocking sync, users can select the Refresh External Data button to retrieve the latest changes. This sync is a blocking sync and displays the progress modal to the end user.
Using the Status Widget
The Status widget on the home page provides information to users about non-blocking sync, including the following:
- Whether sync is actively underway
- Sync or authentication error notifications
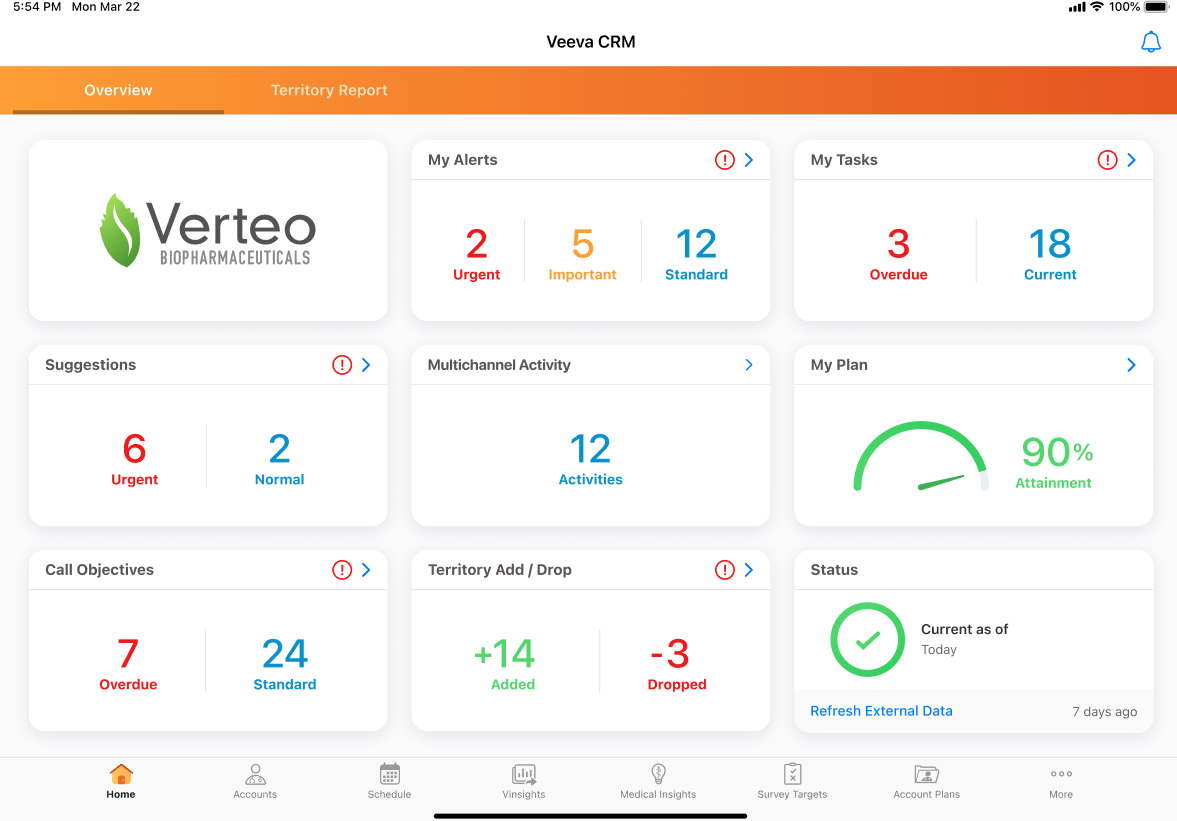
- The Current as of datetime displays the number of days since the most recent completed sync, based on the user's locale
The Refresh External Data button only displays on the widget when Fixed Reports or Nitro are configured.
|
Status |
Description |
Display |
|---|---|---|
|
Sync is up to date |
Green circle with check |
|
|
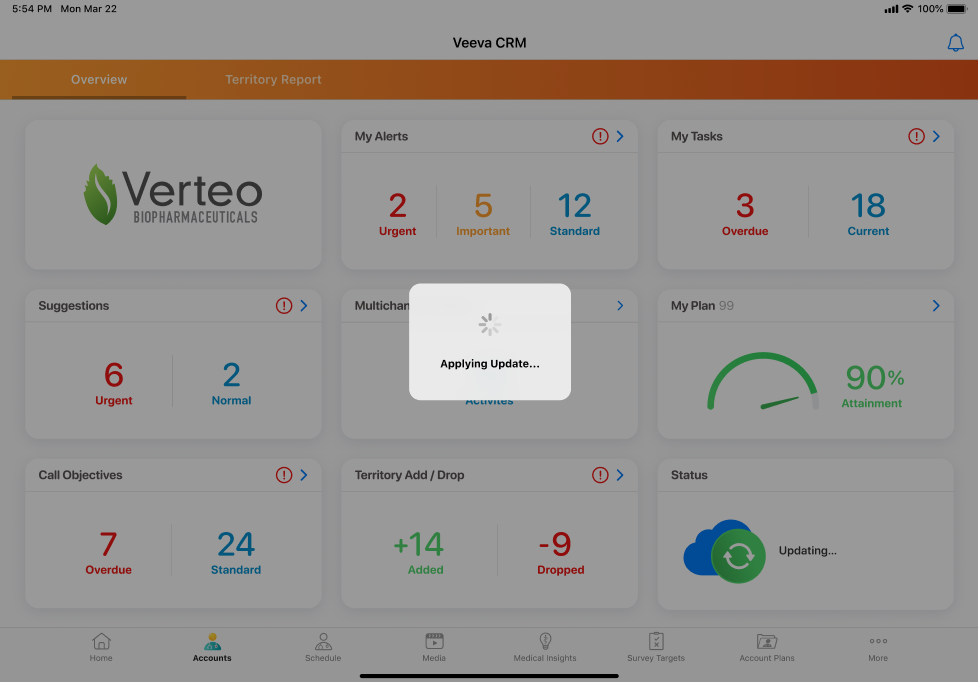
Non-blocking sync is in progress |
Orange circle with spinning arrows Displays progress of data and metadata download |
|
|
Updates available from non-blocking sync |
Blue cloud and green circle with arrow OR Orange cloud and orange circle with arrow OR Red cloud and red circle with arrow Displays message for available updates |
|
|
Sync errors |
Red circle with exclamation point Can select the exclamation point to view the list of sync errors and take action. See Handling Sync Errors for more information. |
|
|
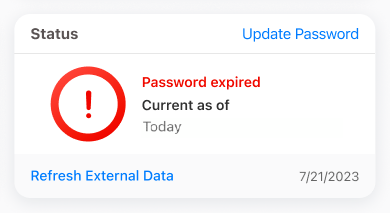
Authentication errors |
Red circle with exclamation point Can select the Change Password button in the top right to fix the error. The types of errors include:
|
|
|
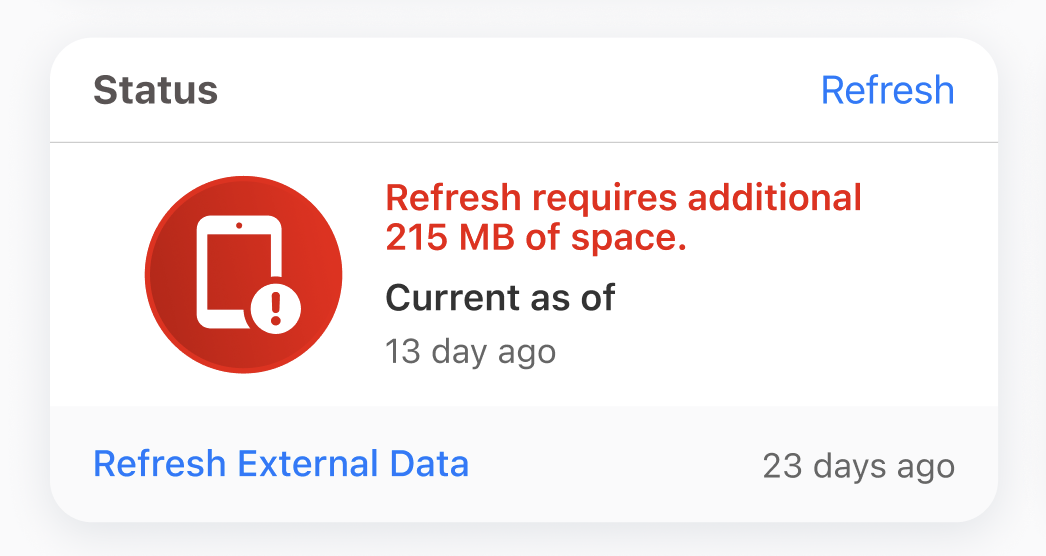
Insufficient disk space error |
Red circle with mobile device icon and exclamation point |
|
|
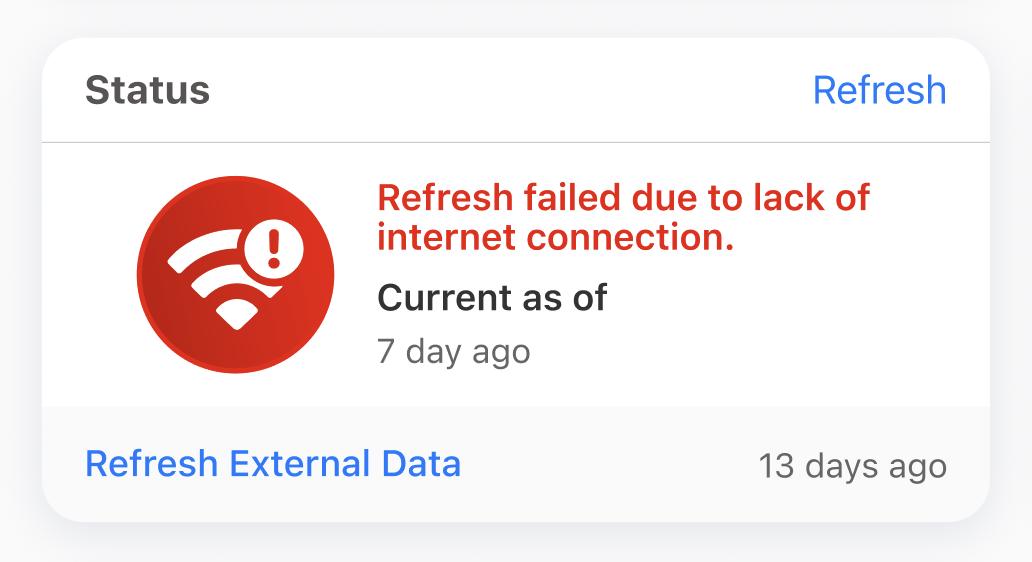
No internet connection error |
Red circle with Wi-Fi icon and exclamation point |
|
|
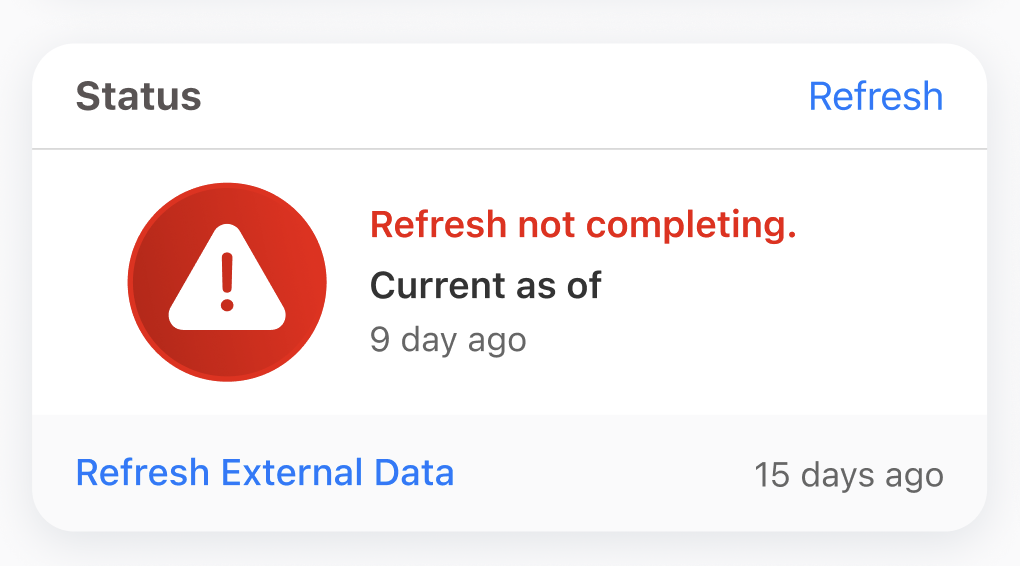
Incomplete refresh error |
Red circle with warning icon |
|


Configuring Non-Blocking Sync
To configure this feature:
- Ensure the zvod_sync_stats_vod field is on the VMobile_Home_Page_Layout_vod object page layout.
- Populate the Enable_Non_Blocking_Sync_vod Veeva Setting with a value of 1.
- Ensure end users have the following permissions:
Object OLS Record Types Fields FLS Sync_Tracking_vod
n/a
n/a
Refresh_Mode_vod
Edit
User
n/a
n/a
- Last_iPad_Updates_Applied_vod
- Last_iPhone_Updates_Applied_vod
Edit
Admins do not need to change any VMOCs or other settings.
Once non-blocking sync is enabled on the device, the Refresh Mode toggle in the Options tab is enabled.
Tracking Sync Records
A Sync_Tracking_vod record is created when non-blocking sync occurs. The record contains data about the type of sync and other metrics. See Tracking Sync Activity for more information about the data stamped on each record.
For non-blocking sync, Sync_Tracking_vod records are created:
- every time non-blocking sync occurs
- every time a database refresh occurs for Fixed Reports or Nitro
The Refresh_Mode_vod field on each record is True or False according to the Refresh Mode toggle in the Options tab. This allows admins to track if users are using non-blocking sync.
Tracking Last Applied Updates
Admins can view the Last_iPad_Updates_Applied_vod and Last_iPhone_Updates_Applied_vod fields on User records to track if user devices are up-to-date. These fields are updated when:
- The user selects Apply Updates in the navigation bar or Status widget after a non-blocking sync
- Updates are applied automatically after refreshing external data or performing a full database refresh
Initial Sync for New Users
The first time a user signs into Veeva CRM after installing the app and non-blocking sync is enabled, the user must allow the initial sync to complete, including downloading all CLM content, Fixed Reports/VInsights, and Nitro data. If users exit the app before the initial sync completes, they must perform an incremental sync the next time they sign into the app to enable non-blocking sync.
Troubleshooting Non-Blocking Sync
After upgrading to the 233.0.100 version of Veeva CRM and enabling non-blocking sync, users cannot downgrade the app to a previous version.
Some common errors users may encounter after admins initially enable non-blocking sync include:
- Users do not have enough disk space on their devices for non-blocking sync. An error displays and non-blocking sync is not enabled on the device.
- There are pending data uploads or sync errors
After users resolve all errors, non-blocking sync is enabled on the device with the next incremental sync.
Other errors users may encounter with non-blocking sync:
- The device loses internet connection for a non-blocking sync. For example,
- A non-blocking sync is scheduled for 8:00 AM, but the device is not connected to the internet, so non-blocking sync cannot start
- Device tries to sync every 30 seconds, as long as necessary until the device is reconnected to the internet
- Device regains internet at 2:00 PM. Within 30 secs, the retry is successful and non-blocking sync starts.
- The device loses internet connection during a non-blocking sync. For example,
- A non-blocking sync is scheduled for 8:30 AM. The user launches the app and is connected to the internet at 8:30 AM. The sync starts.
- Device loses internet at 8:33 AM, so the sync pauses
- Device retries to resume syncing every 10 sec as long as necessary until the device is reconnected to the internet
- Device regains internet at 10:00 AM. Non-blocking sync resumes where it left off.
- Non-blocking syncs do not run for users who do not have enough disk space on their devices
- Non-blocking syncs do not run for orgs that meet or exceed 90% of their API limit
In some cases, resolving data inconsistencies may require users to fully refresh all CRM data on the device. Performing a database refresh uploads any unsynced data before clearing the mobile database and re-downloading all the data from online. See Performing a Database Refresh for more information.
Admins can configure various sync settings to ensure users sync regularly and efficiently. See Managing Sync Settings for more information.
Disabling Non-Blocking Sync on the Device
If for some reason non-blocking sync is not working as expected, users can disable it on their own devices by toggling Refresh Mode in the Options tab in Veeva CRM. This sets the device to require a manual incremental sync. The user can re-enable non-blocking sync on the device by toggling Refresh Mode again. Every time a user toggles Refresh Mode, they are prompted to sign out of the app. This does not affect the Enable_Non_Blocking_Sync_vod Veeva Setting in Salesforce.
