Consent Capture on iPhone
- iPhone
Users can access Consent Capture features through a dedicated experience on the iPhone platform, enabling users to use their iPhone to capture required HCP consent to receive communication through various channels and for storing personal information. See Consent Capture Overview for more information.
On the iPhone, the consent capture process is divided among sequential pages. Users can select Continue at the bottom of the screen to proceed to the next step. The flow of capturing consent is unchanged compared to the iPad platform.
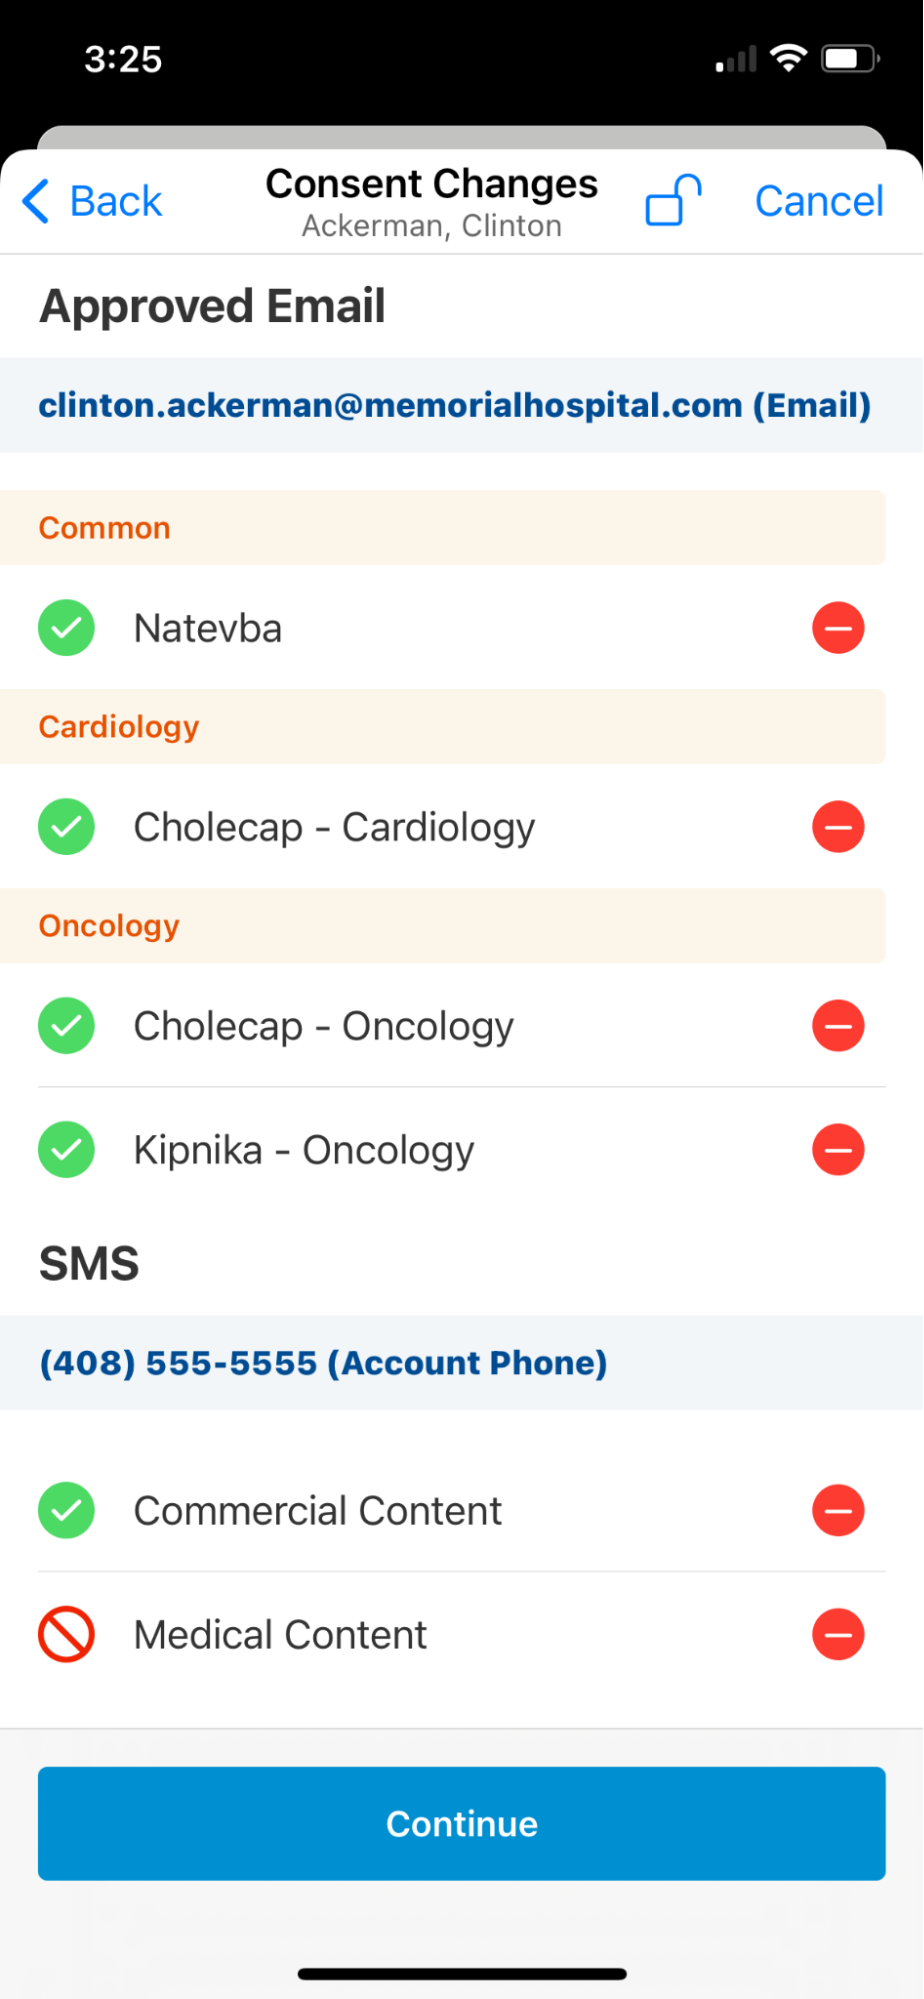
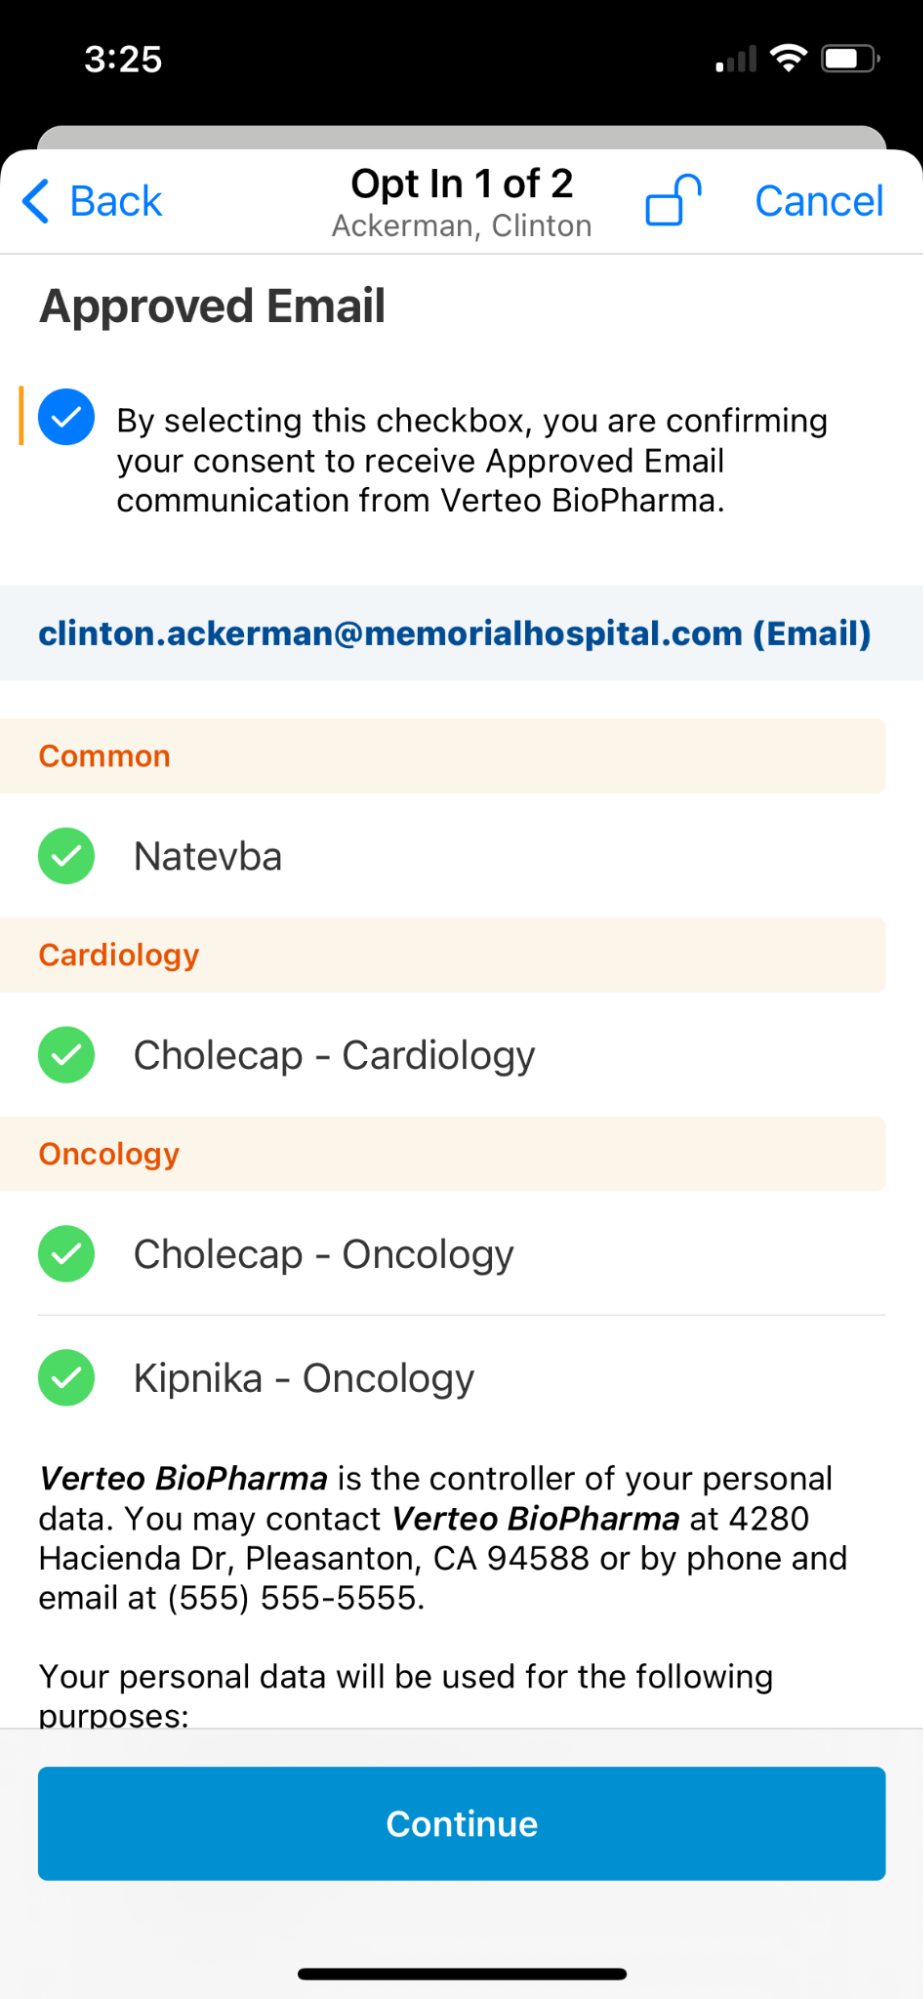
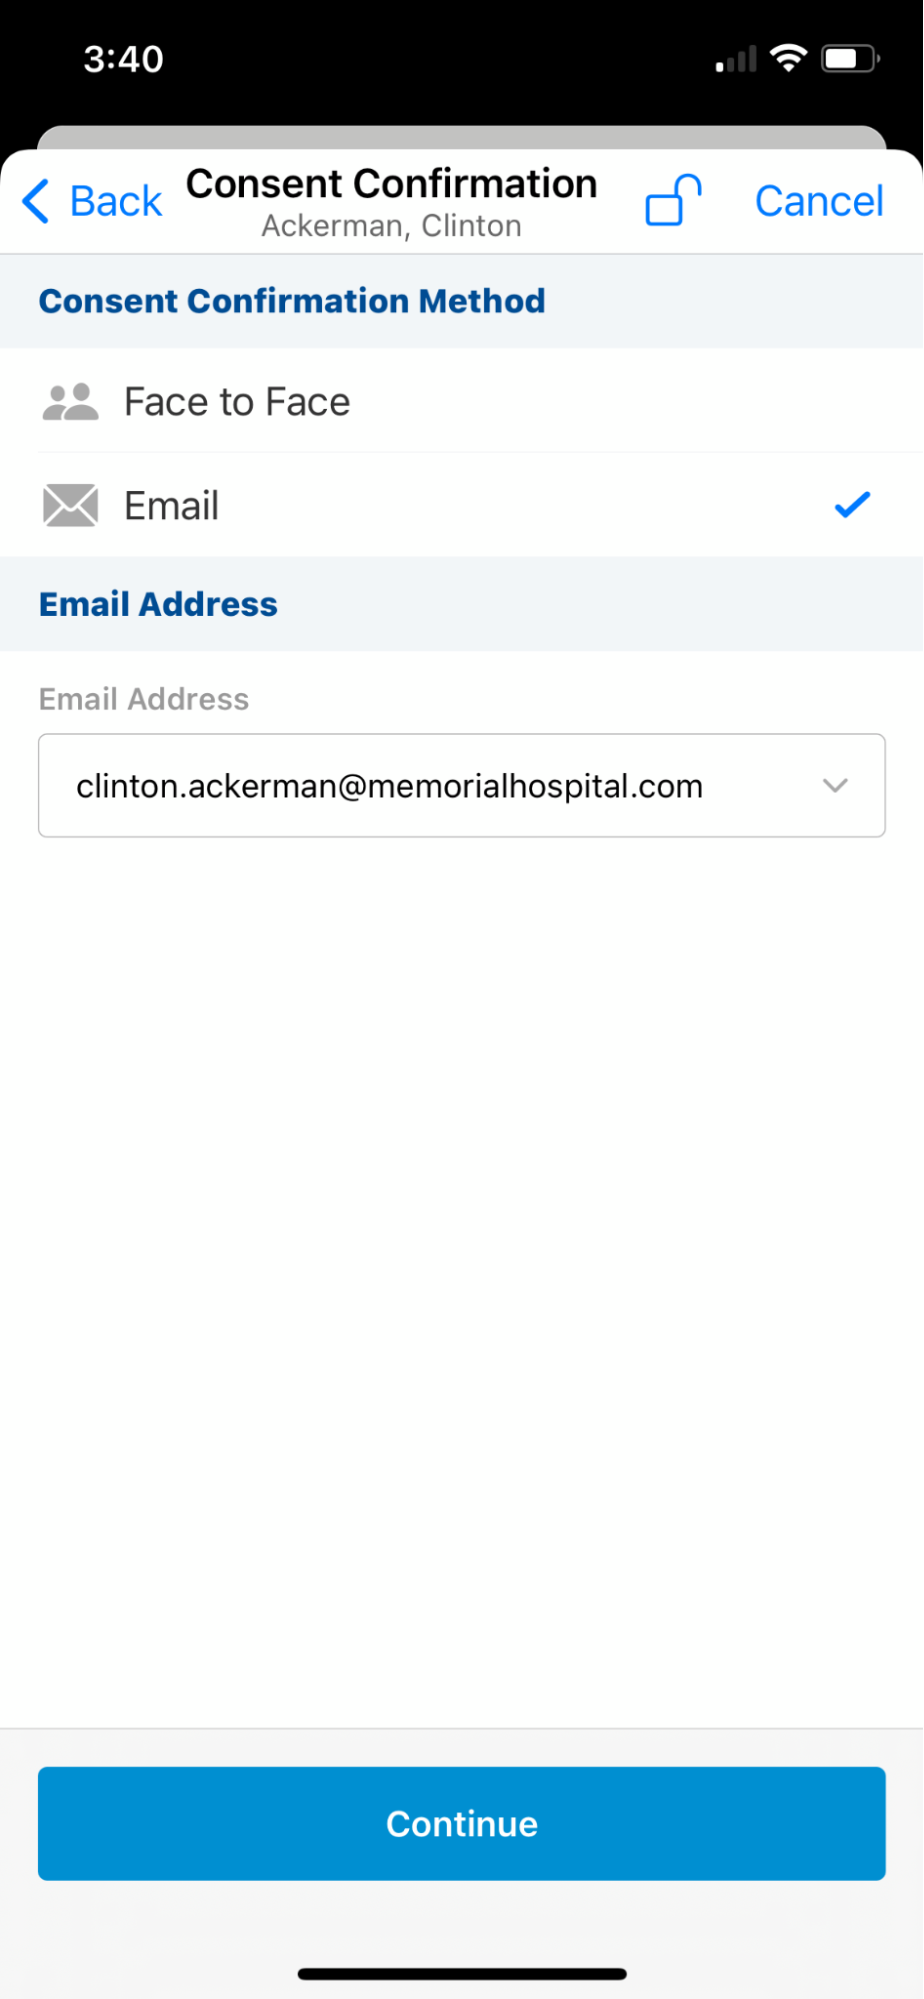
For information on the features supported on iPhone, see Consent Capture Platforms.
Configuration
To configure Consent Capture on iPhone:
- Ensure Consent Capture is enabled.
-
Create or activate iPhone VMOCs for the following objects:
- Consent_Header_vod
- Consent_Type_vod
- Consent_Line_vod
- Content_Type_vod
- Country_vod
- Email_Activity_vod
- Multichannel_Consent_vod
Adding or Editing Consent Channel Values
Users can edit consent channel values, enabling them to add or update an email address or phone number while capturing consent.
For example, a end user meets an HCP for the first time. After their meeting, the end user asks if the HCP would like documentation about a product. The HCP agrees. The end user asks for the HCP’s email address, adds the email address to the account using his iPhone, then asks the HCP to sign on the iPhone to opt in to email communications.
Users can add a new channel value when capturing consent. When at least one channel value is empty, the Plus icon displays to the right of the Consent Type label for that channel.
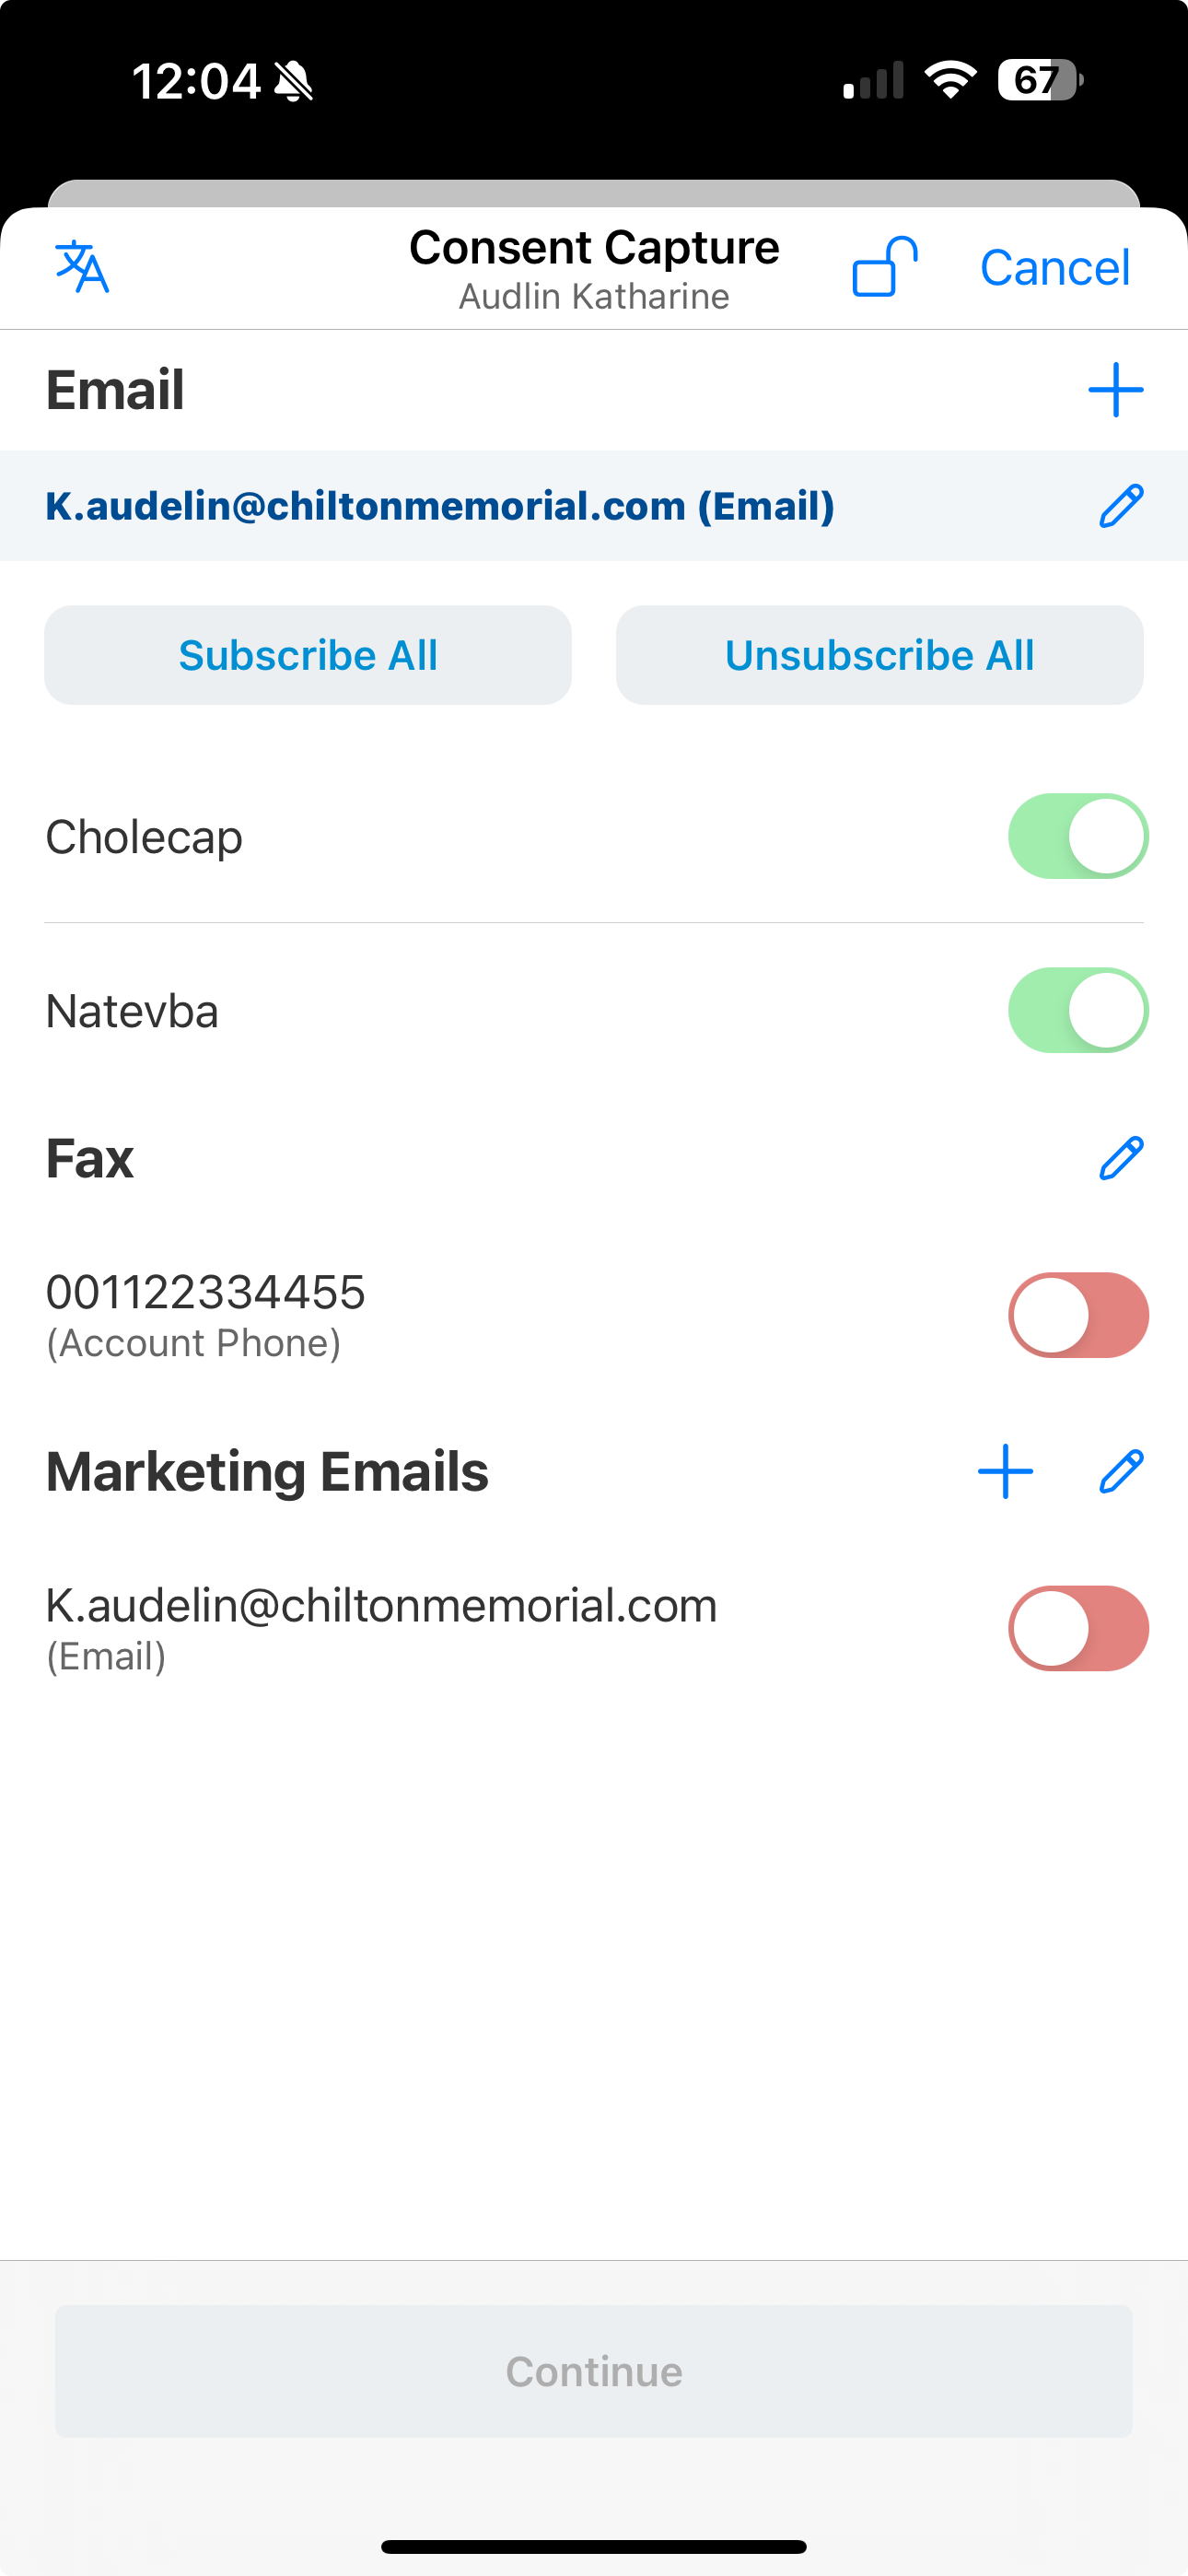
To edit a consent channel value:
- Select the Edit icon to the right of the Consent Type label or next to each channel value if consent lines are enabled. If multiple consent channel values are populated, select a value to edit from the Select to Edit screen.
- Enter the updated channel value.
- Select Save.
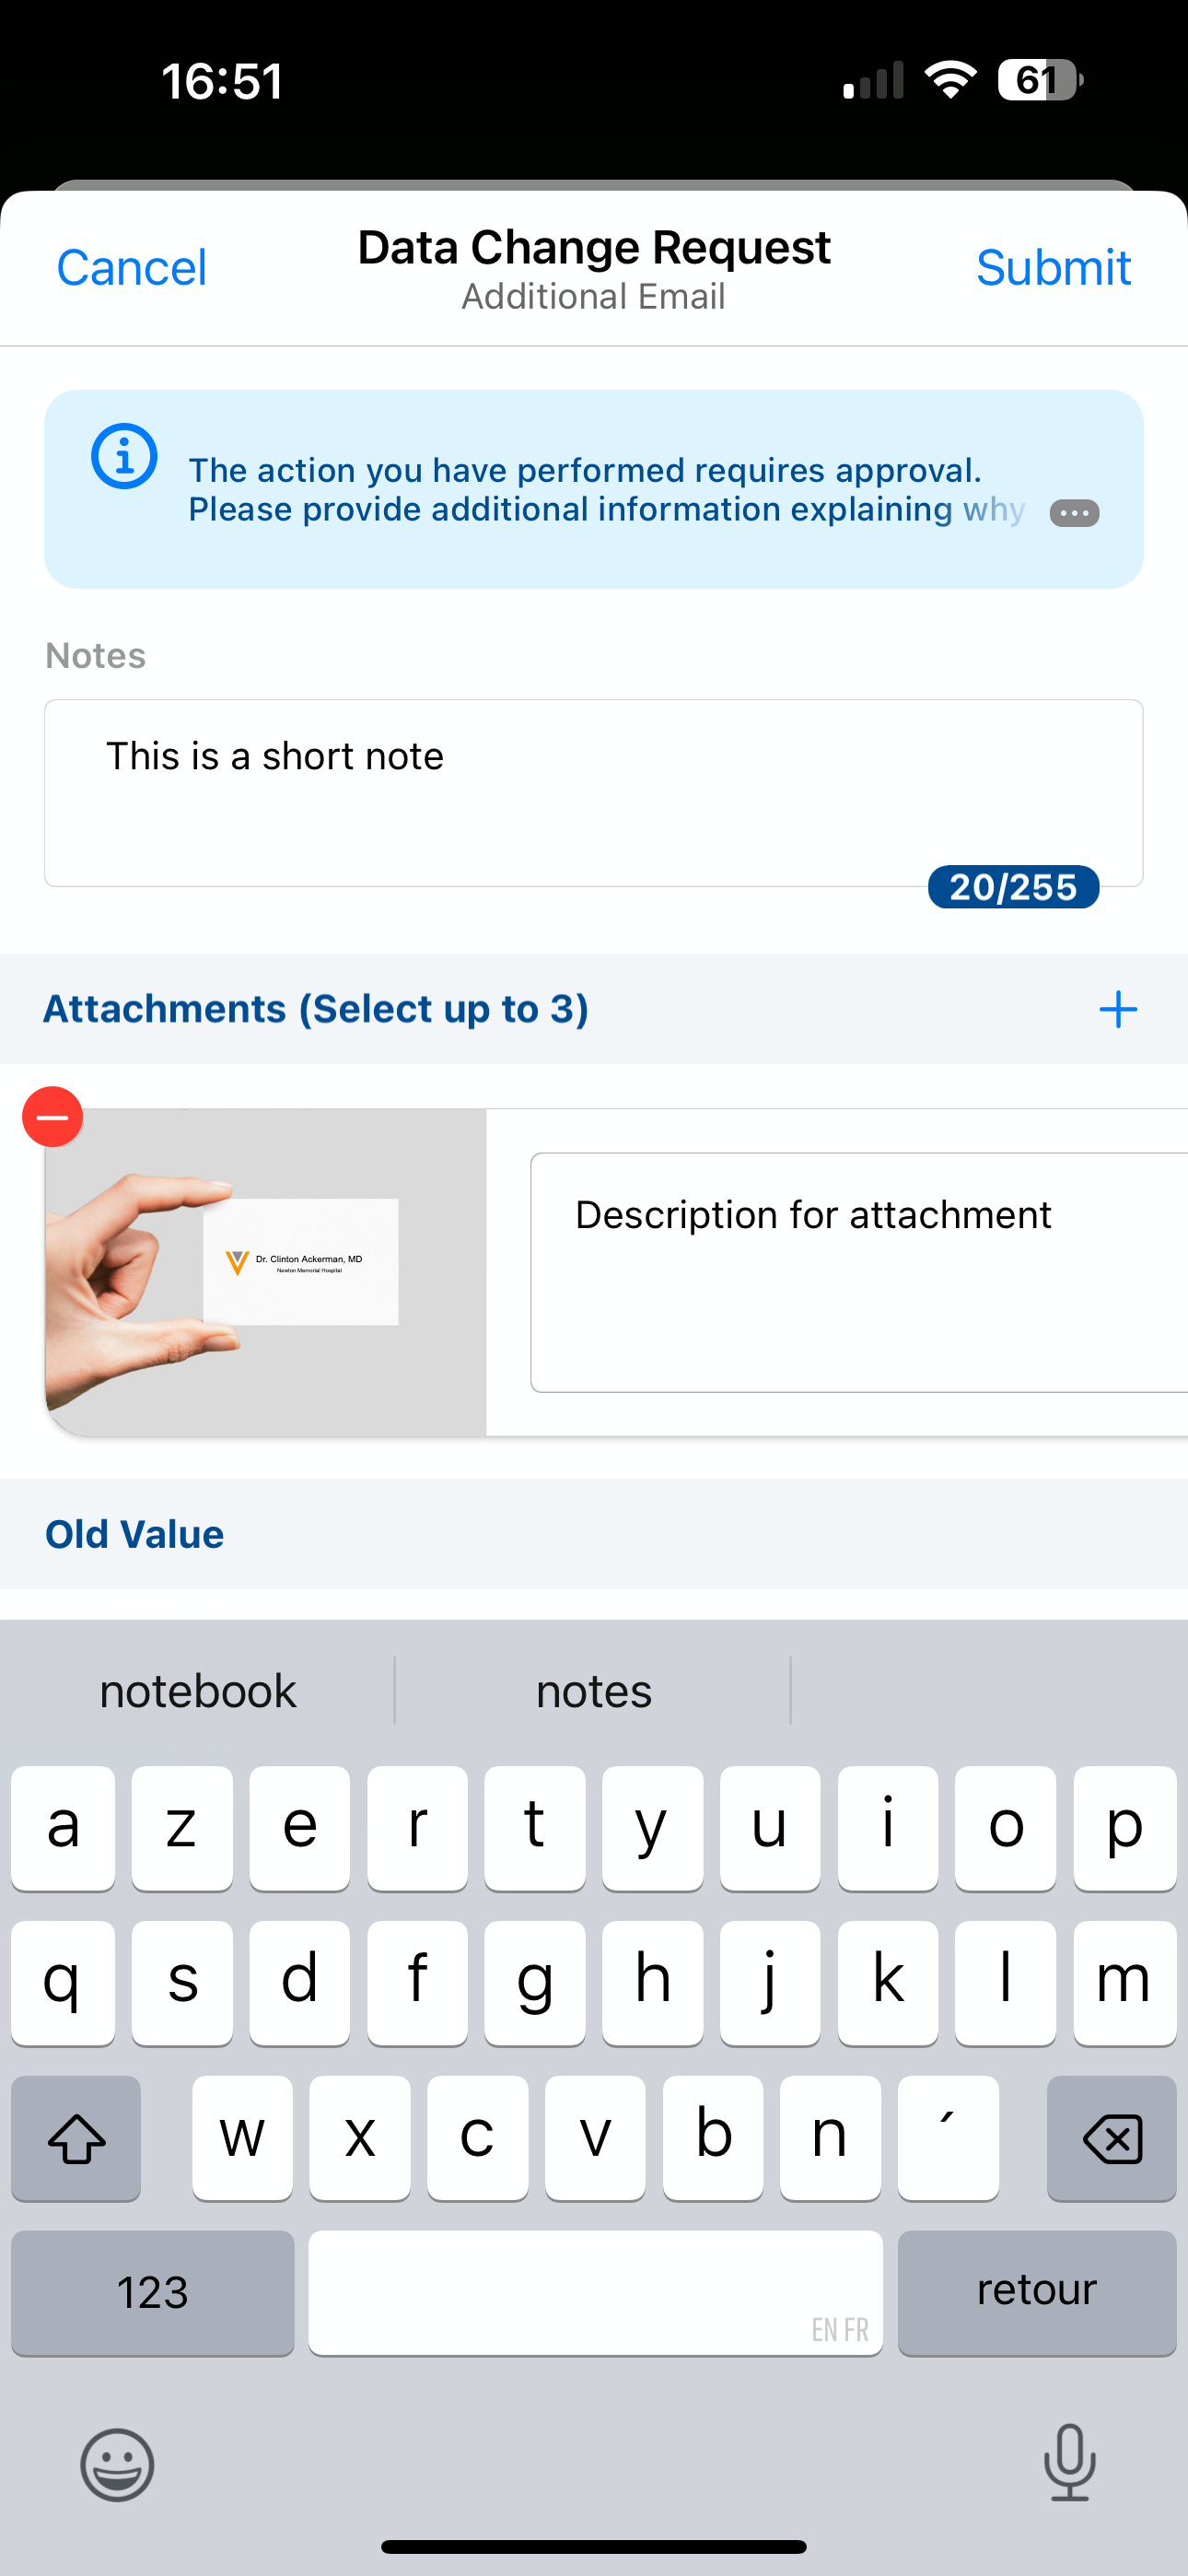
- Enter any notes or DCR attachments in the Data Change Request screen. This is only available when DCR is enabled for the field.
To add a new channel value:
- Select the Plus icon next to the Consent Type label.
- Select a consent channel field to update, if multiple values are empty. If only one value is empty the selection screen does not display. A key icon displays next to fields that are DCR-enabled.
- Enter a value in the field.
- Select Save.
- Enter any notes or DCR attachments in the Data Change Request screen. This is only available when DCR is enabled for the field.
- Select Submit.


