

Managing Approved Email Recipients
- iPad
- iPhone
- Browser
Depending on the entry point, the recipients of a composed Approved Email may be automatically populated. End users can add, edit, and delete these recipients from an Approved Email to ensure that the email is sent to the appropriate accounts. End users can also edit the email address of Approved Email recipients, ensuring that the correct email address is used. Consent validation occurs on each added recipient.
For example, Sarah Jones is composing an Approved Email for Dr. Ackerman. After she has composed the email, she realizes that Dr. Ackerman's colleague, Dr. Bob Adams, may also be interested in the contents of the email. Sarah adds Dr. Adams as a recipient and sends the email to both of them. Dr. Adams and Dr. Ackerman receive the email separately and read Sarah's email.
Adding Recipients to an Approved Email
To add recipients:
- Select the Recipients (
 ) button.
 - Select the Plus button.
- Search for an account by first name or last name.
- Select Add.
If the ADD_RECIPIENTS_vod Approved Email setting is set to 1, end users can add recipients to an Approved Email. These additional recipients must be from the user’s territory. For information on the number of recipients users can add, see Approved Email Limits.
If an account has more than one email address, the email address defaults to the value in the PersonEmail_vod field on the Account_vod object. If the field is not populated, the user does not have access to it, or the field is excluded, Approved Email uses the first email address returned by the platform's database, which could differ by device.
Selecting Recipients from the My Accounts Page
Alternatively, if the end user knows the recipients of an Approved Email before composing the email, end users can add all recipients to an Approved Email from their My Accounts page:
- Select the Select button at the top of the list of accounts.
- Search for and select all appropriate accounts.
-
Select Send Email.
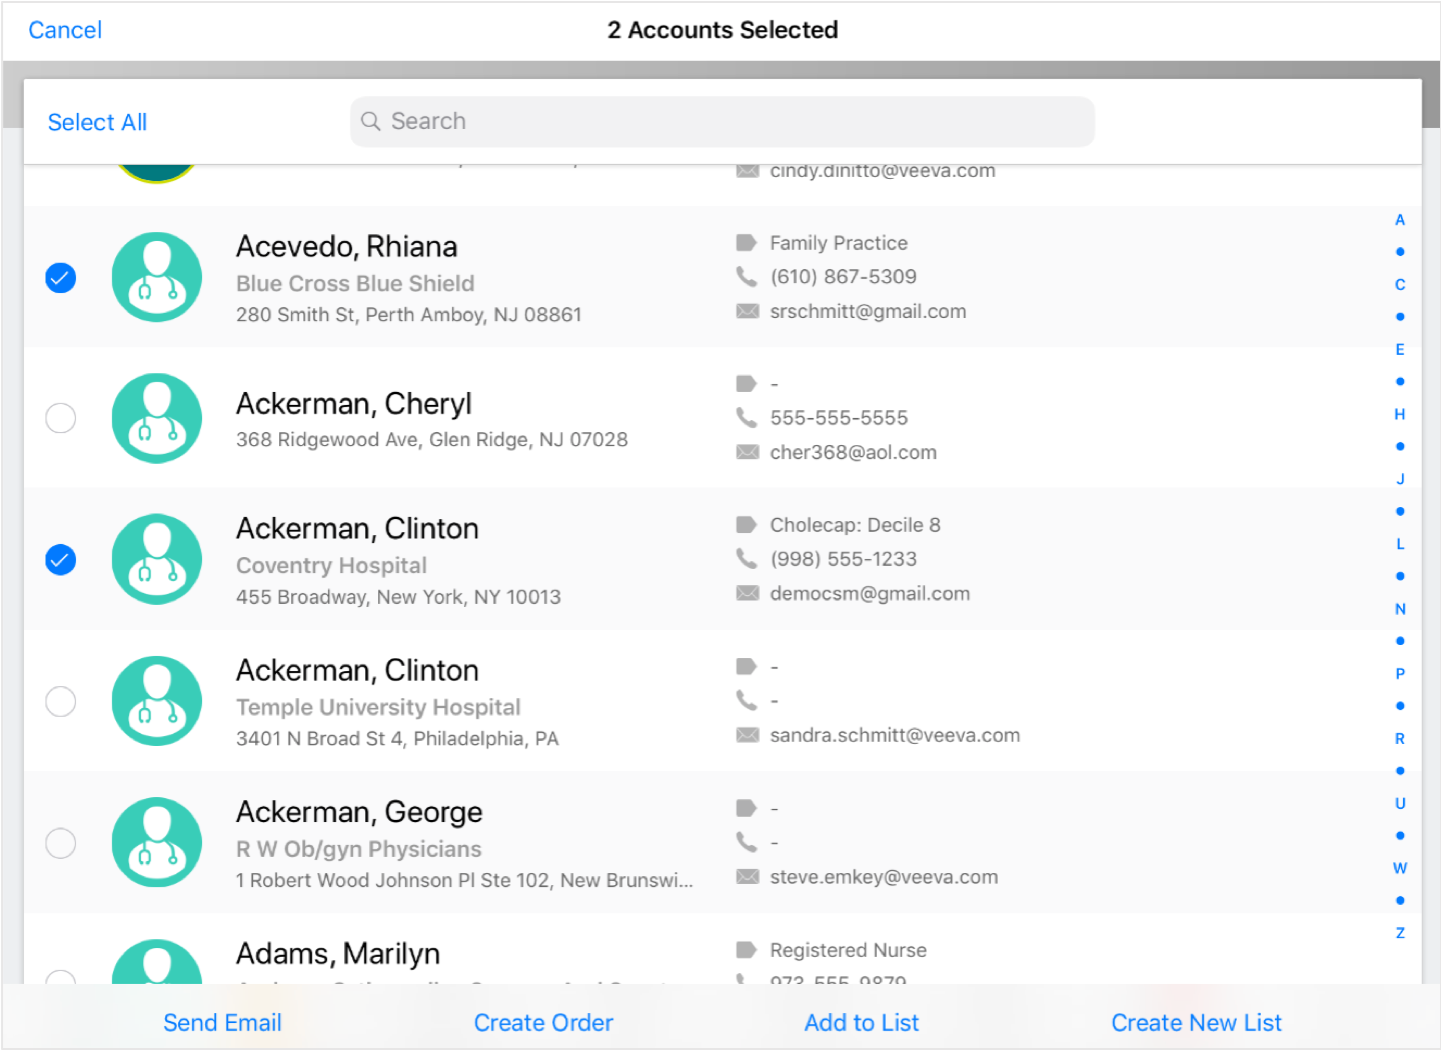
The Send Email modal displays with all selected accounts added as recipients.
The Disabled Approved Email Entry Points setting can be used to hide the Send Email option from certain entry points, such as from the My Accounts page.
To send a message to a single recipient, users can select the account from the My Accounts page to view the account details, and then use the Send Email action in the More Actions list. For more information, see Approved Email in My Accounts.
Editing a Recipient's Email Address
End users can also edit an existing recipient's email address, ensuring the Approved Email is sent to the correct email address for that account.
This functionality is not available on iPhone.
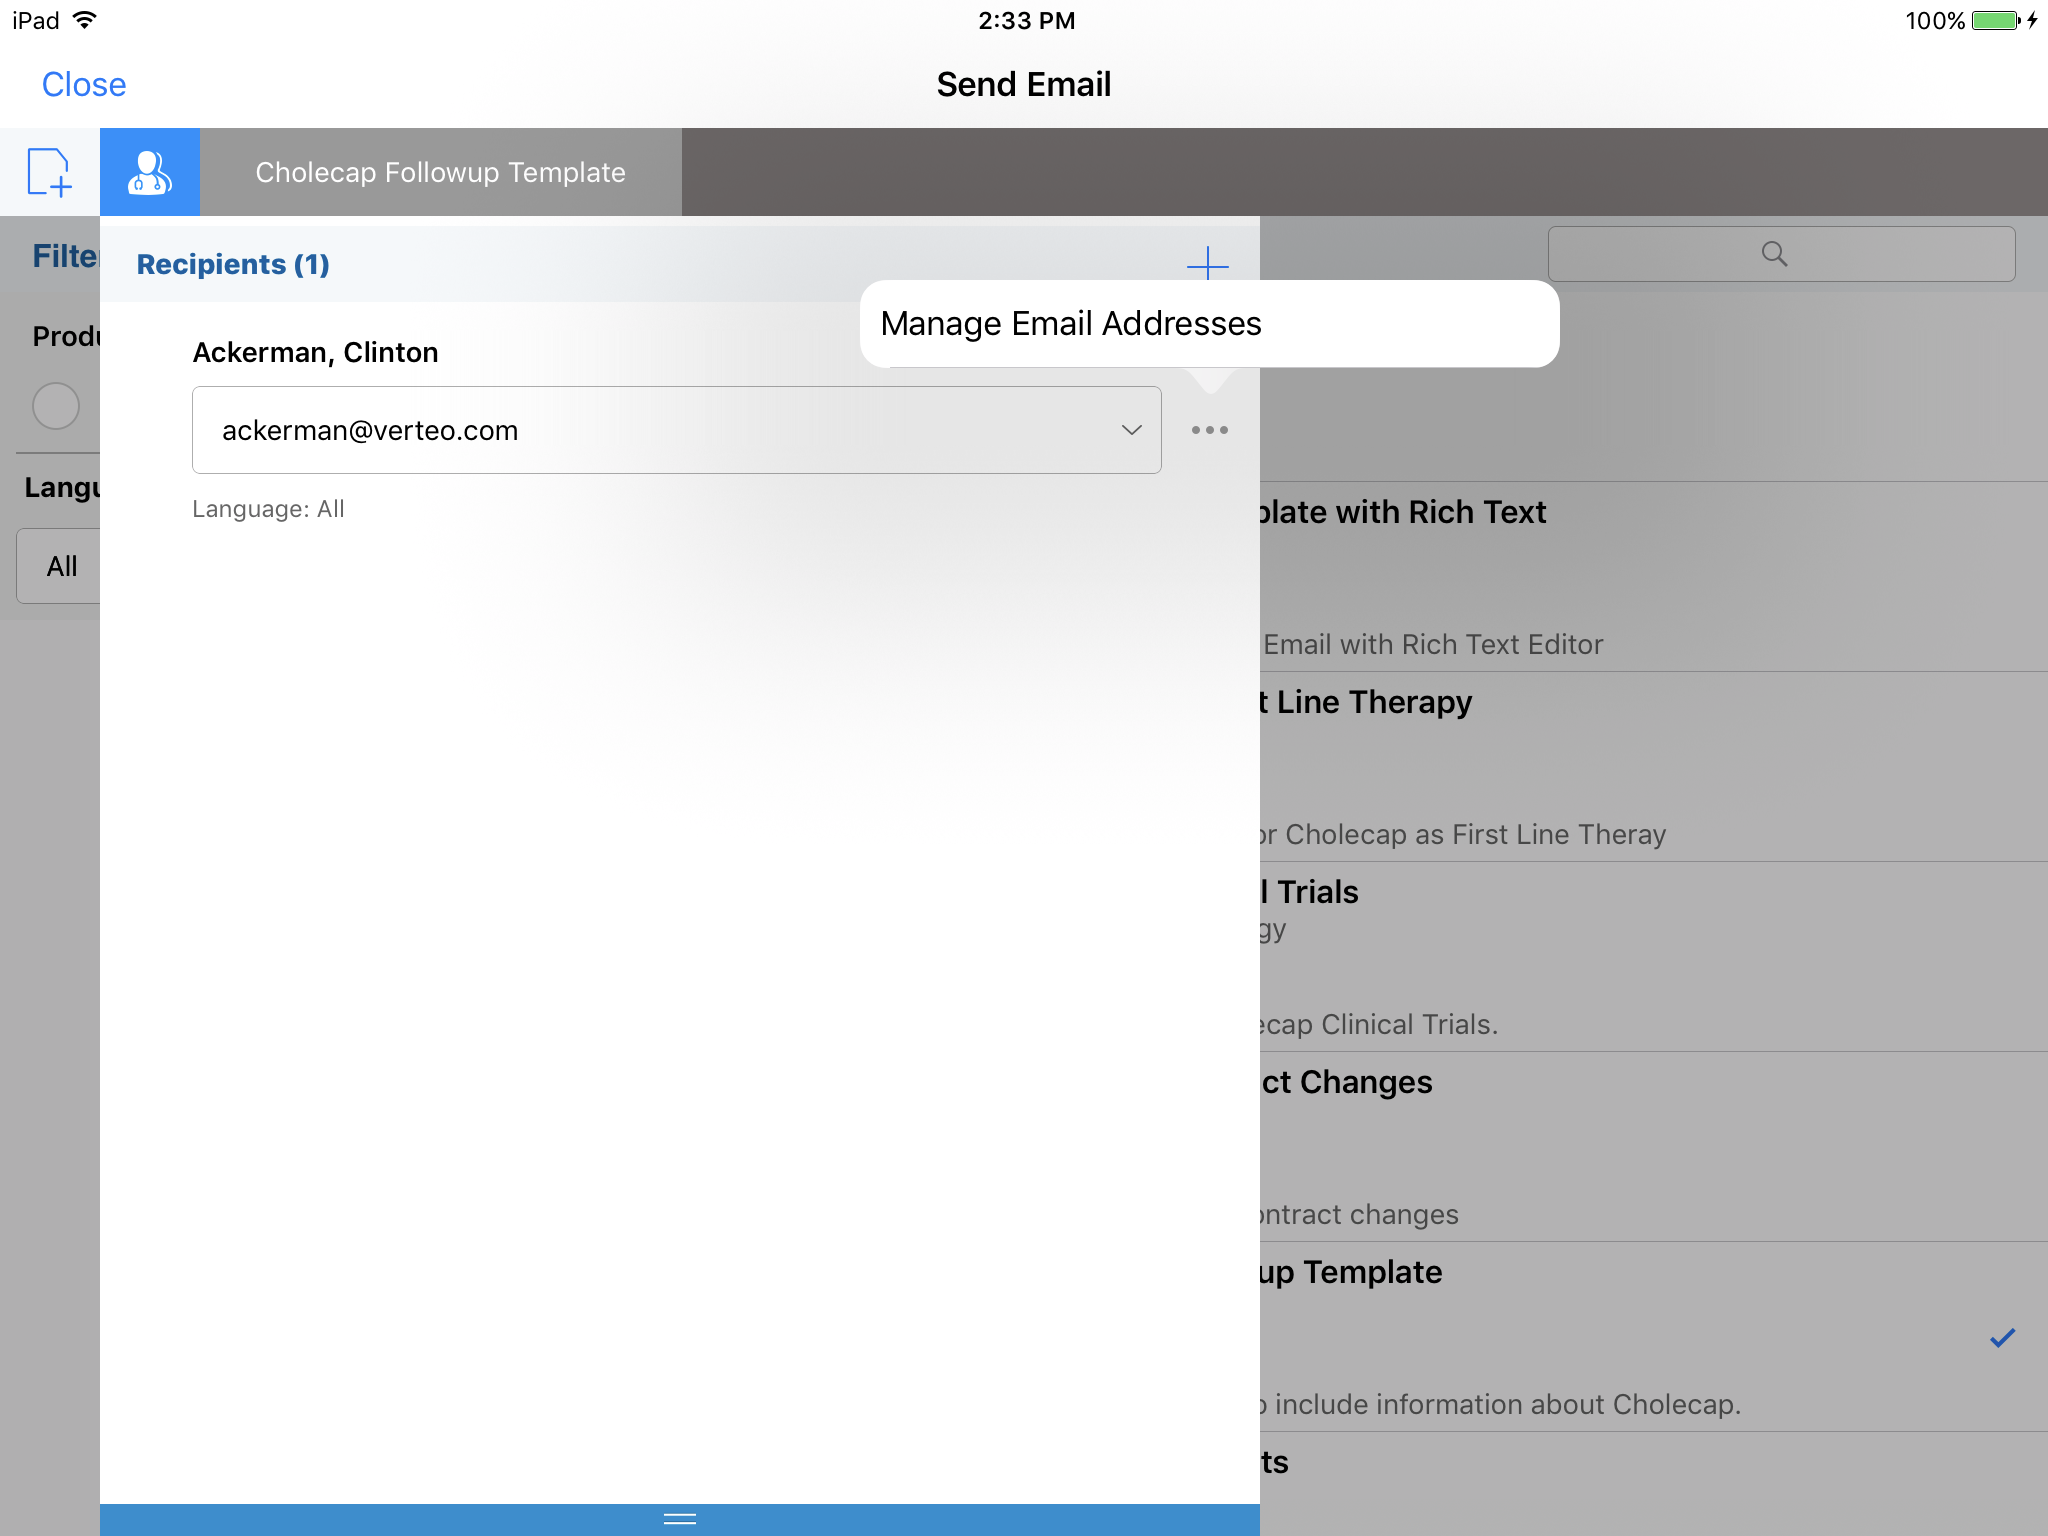
To edit a recipient's email address:
- Select the Recipients () button.
- Select the More Actions button next to the appropriate recipient.
-
Select Manage Email Addresses.
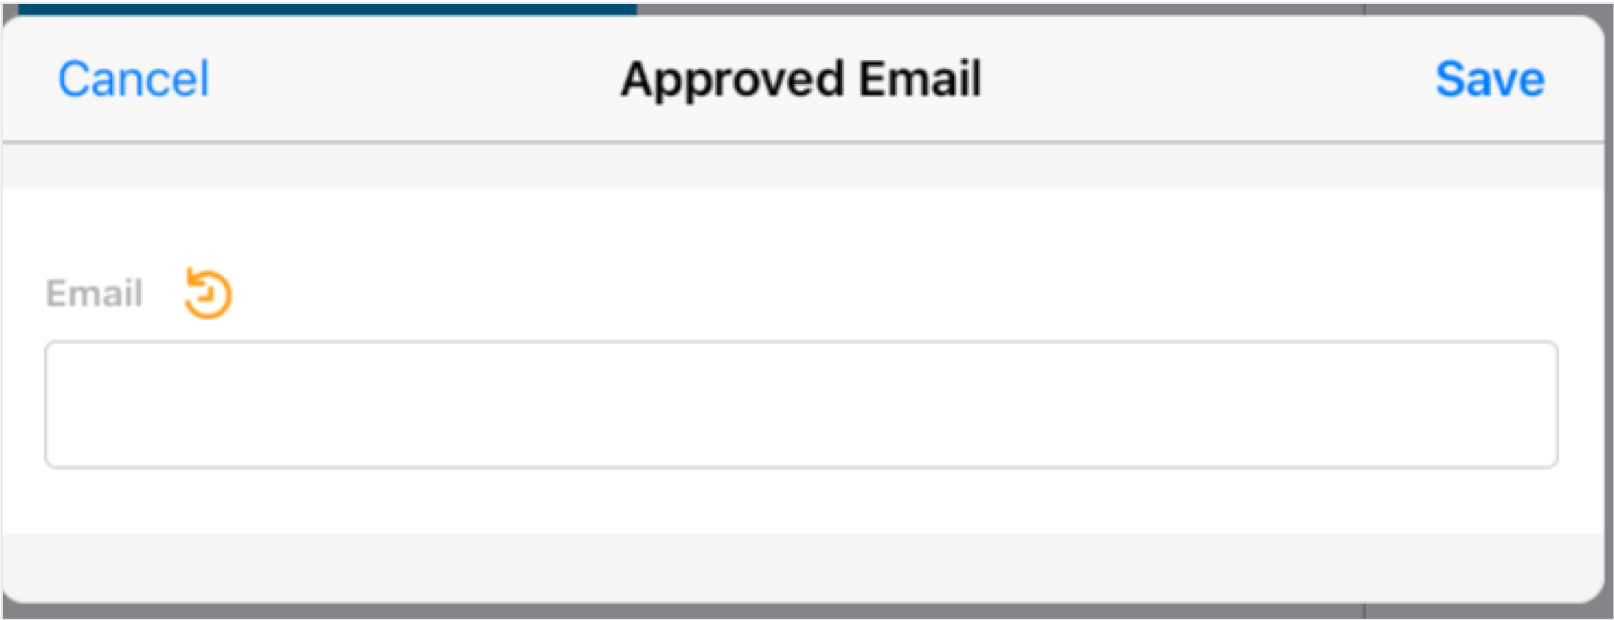
The Manage Email Address modal respects FLS and page layout settings for the Account and Address_vod objects. If a field is marked as read only on the page layout, the field always displays as read only on the Manage Email Address modal.
-
Enter the appropriate new email address.
Decoupled Data Change Requests are supported when editing a recipient's email address, as well as Data Change Requests on the Email Address fields if using Veeva Network.
