Displaying Account Maps
- iPad
- iPhone
To increase efficiency in scheduling visits, planning routes, and traveling to an account’s address, users can view account locations plotted on a map when an internet connection is available. This feature has several benefits for users:
- Users can consult the map to view the proximity between account locations or between account locations and the user's location
- If a user has a cancellation, the map makes it easy to see nearby HCPs
For example, Sarah Jones has five calls in the same area and wants to map them to make the best use of her time. She views the addresses on the account map, then uses the Send to Maps button to add the address to her Apple Maps app so she can create the best route.
To send an address to Apple Maps, iPhone users select the More Actions button for the appropriate account, then select Navigate. Map view and plotting are not available on iPhone.
Configuring Account Maps
Ensure initial configuration is complete to use this functionality.
Do not add the Latitude_vod and Longitude_vod fields on the Address object to page layouts, or edit the fields manually.
Disabling Map View Entry Points
Populate the Disable_Map_Entry_Points_vod Veeva Setting with one of the following to remove the Map button from specific entry points. Use a double semicolon between values. This step is optional.
- MyAccounts_vod – prevents accessing maps from My Account
- Account_vod – prevents accessing maps from the Account Detail screen
- MySchedule_vod – prevents accessing maps from My Schedule
- All_vod – prevents accessing maps from any entry point, disabling the Apple Maps feature
- Enable_Maps_vod - enables accessing maps from all entry points
If the Disable_Map_Entry_Points_vod Veeva Setting is left blank after it was previously populated, when users update other Veeva Settings, the Disable_Map_Entry_Points_vod Veeva Setting may revert to its default value of All_vod and disable all map entry points.
Using Account Maps
Users can view maps of account addresses from the following entry points:
- My Accounts - When launched from My Accounts, the account locations plotted on the map are based on the accounts displayed in the My Account page. If a defined view, account list, account type filter, and/or a search criteria is applied in the Search box, the account locations plotted on the map respect these filters. All locations for accounts included in the view or list are plotted with light red pins.
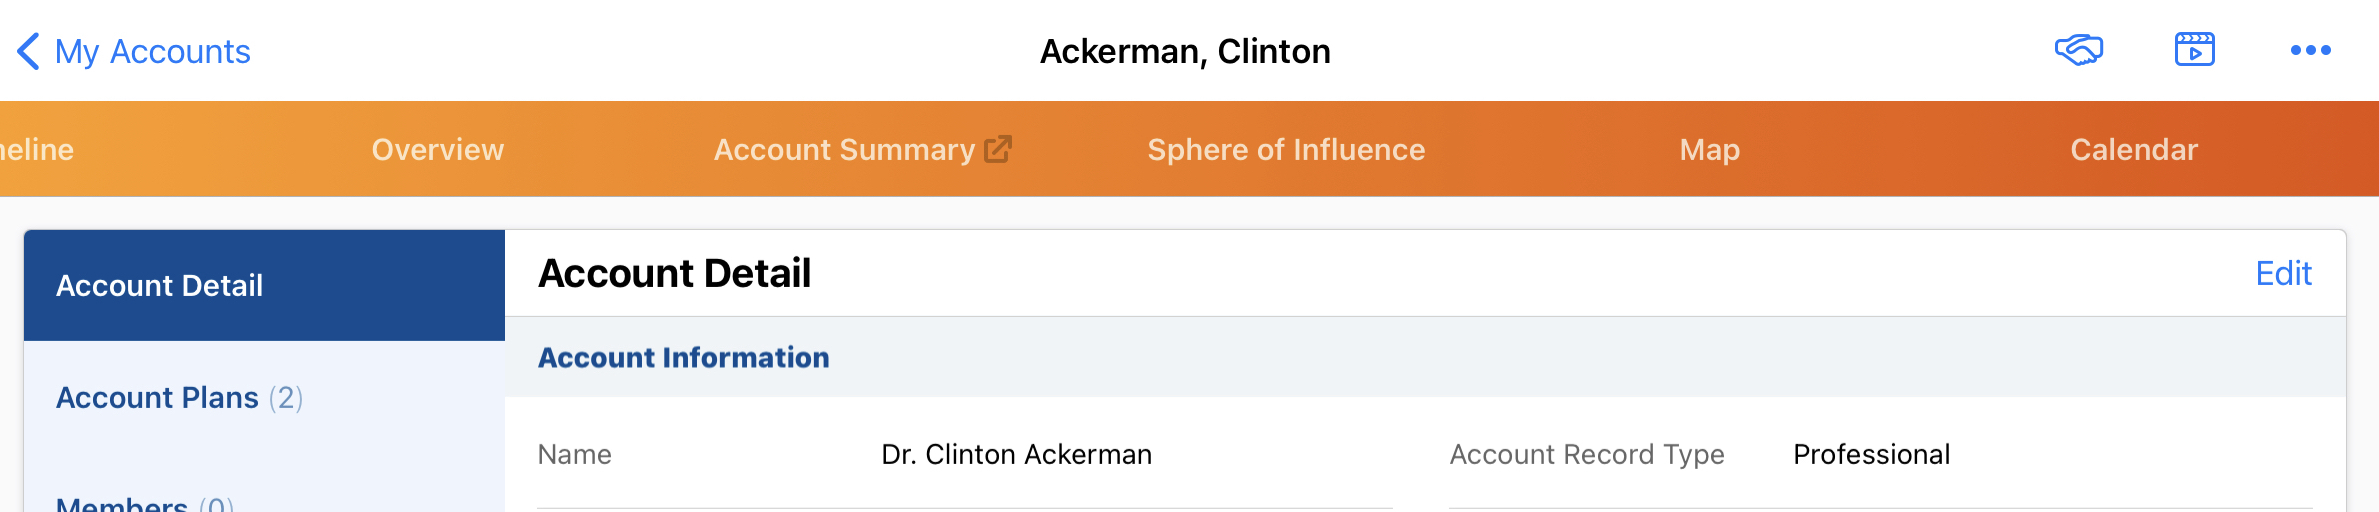
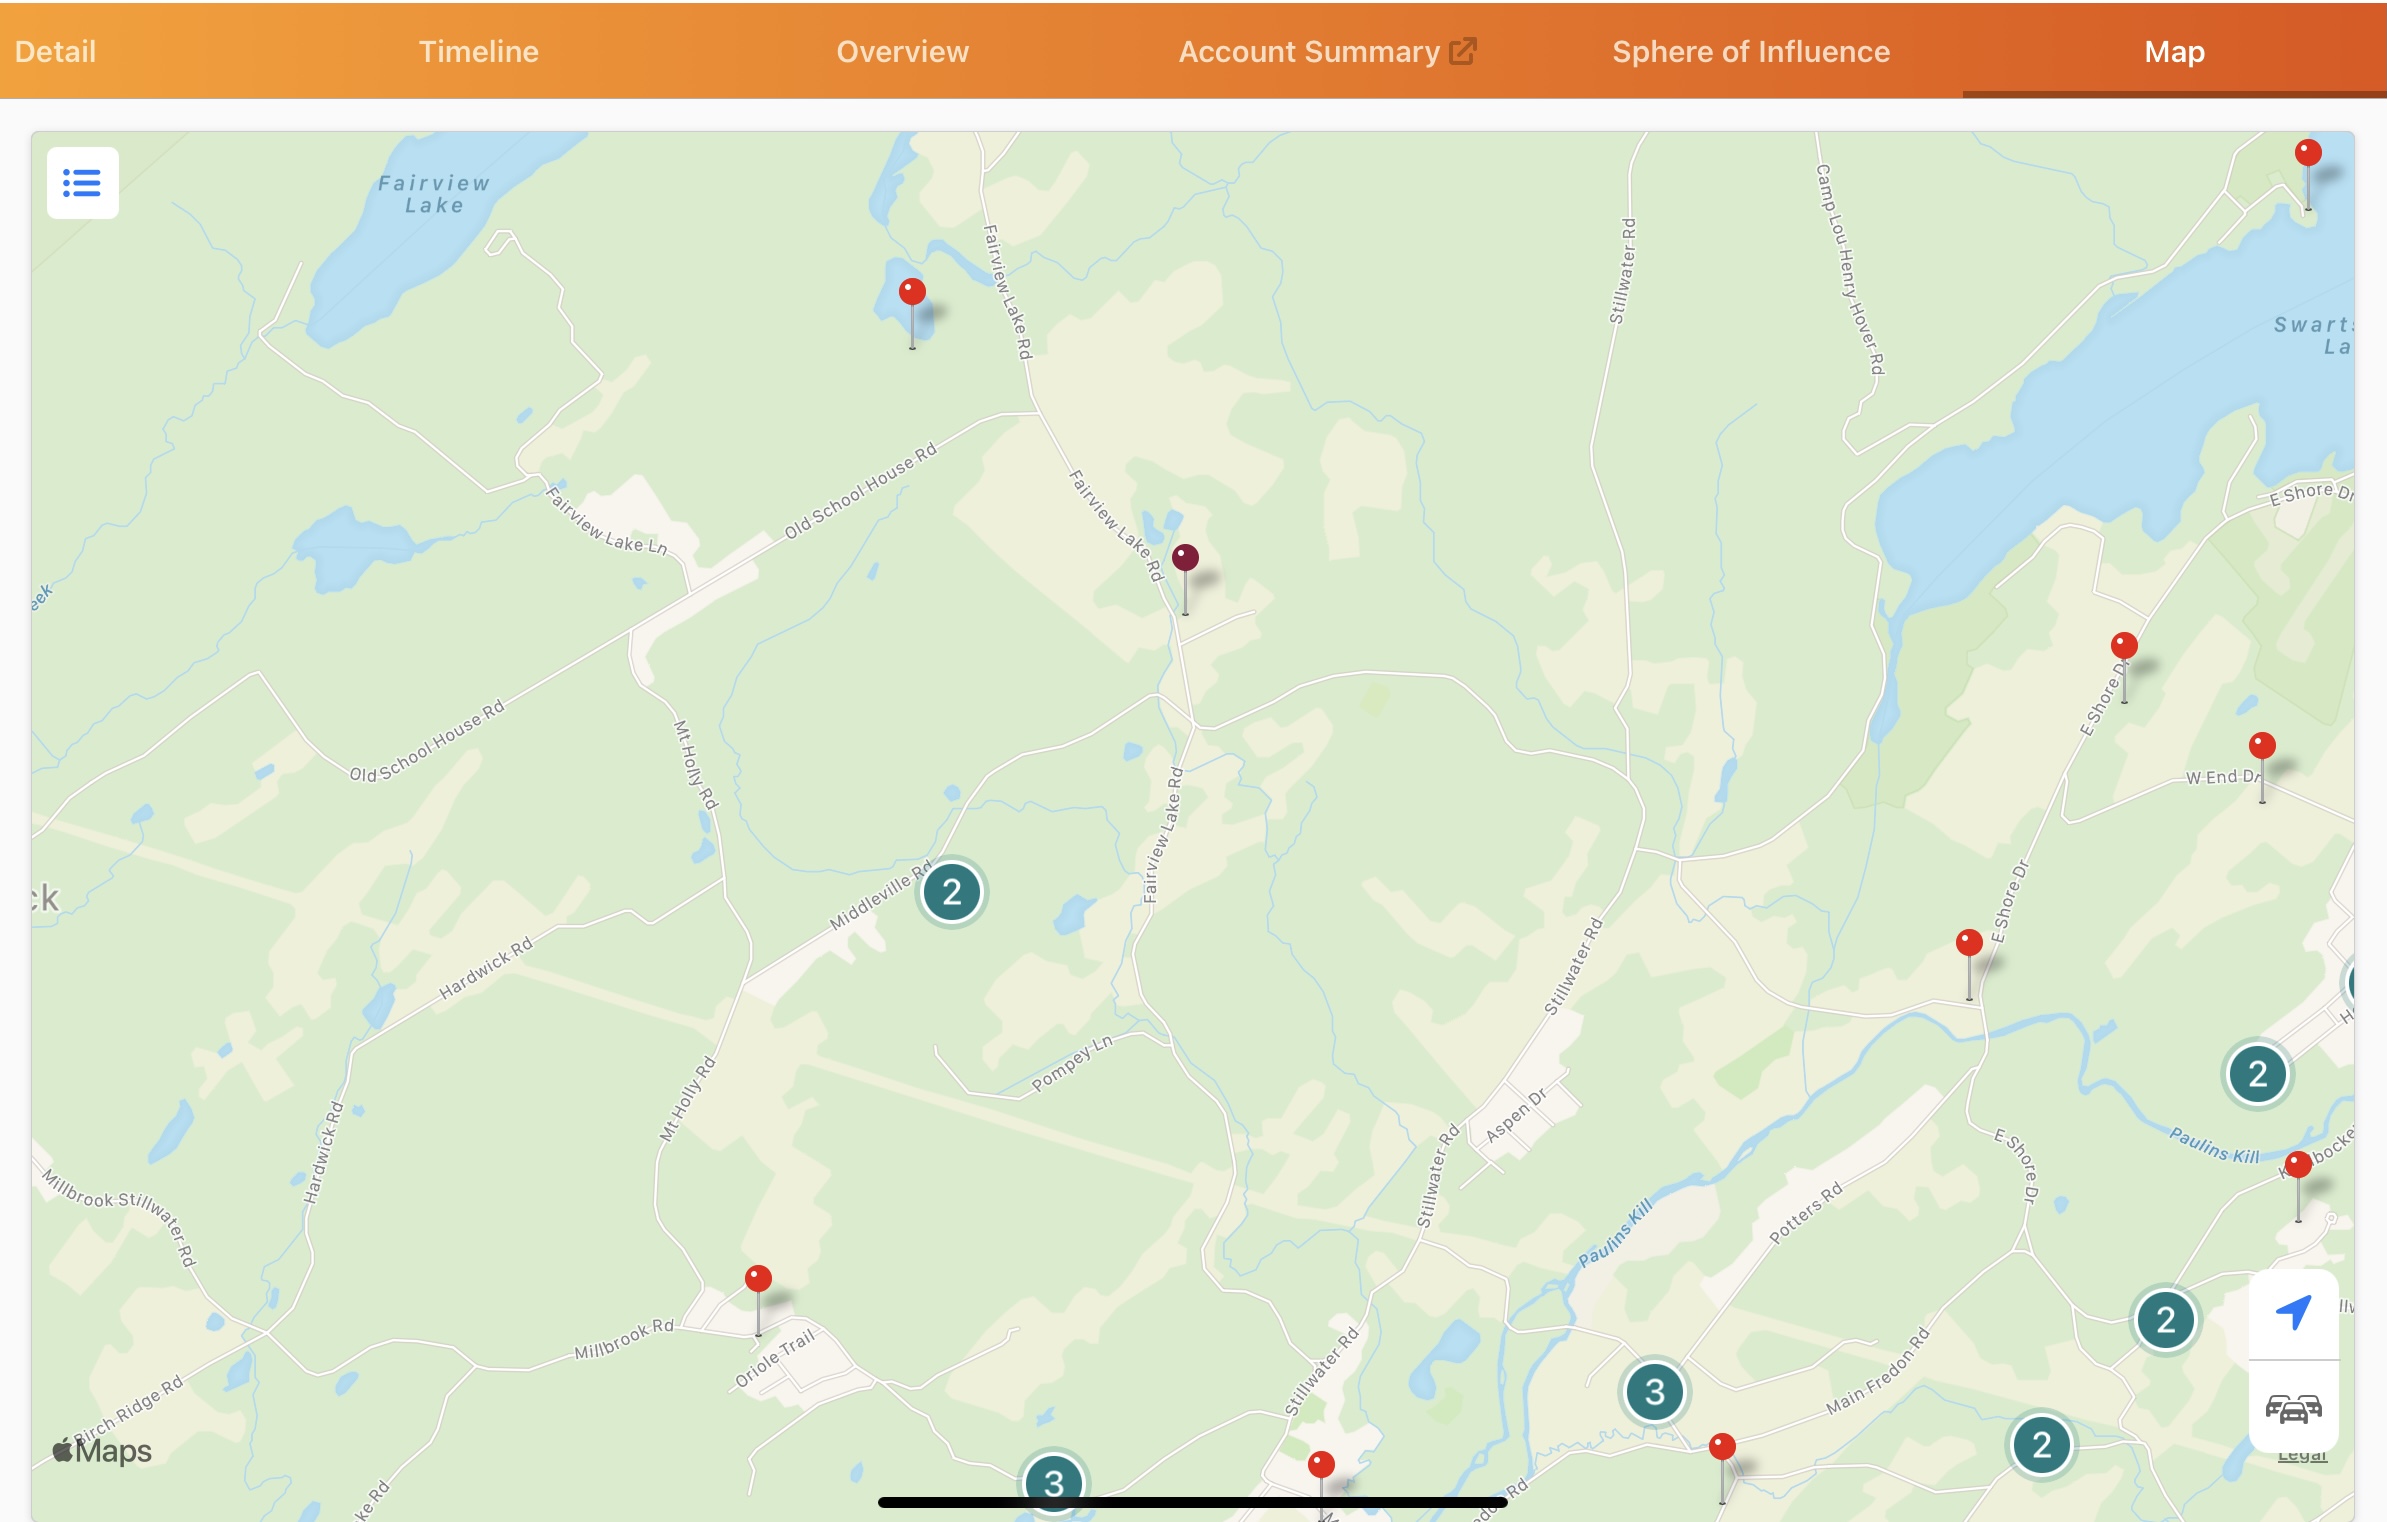
- The Account Detail screen - When launched from the Account Details entry point, all locations for the selected account are plotted with purple pins, with the map centered on the primary address. The account card for the primary address displays. Nearby accounts’ addresses are plotted with light red pins.
- My Schedule - For more information on the My Schedule entry point, see My Schedule Map View
Account maps do not display inactive addresses.
To view maps from My Accounts or the Account Detail screen, select the Map tab on the navigation bar.
By default, account locations can only be plotted on the map if latitude and longitude coordinates are available for the address. To enable a backup plotting method for addresses without coordinates, see Geocoding Missing Address Coordinates.
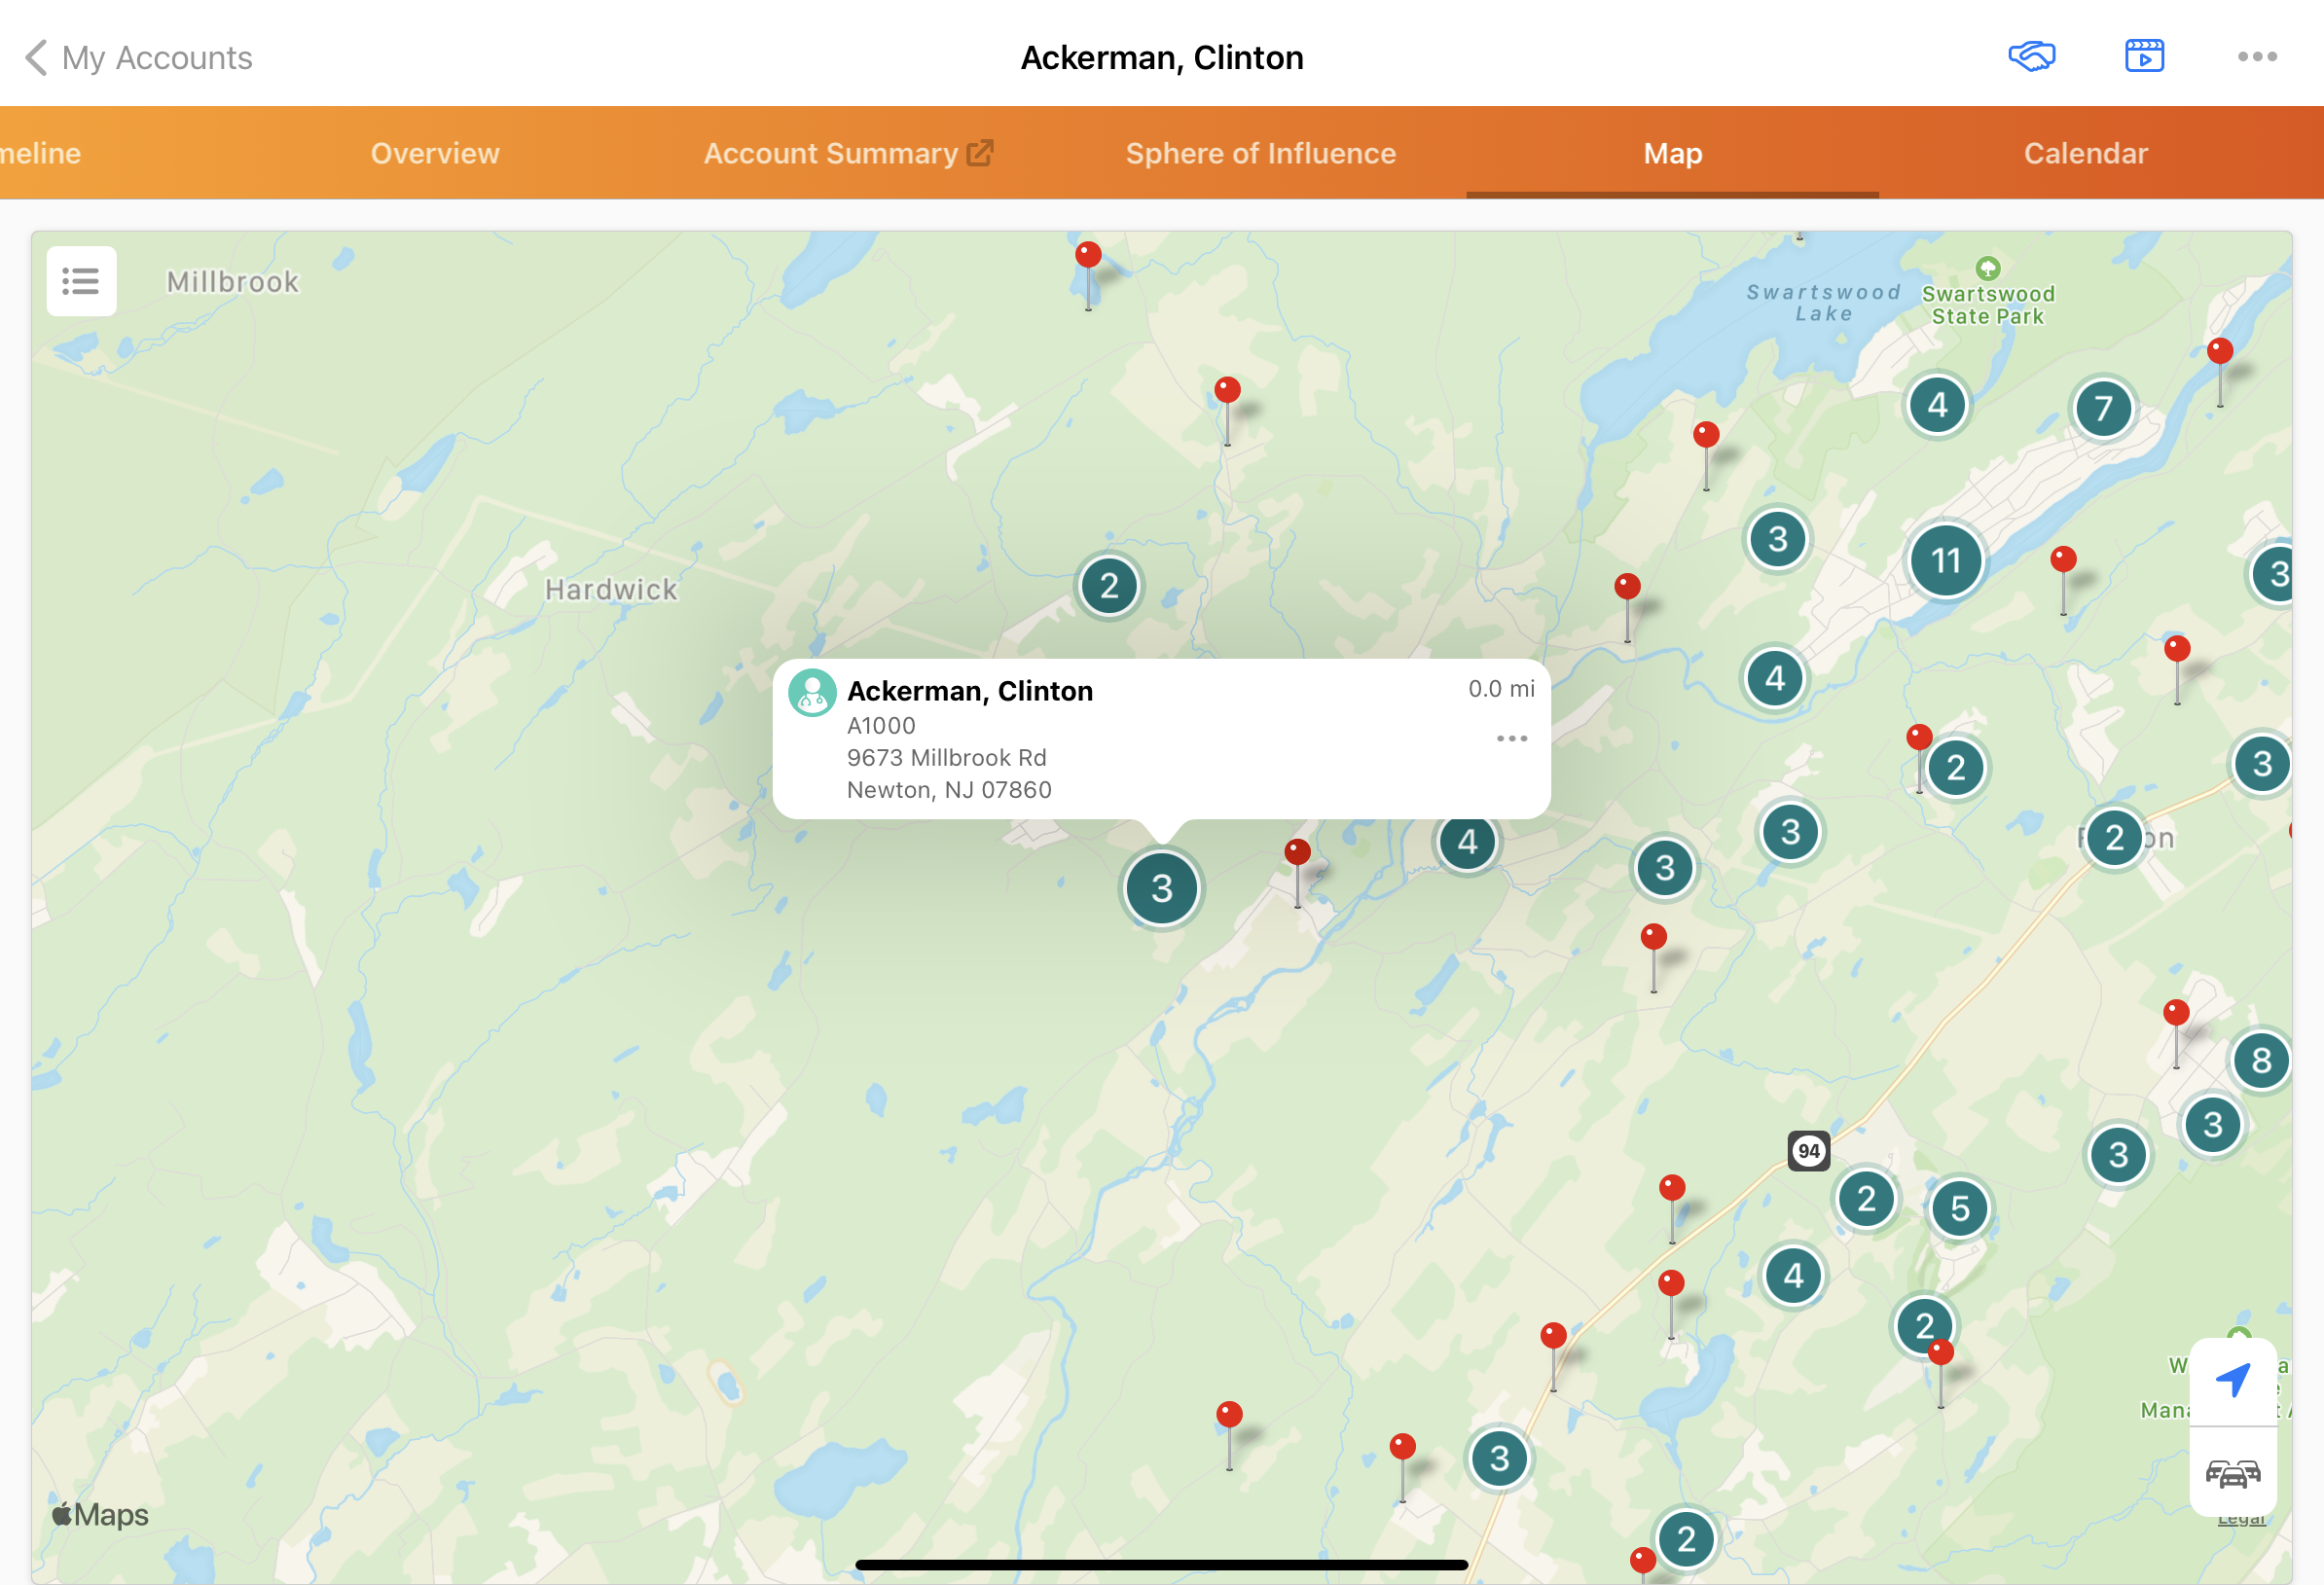
Pins and Clusters
Users can view all the pins on the map or, using Apple’s built-in zoom, can focus in one location (pin) or a cluster. A cluster is a concentrated area of pins represented by a circle with the number of pins it represents in the center. Larger or smaller clusters are based on the zoom level; zooming in displays smaller clusters, zooming out displays larger clusters. The number of accounts in a cluster displays on the cluster icon.
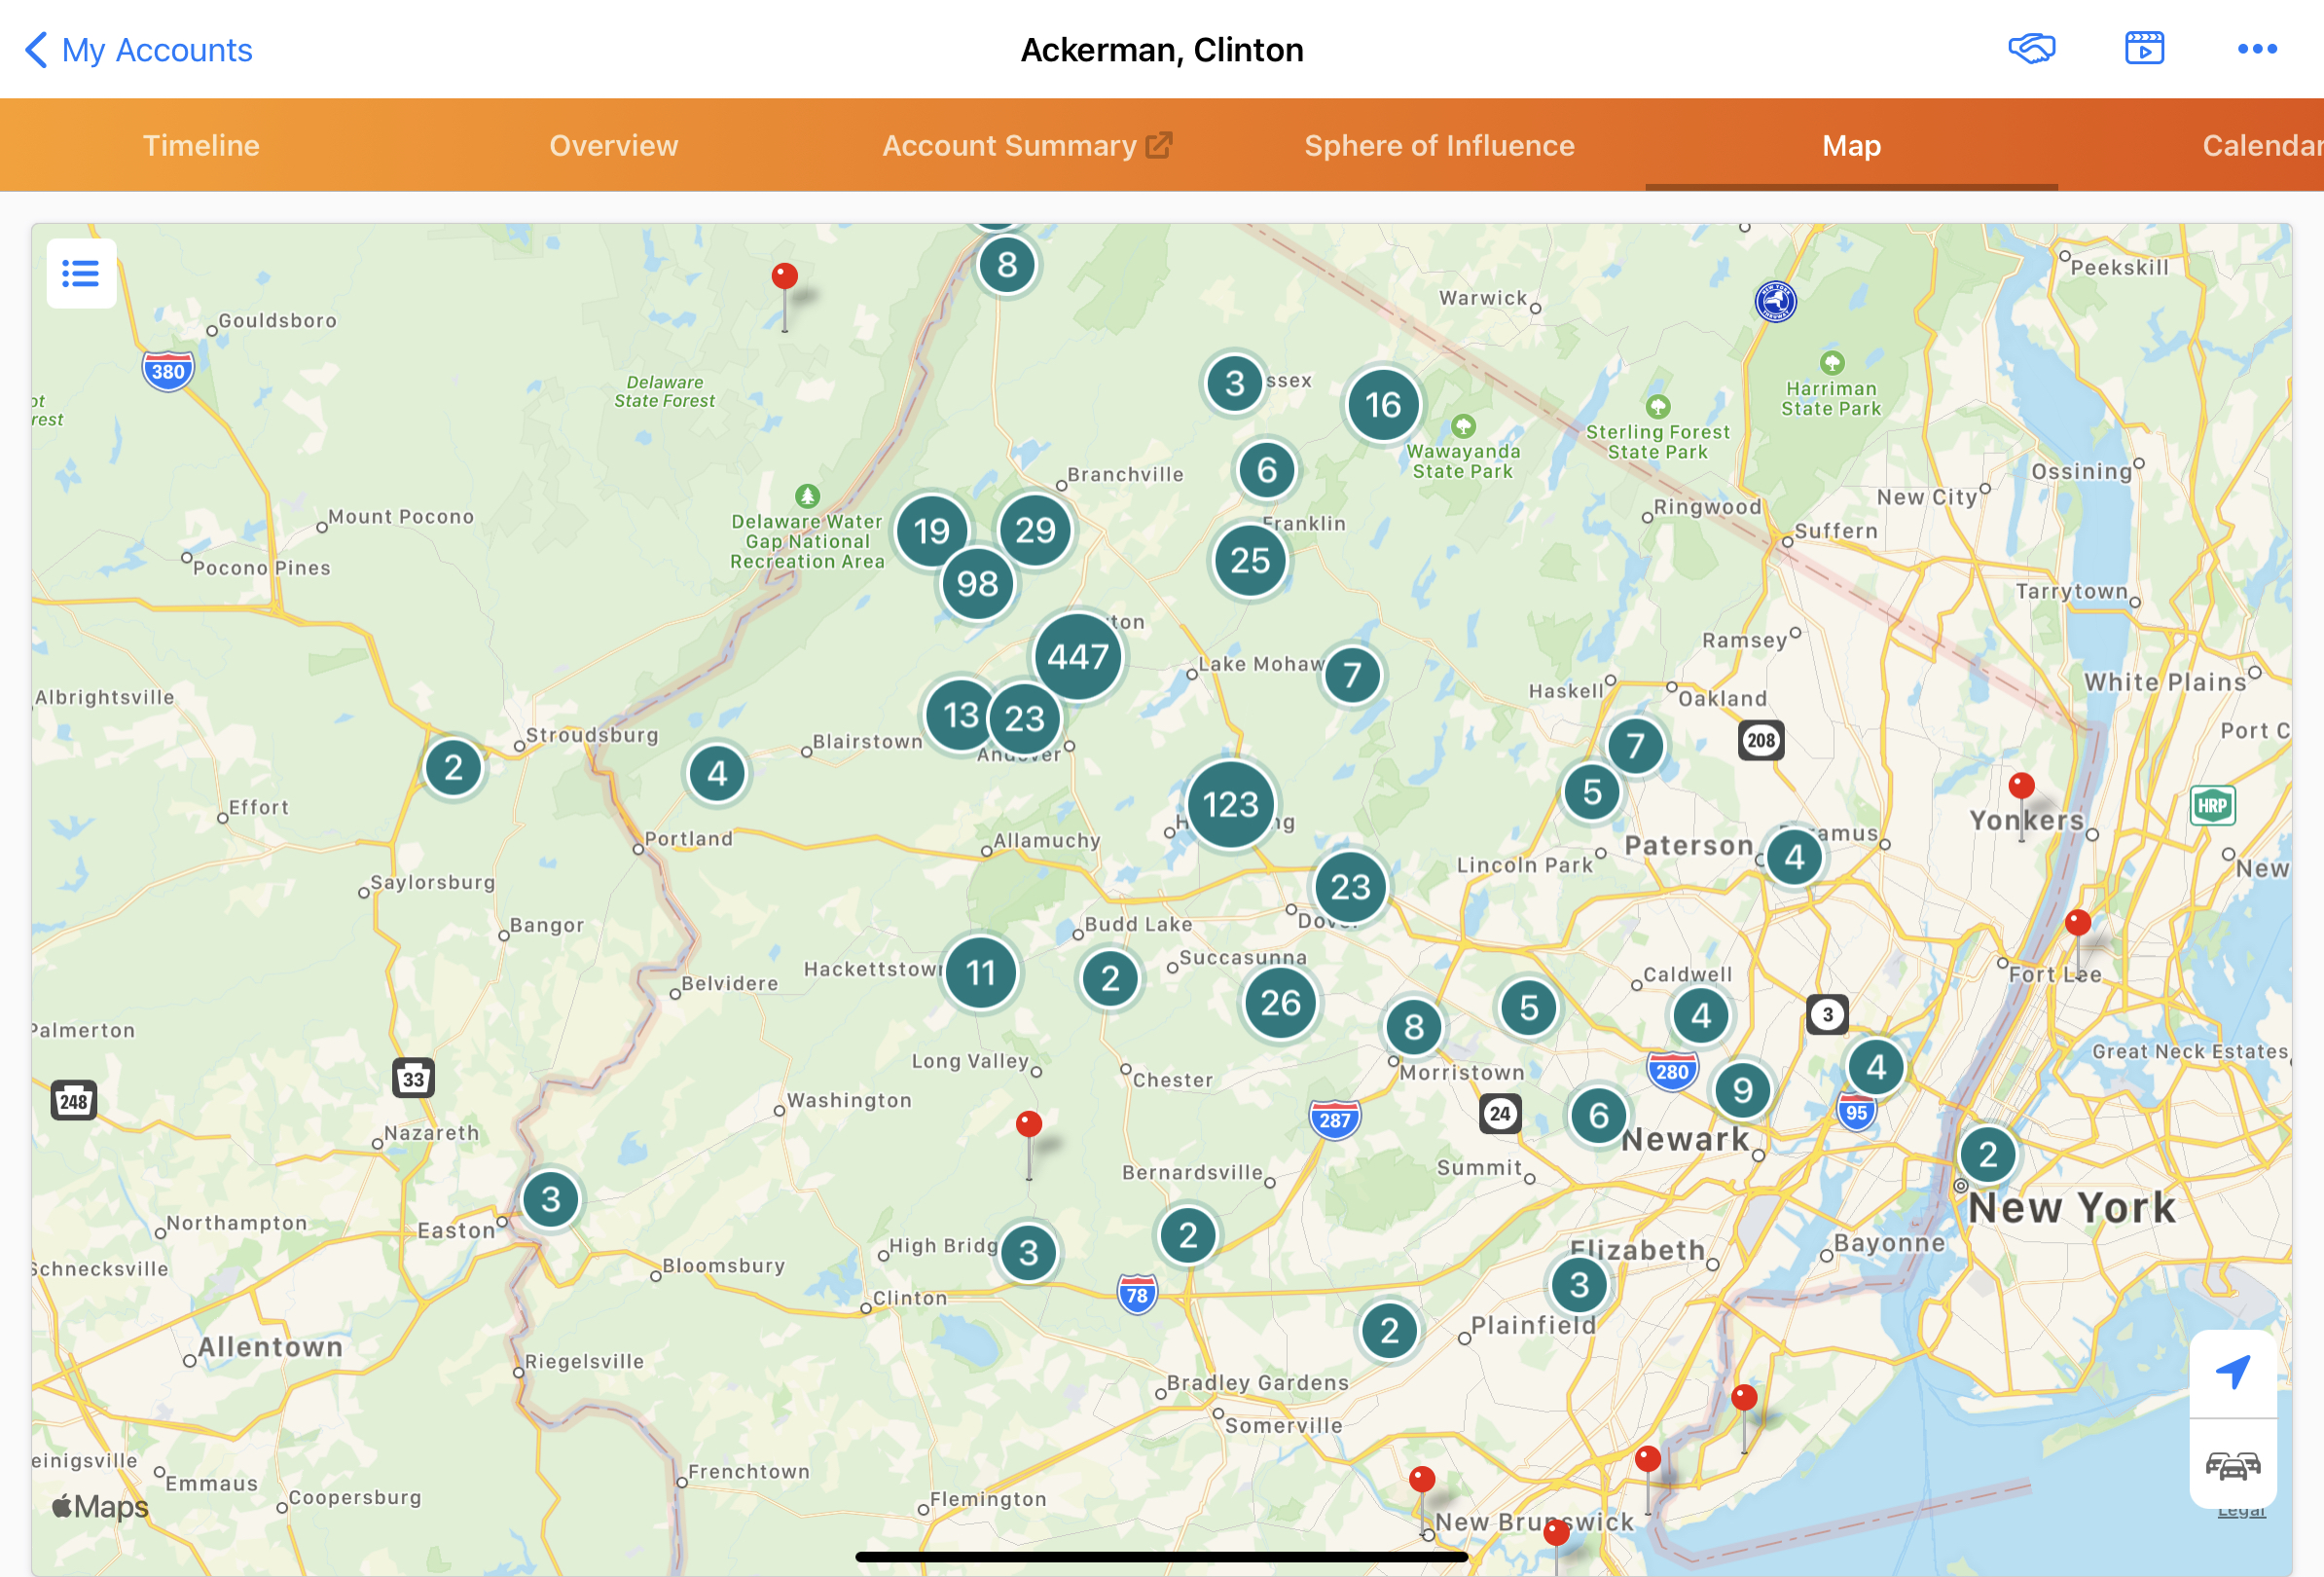
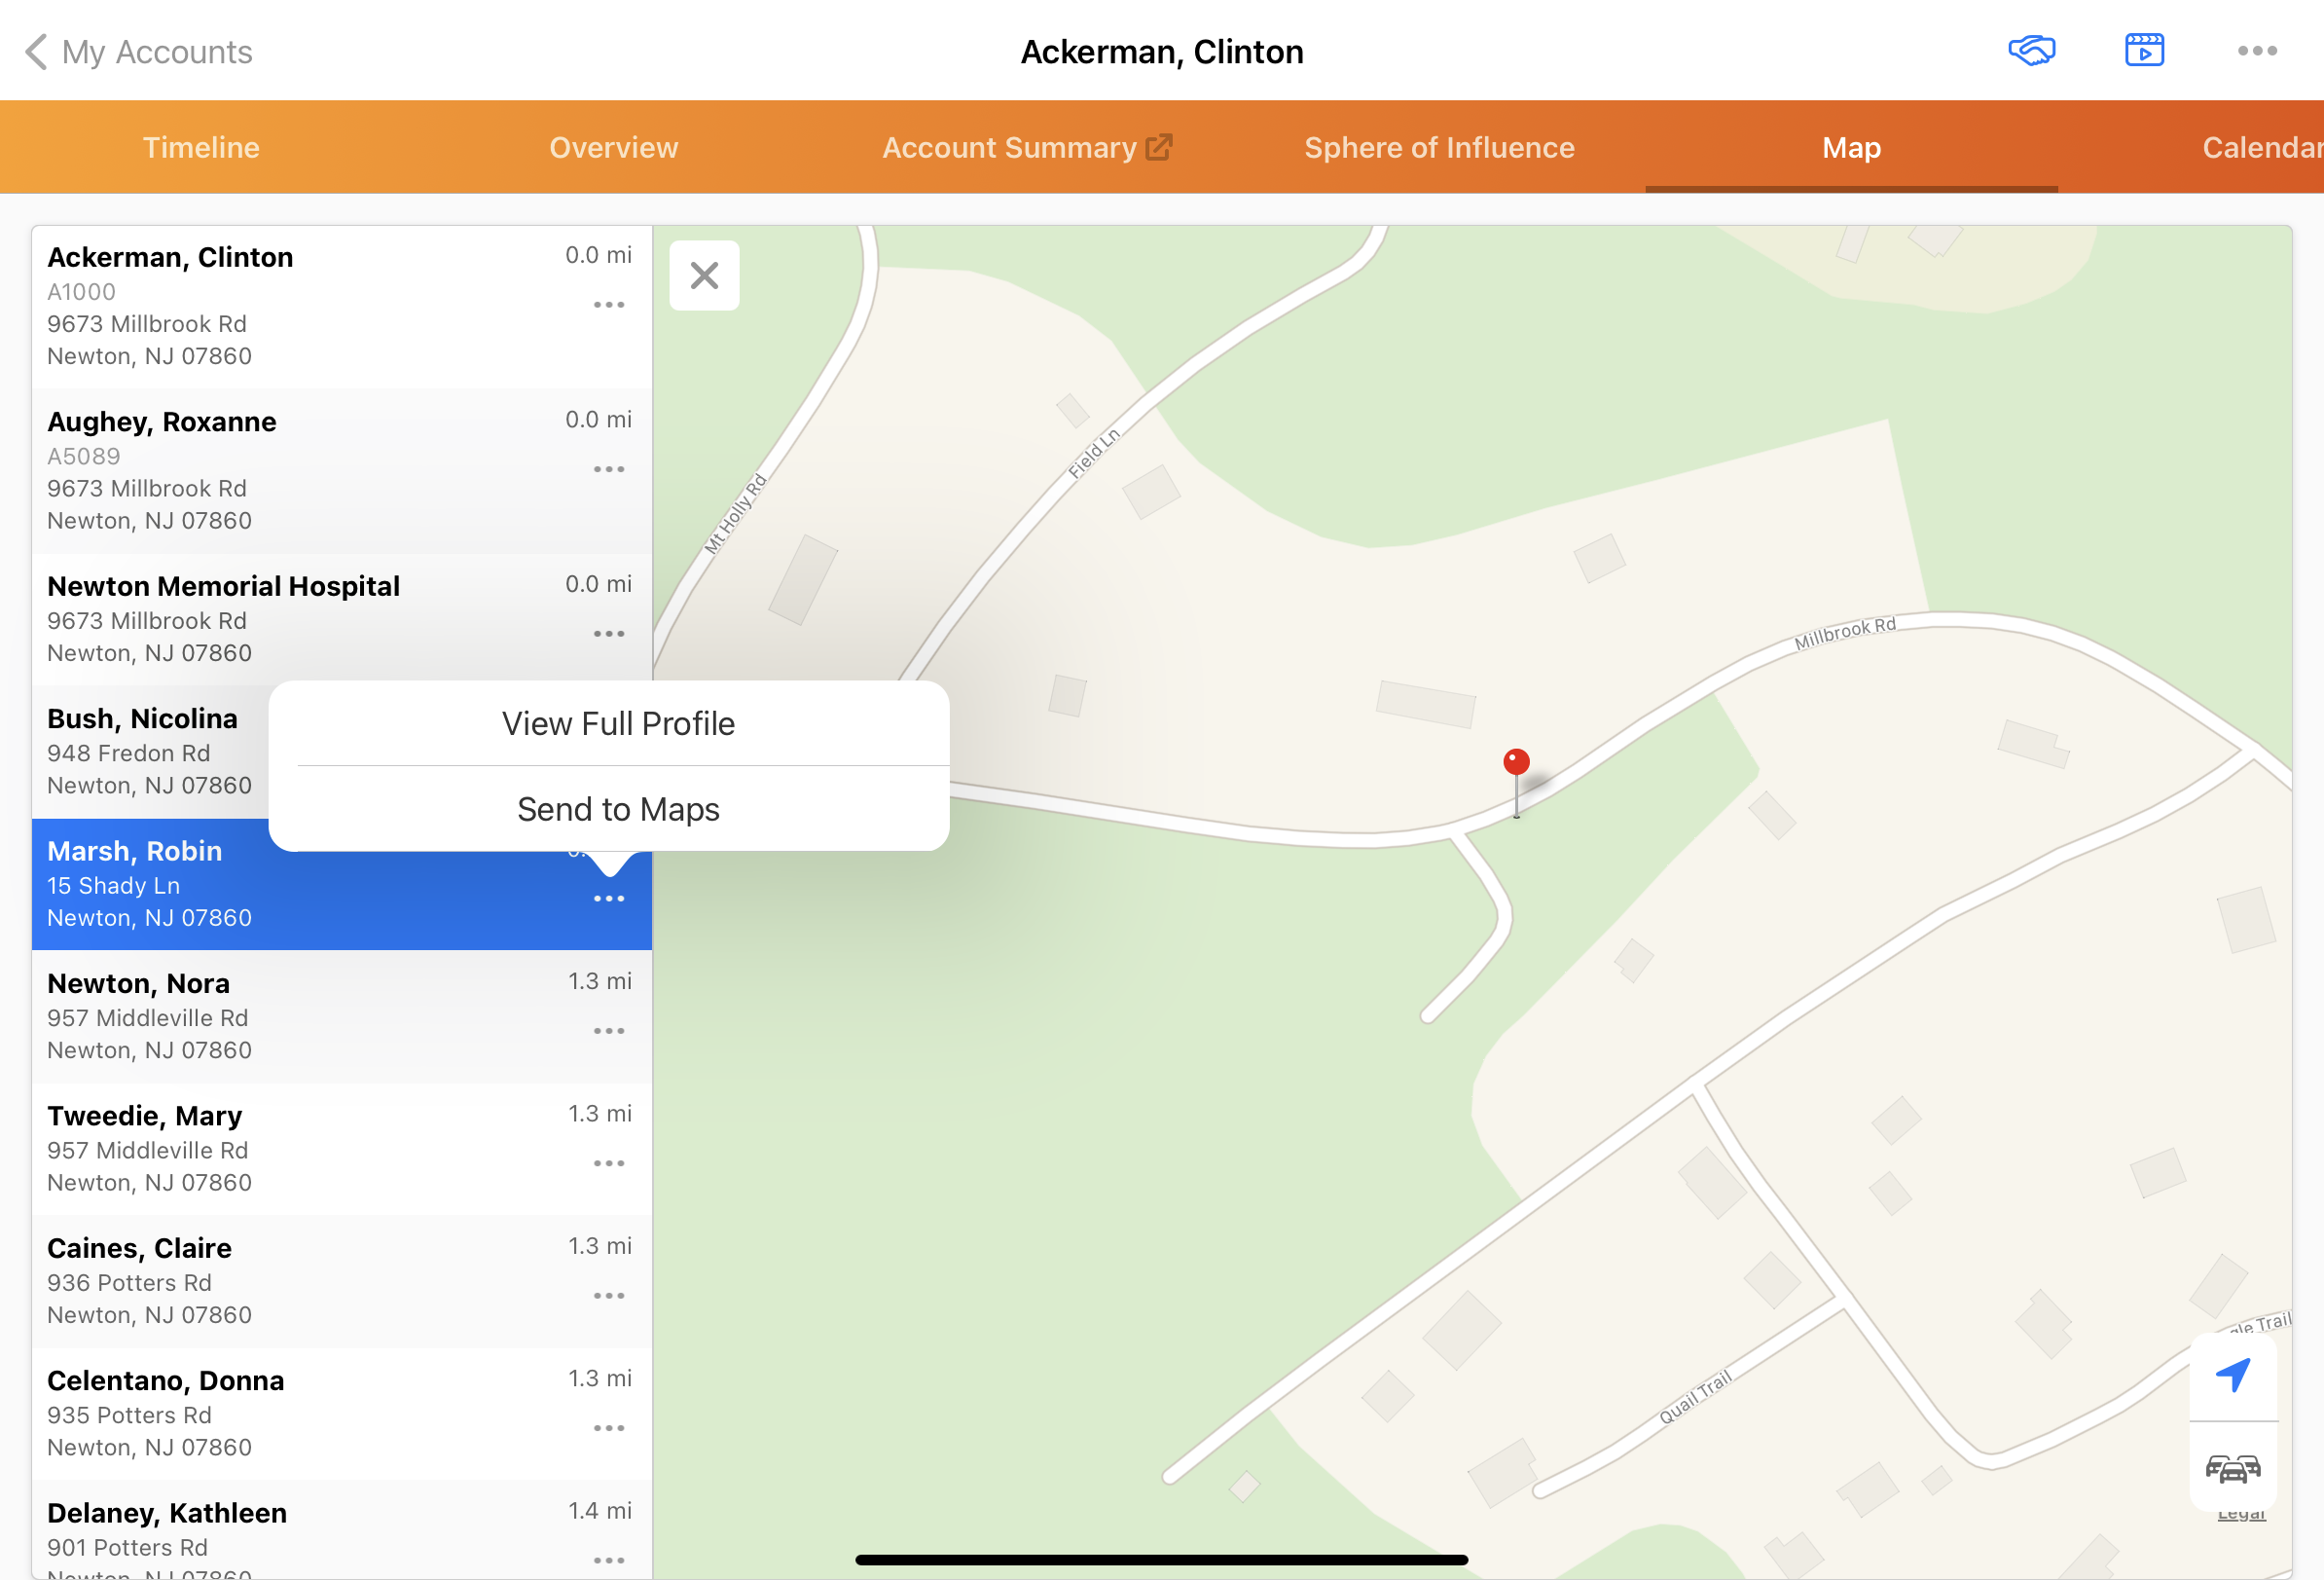
When selecting a cluster, a side panel displays listing the account locations contained in the cluster. For each account location in the side panel, select the More Actions button to display the following options:
- Navigate to the account’s full profile
- Send the address to the Apple Maps app for directions
When selecting a pin, an information card displays above the pin with general account information and a More Actions button. The More Actions button displays the same actions as for a cluster. The information card is not customizable, and includes the following information:
- account formatted name
- account record type icon
- account identifier
- address
- distance from the reference address
Location Services must be enabled on the iPad for the user to use the Current Location button  . If Location Services are not enabled, users are prompted to enable the setting when they launch the map or when they select the Current Location icon.
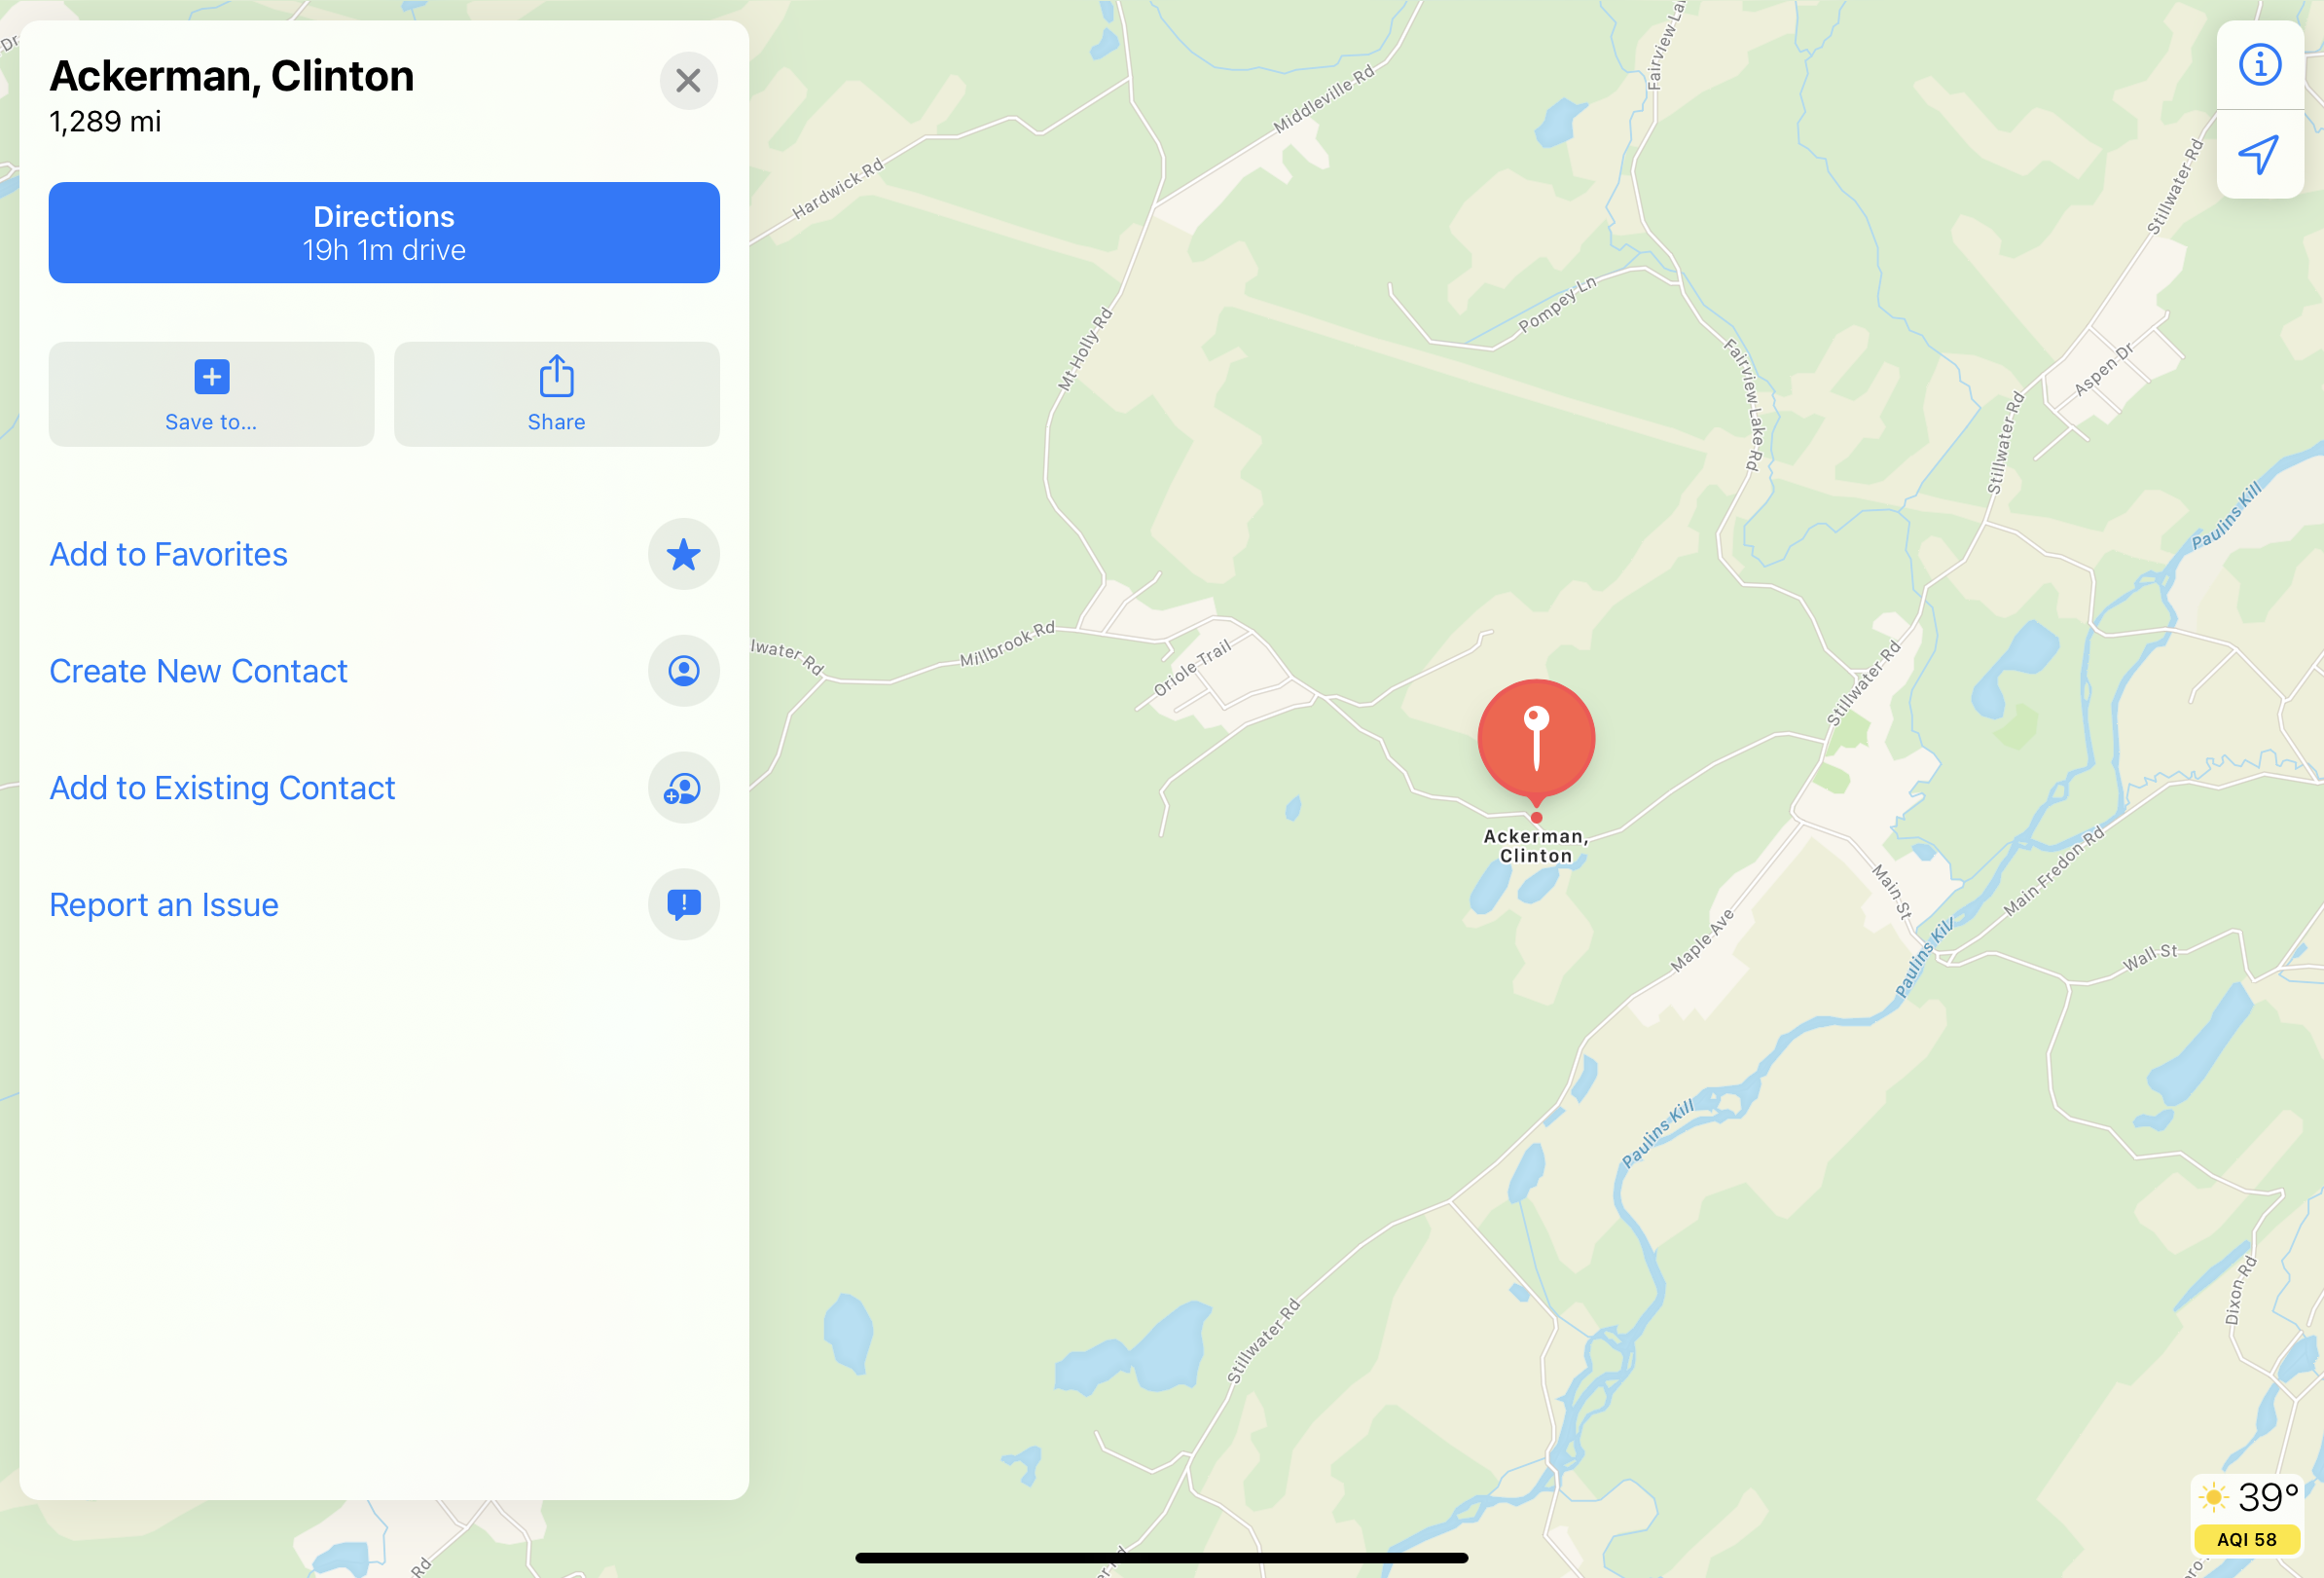
Sending Addresses to Apple Maps
The Send to Maps option sends an account’s address to the Apple Maps app instead of to Google Maps on a browser. To send an account address to Apple Maps, select the account on the map to display the account name and information, then select the More Actions button next to the account name.
Select the Send to Maps option from the menu.
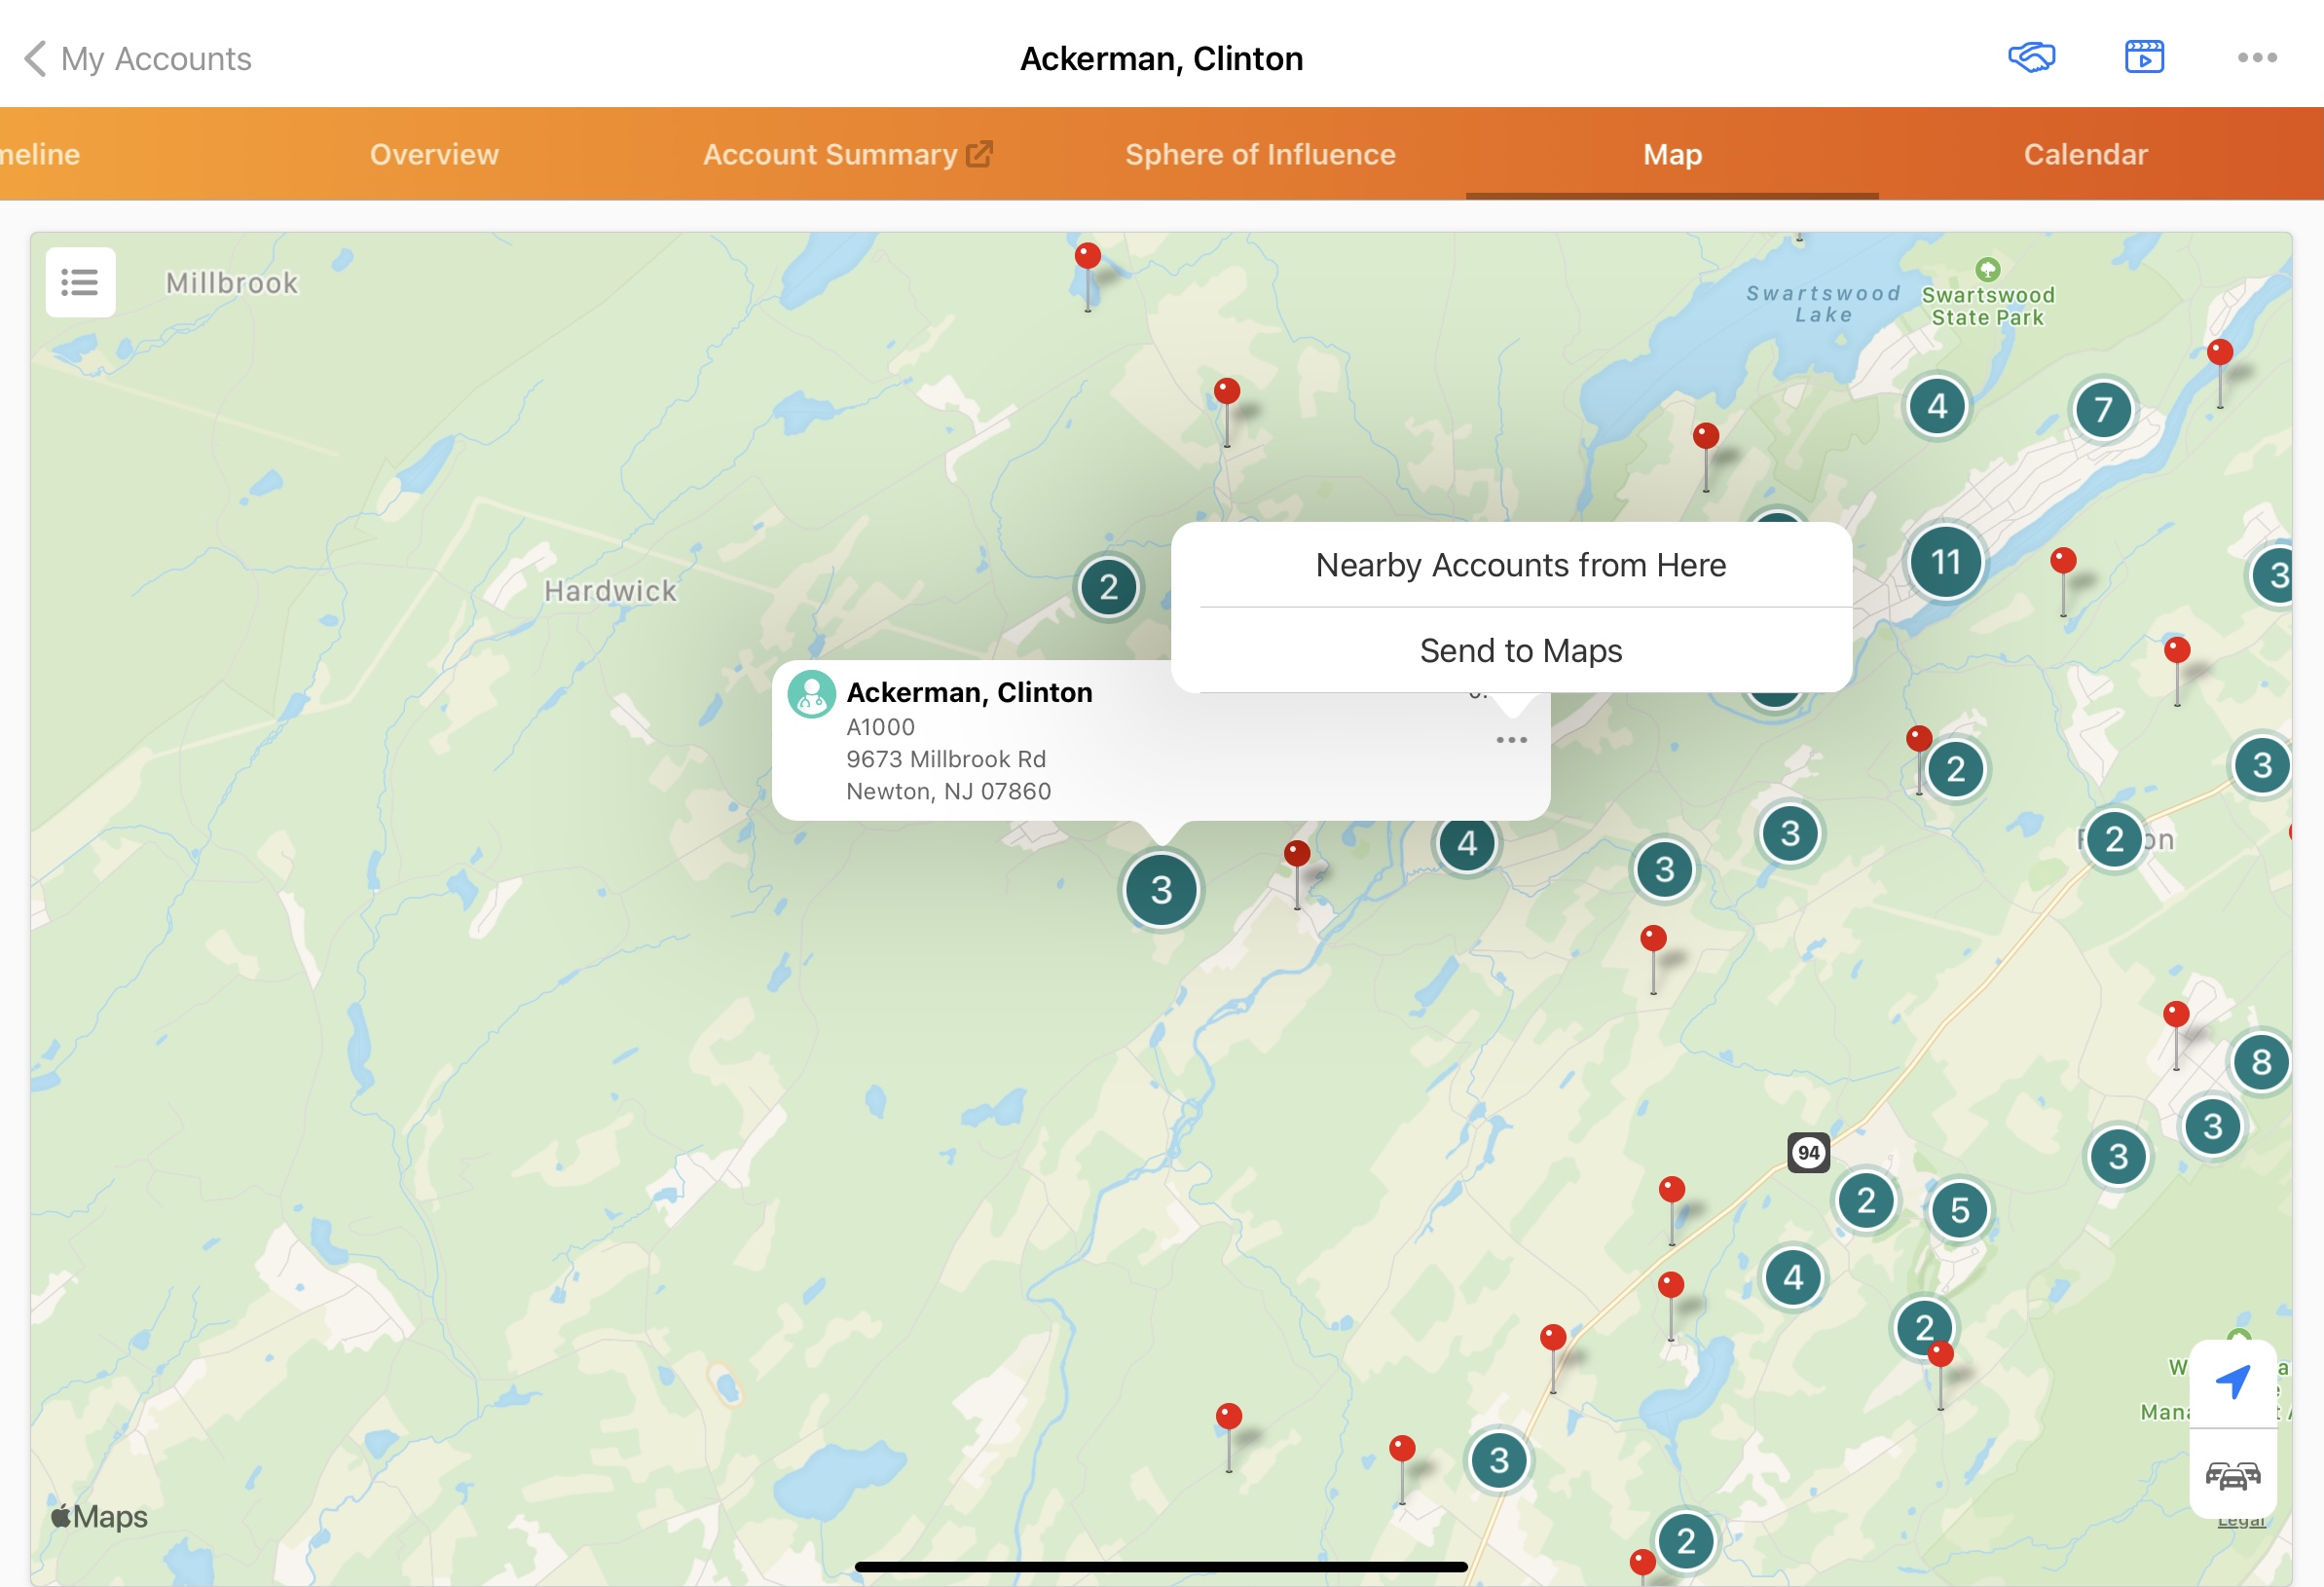
The selected address displays in Apple Maps.