

Viewing Custom Information with Display-By
- iPad
To quickly view relevant information when planning calls, users can choose to display account-related information from pre-defined fields on the following objects:
- Account
- Address_vod
- Child_Account_vod
- ChildAccount_TSF_vod
- MC_Cycle_Plan_Channel_vod
- MC_Cycle_Plan_Product_vod
- MC_Cycle_Plan_Target_vod
- TSF_vod
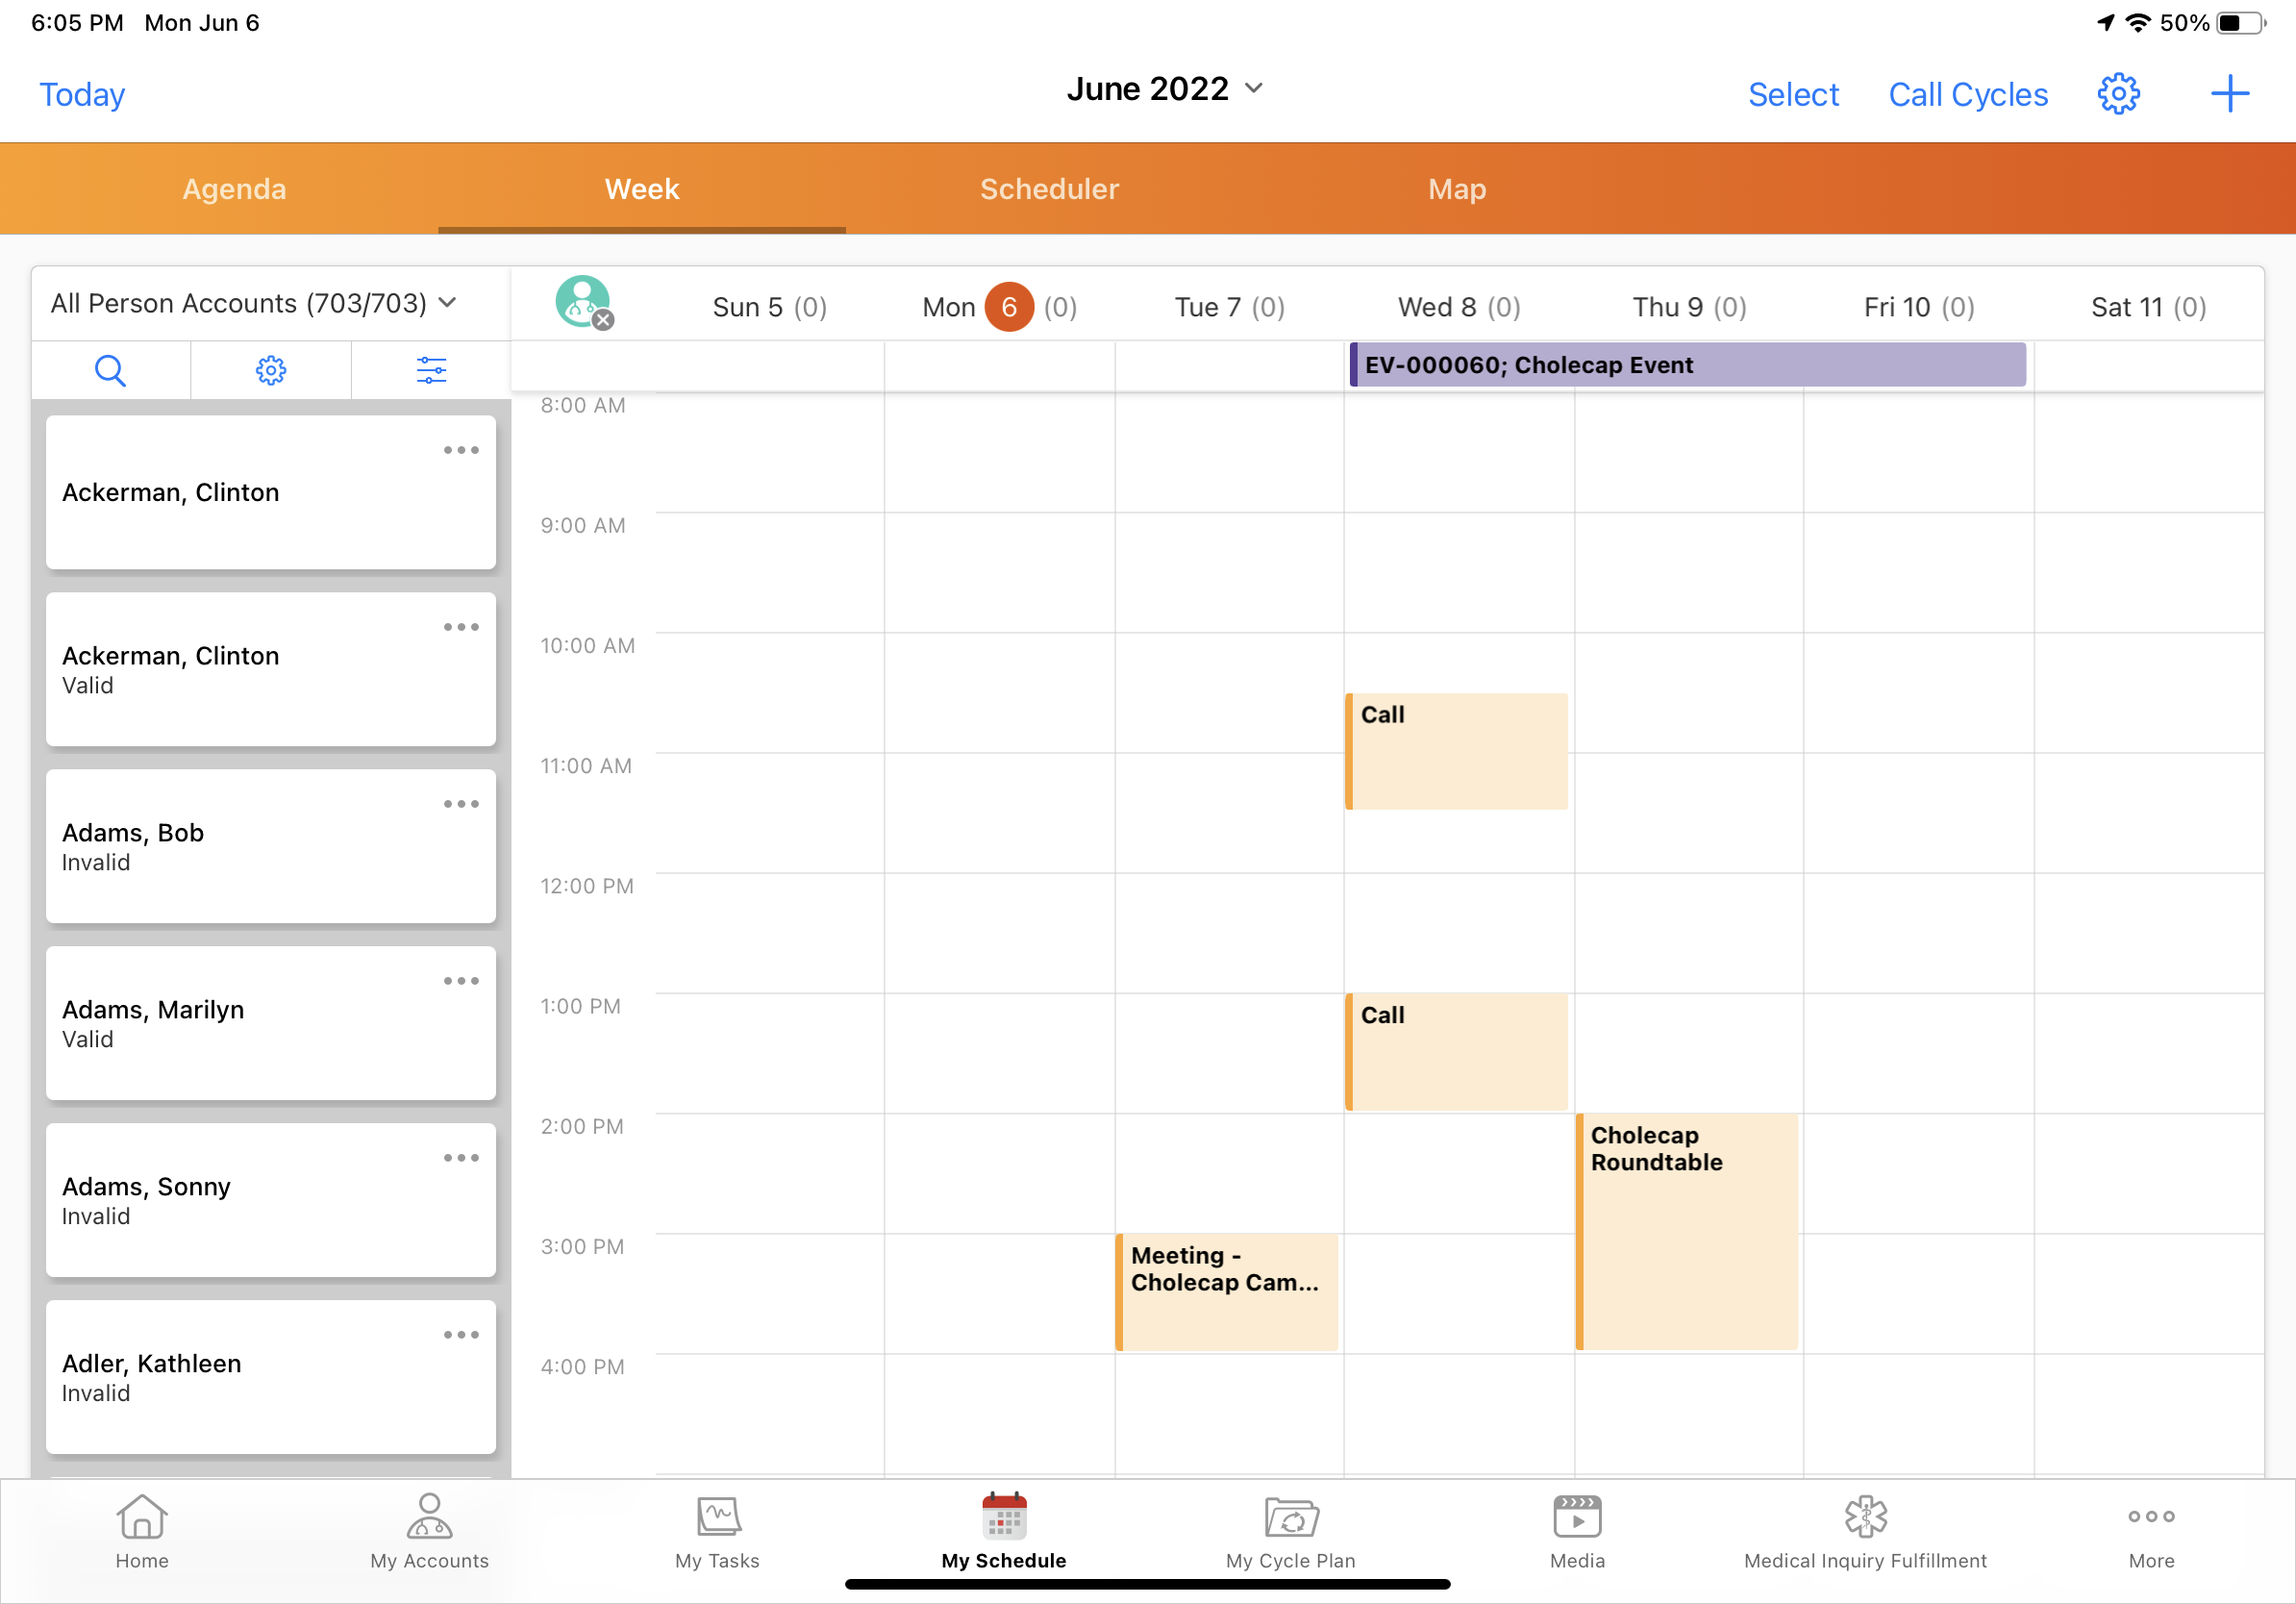
Field information displays under the account name in the account panel so users do not need to reference additional records when planning their calls.
Configuring Custom Display-By Attributes
Ensure initial configuration is complete before enabling this functionality.
To display information from fields on the Account, Address_vod, and Child_Account_vod objects, populate the SCHEDULER_CONFIGURE_DISPLAY_vod Veeva Setting with a semicolon-delimited list of the appropriate API Field Names from any of the following objects:
|
Object |
Object Code |
|---|---|
|
Account |
ACC |
|
Address_vod |
ADD |
|
Child_Account_vod |
CHILD_ACC |
The format for the setting values is [Object Code].[API Field Name] where [Object Code] represents the object. For example, ACC.Gender_vod__c;ACC.Specialty_1_vod__c;
The SCHEDULER_CONFIGURE_DISPLAY_vod Veeva Setting has a 255-character limit. If the setting cannot hold all the desired fields, create a corresponding Veeva Message:
- Create a Veeva Message in the following format: MESSAGE_NAME;;Category.
- Name the message SCHEDULER_CONFIGURE_DISPLAY_vod and set the category to Scheduler (optional). Using the same name as the Veeva Setting enables admins to easily find the message.
- Move all fields from the Veeva Setting to the text field of the newly created Veeva Message, using the same semicolon-delimited format.
- Populate the SCHEDULER_CONFIGURE_DISPLAY_vod Veeva Setting with “MESSAGE_NAME;;Category”. For example: SCHEDULER_CONFIGURE_DISPLAY_vod;;Scheduler
Configuring Display-By for MCCP Attributes
To display information from MCCP-related fields:
- Ensure the Enable_Adv_CycPln_Scheduling_vod Veeva Setting check box is selected. This setting enables users to select display-by Cycle Plan attributes in the My Schedule account panel and enables retention of users' display preferences, if FLS to the Scheduler_Cycle_Plan_Display_vod field on the Preferences_vod object is granted.
If the Enable_Adv_CycPln_Scheduling_vod Veeva Setting is not enabled, Cycle Plan metrics always display when there is an active Cycle Plan for the user, and the display-by functionality is set to Target > My Calls and cannot be changed.
- Add the appropriate fields to the semicolon-delimited list in SCHEDULER_CONFIGURE_DISPLAY_vod Veeva Setting or the corresponding Veeva Message (depending on which is in use). Use the following format:
- To display a field from the MC_Cycle_Plan_Target_vod object, enter MCCP_Target.[API field name]
- To display a field from the MC_Cycle_Plan_Channel_vod object, enter MCCP_Channel.[API field name]
- To display a field from the MC_Cycle_Plan_Product_vod object, enter MCCP_Product.[API field name]
For example, ACC.Gender_vod__c;ACC.Specialty_1_vod__c;MCCP_Target.Channel_Interactions_Remaining_vod__c;MCCP.Product.Team_Last_Activity_Date_vod__c;
Configuring Display-By for TSF Attributes
To display information from territory-related fields, populate the TSF_FIELDS_SCHEDULER_vod Veeva Setting with a semicolon-delimited list of the appropriate fields.
The required format differs depending on which object the field is from:
- TSF_vod object - the format is the field API name with a trailing semicolon. For example: Last_Activity_Date_vod__c;First_Pick_vod__c;Route_vod__c;
- ChildAccount_TSF_vod object - the format is CHILD_ACC_TSF.[API Field Name] with a trailing semicolon. For example: CHILD_ACC_TSF.Territory_vod__c;
Fields from both objects can be included in the same list in the TSF_FIELDS_SCHEDULER_vod Veeva Setting. Use the appropriate format for each field. For example: LAST_ACTIVITY_DATE_VOD__c;FIRST_PICK__c;CHILD_ACC_TSF.Territory_vod__c;
If the TSF_FIELDS_SCHEDULER_vod Veeva Setting is blank, the Territory Fields option does not display.
Ensure users have at least Read FLS permission for all fields referenced in the SCHEDULER_CONFIGURE_DISPLAY_vod and TSF_FIELDS_SCHEDULER_vod Veeva Settings. If users do not have Read FLS permission to a field, it does not display as an option.
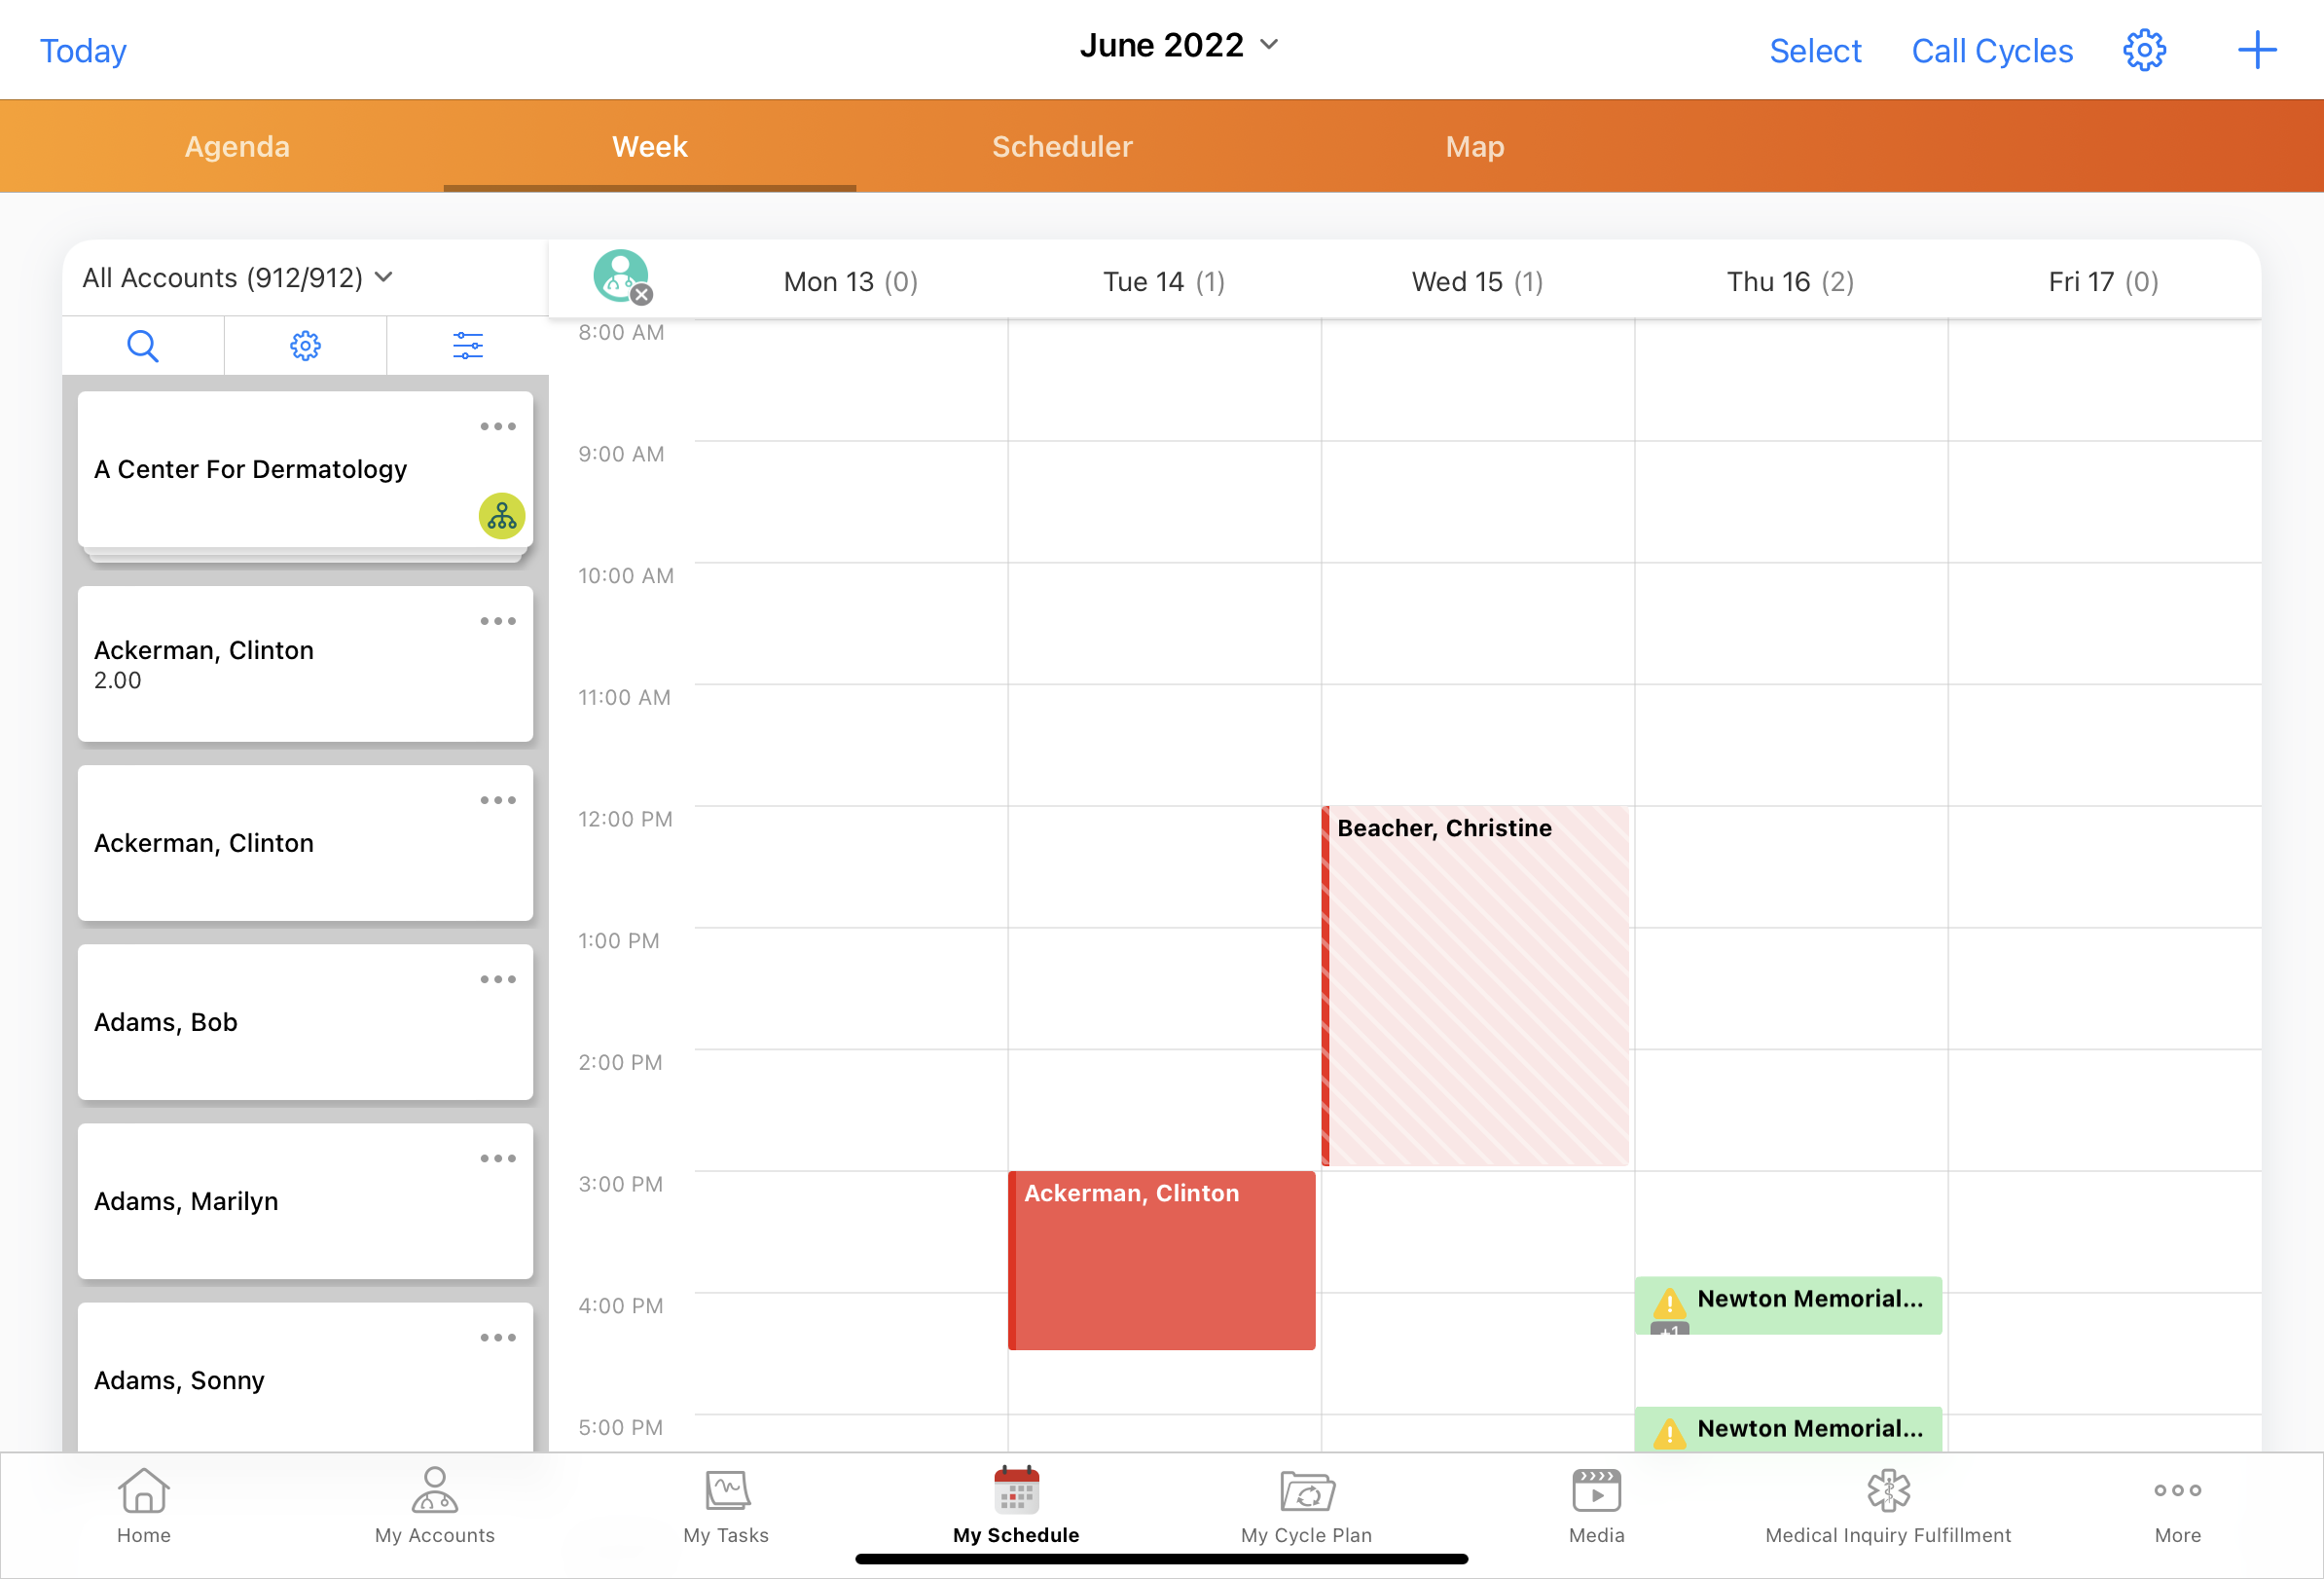
Displaying Custom Account, Address, or TSF Information
To display additional account, address, or TSF information using the display-by functionality:
Changing the address that displays does not change the Best Times that display.
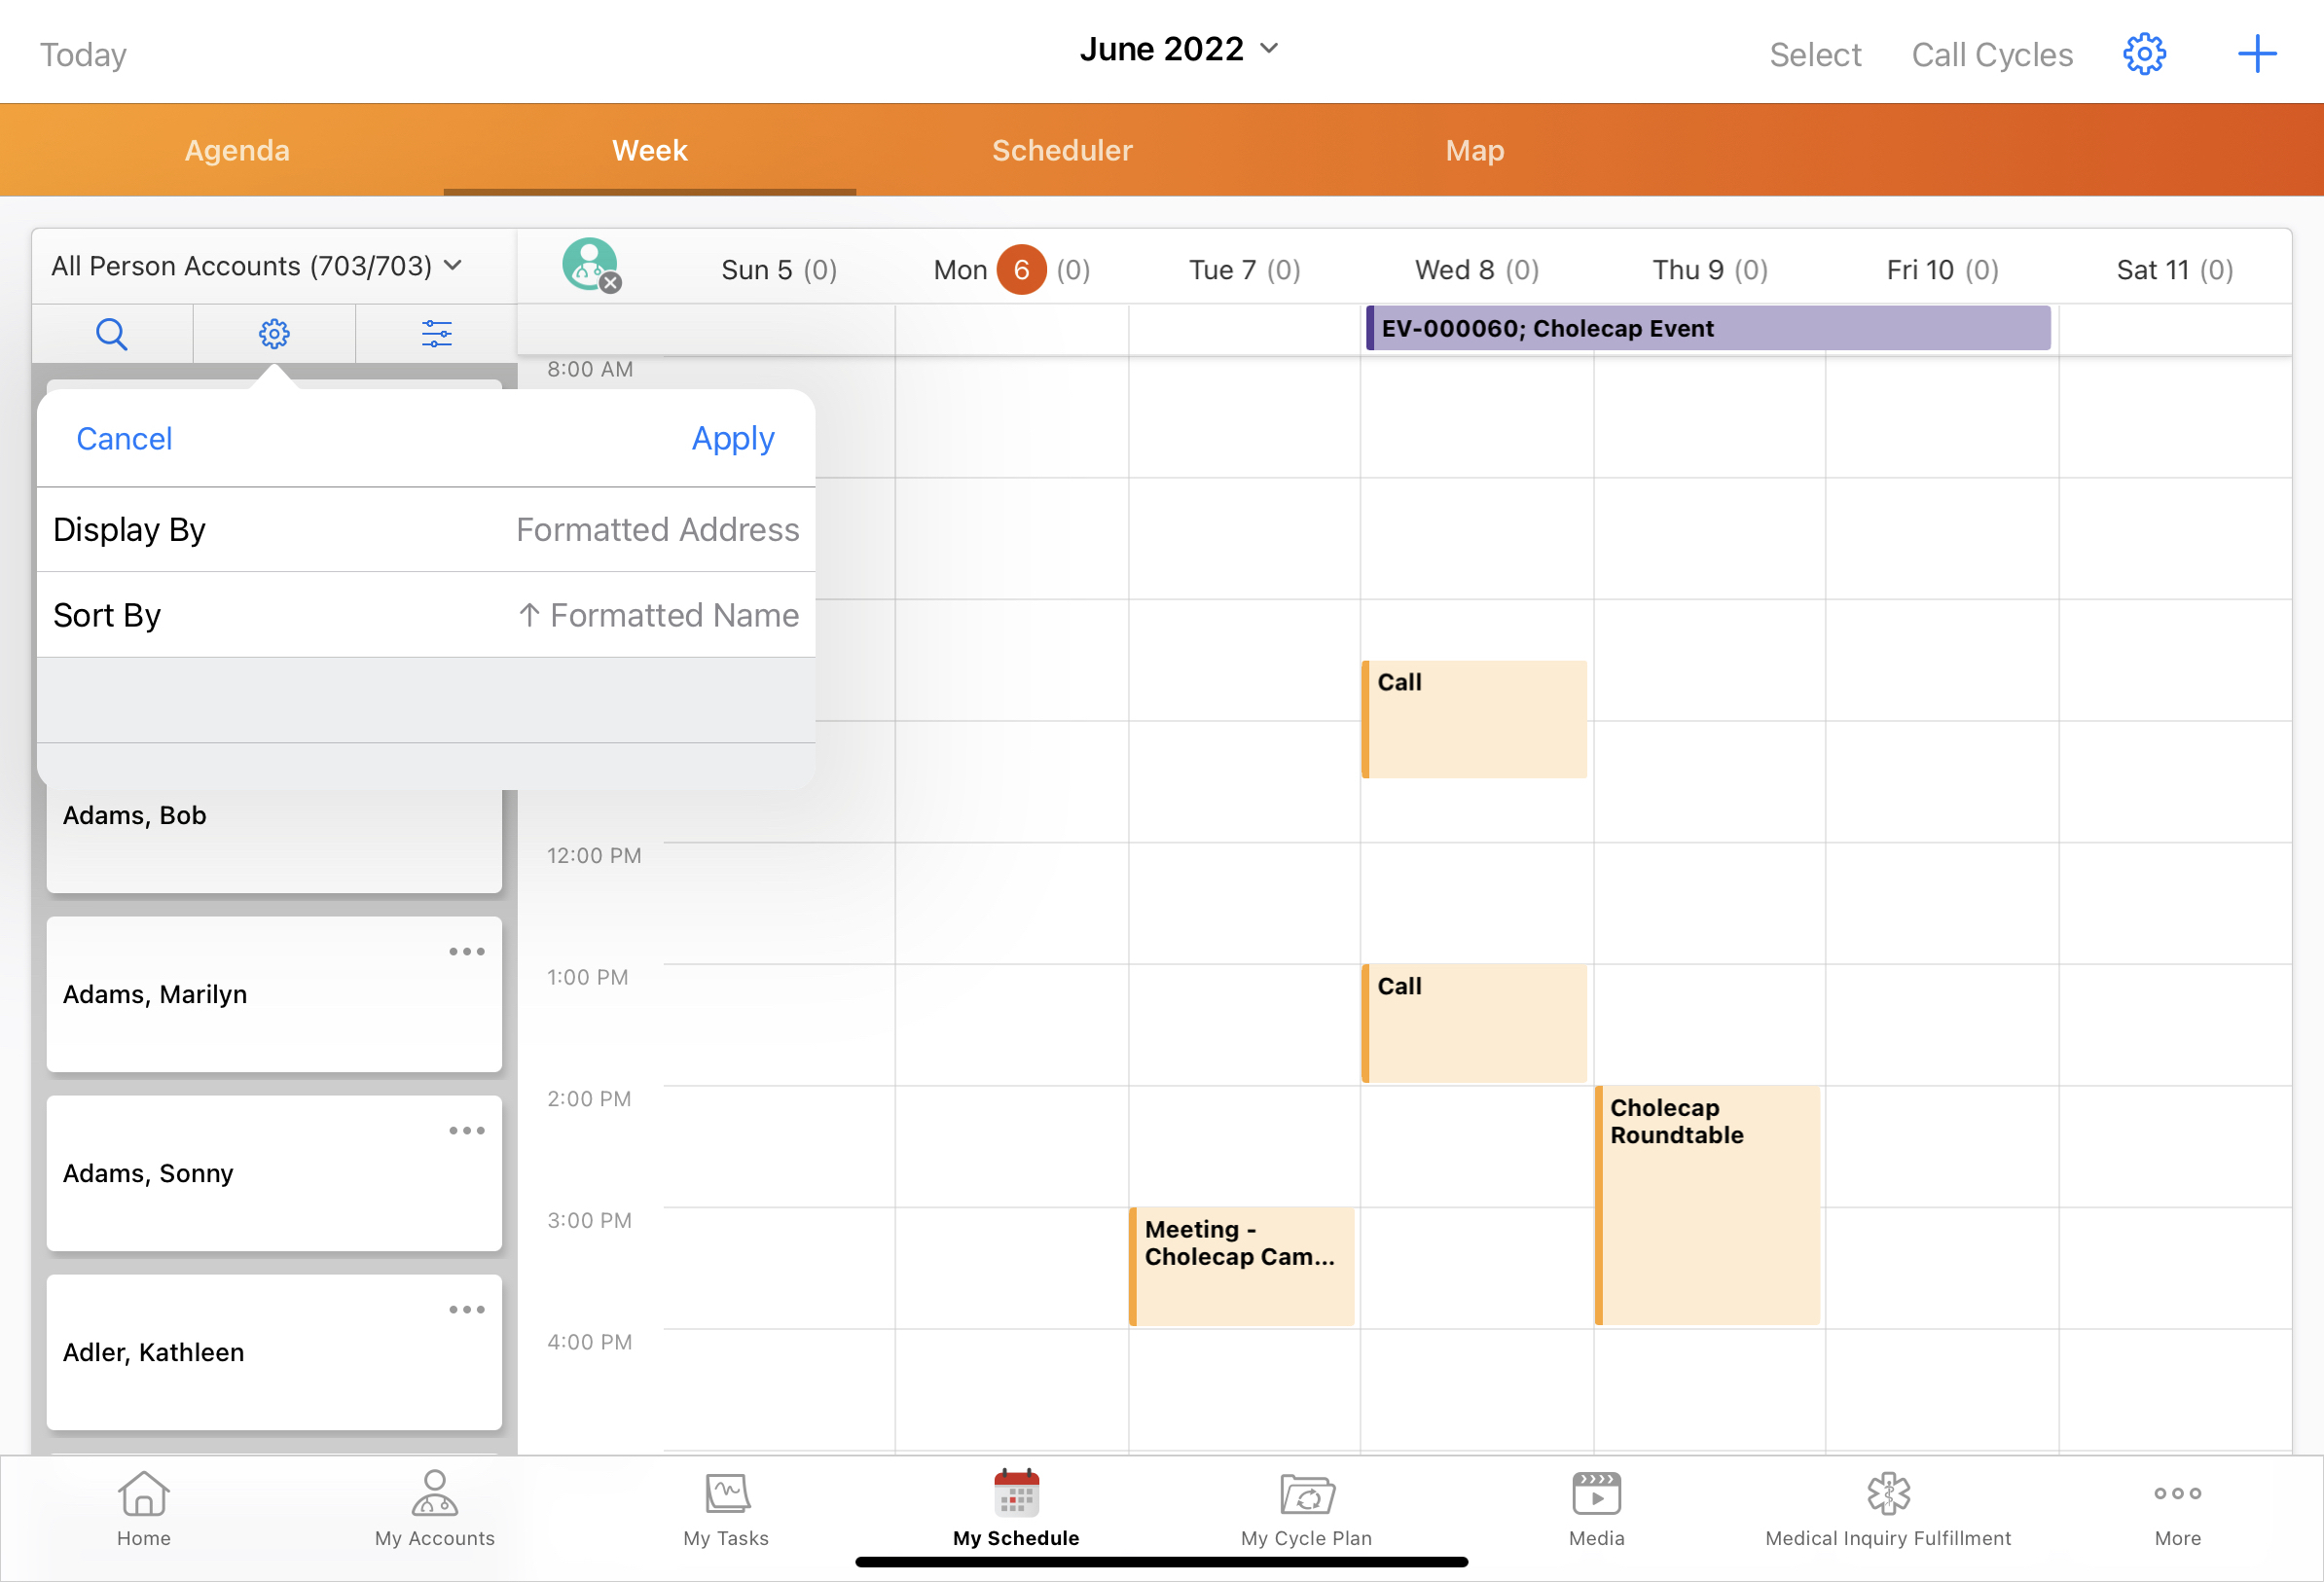
- Select the gear icon at the top of the accounts panel. For iPad users, the panel displays in Week View, Scheduler View, and Map View.
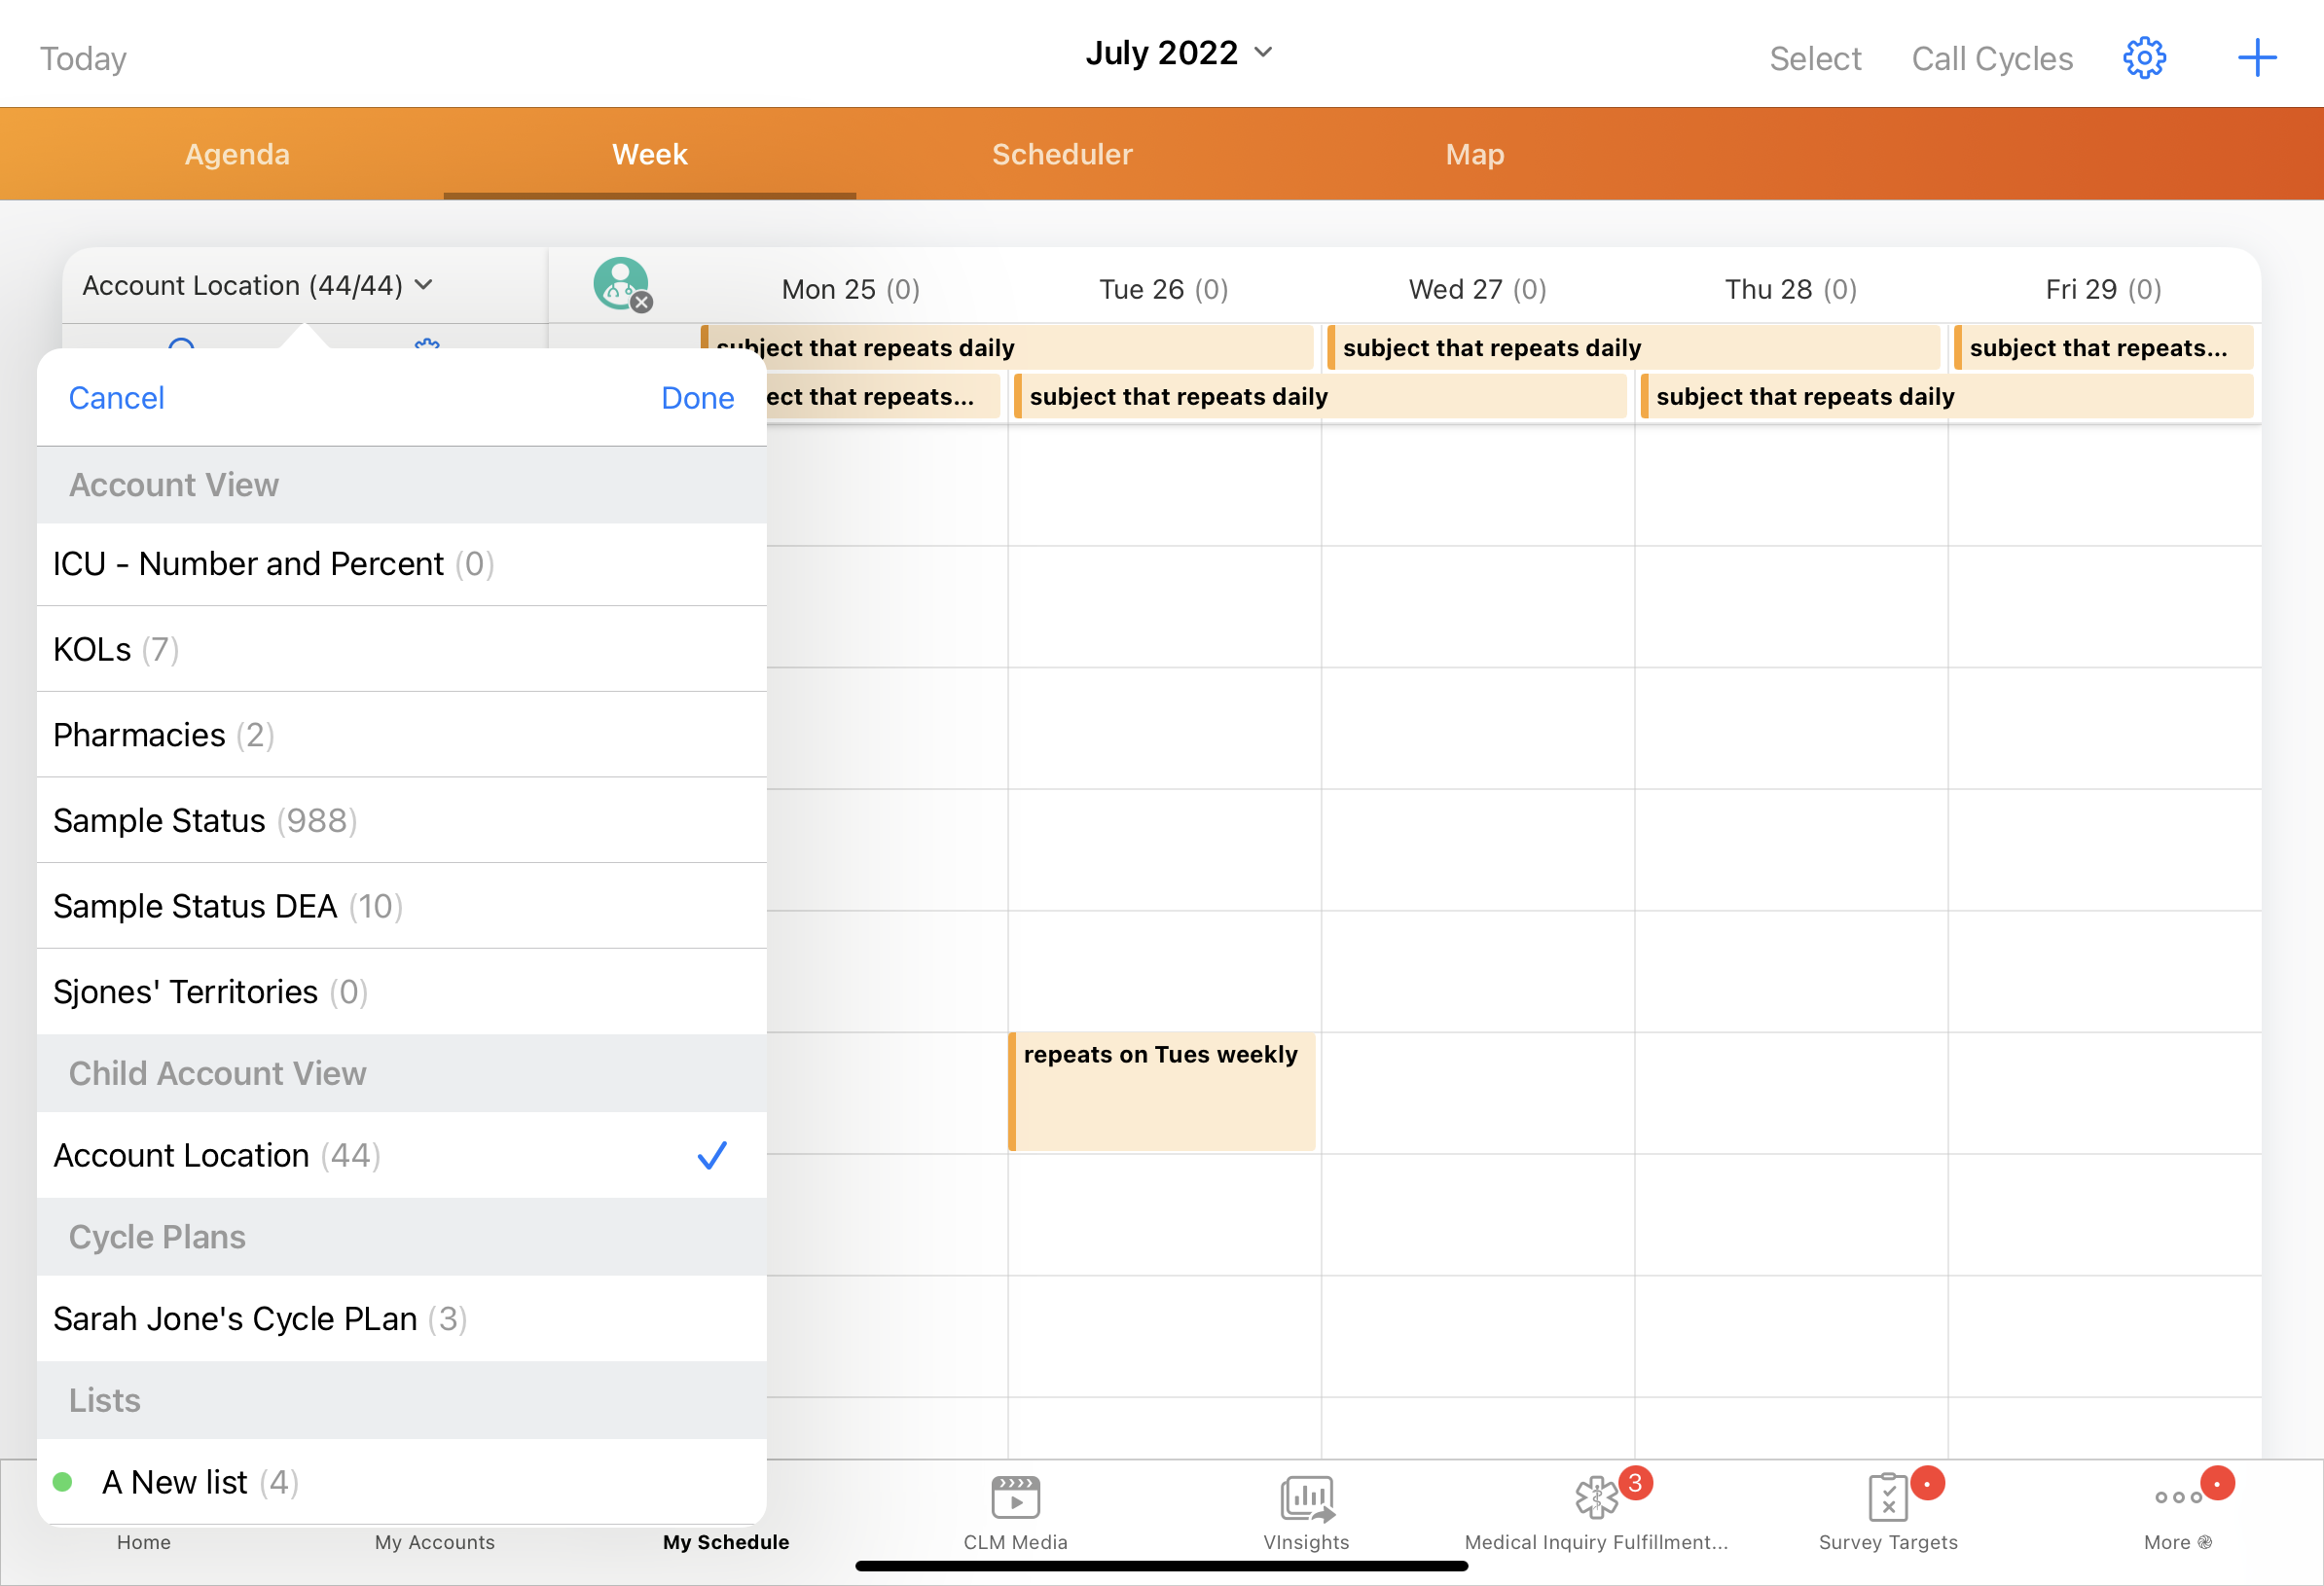
To access Child Account fields, users must first select a child account list view from the picklist at the top of the accounts panel.
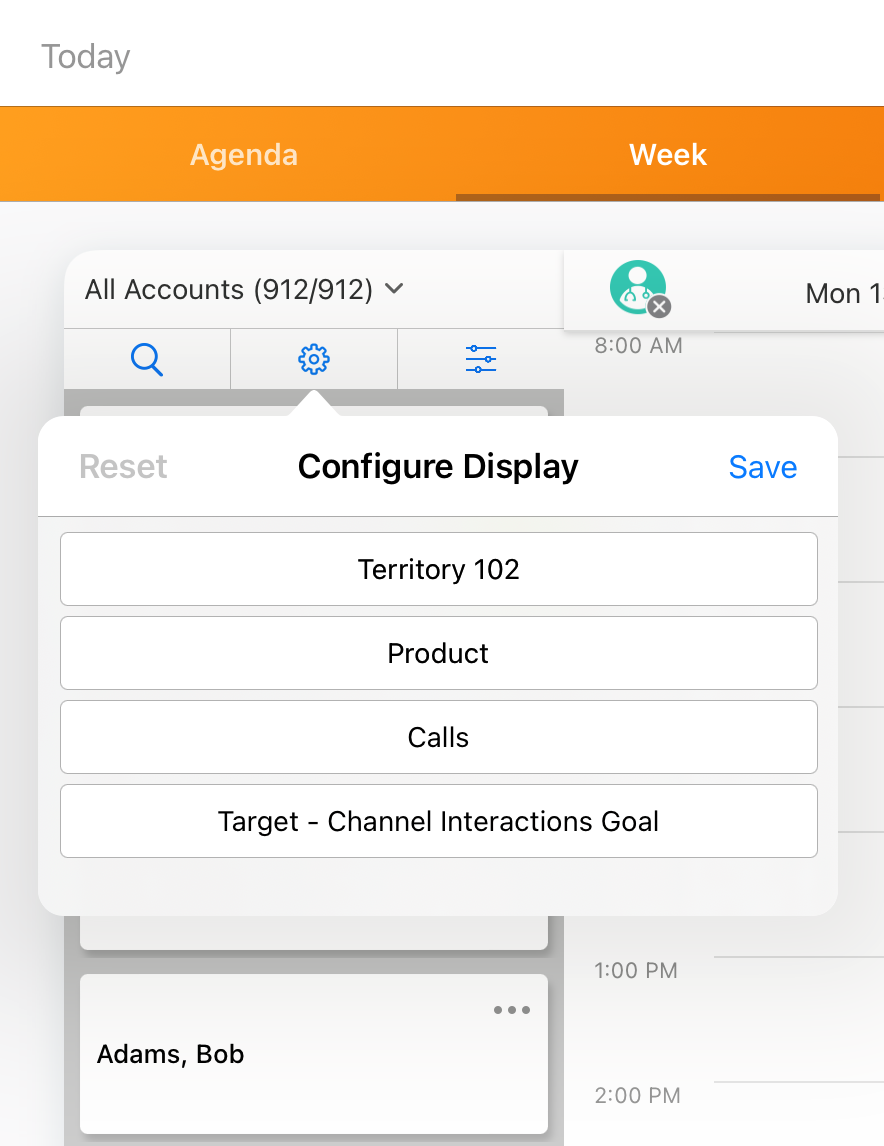
- Select the Display By field to access the Configure Display menu.
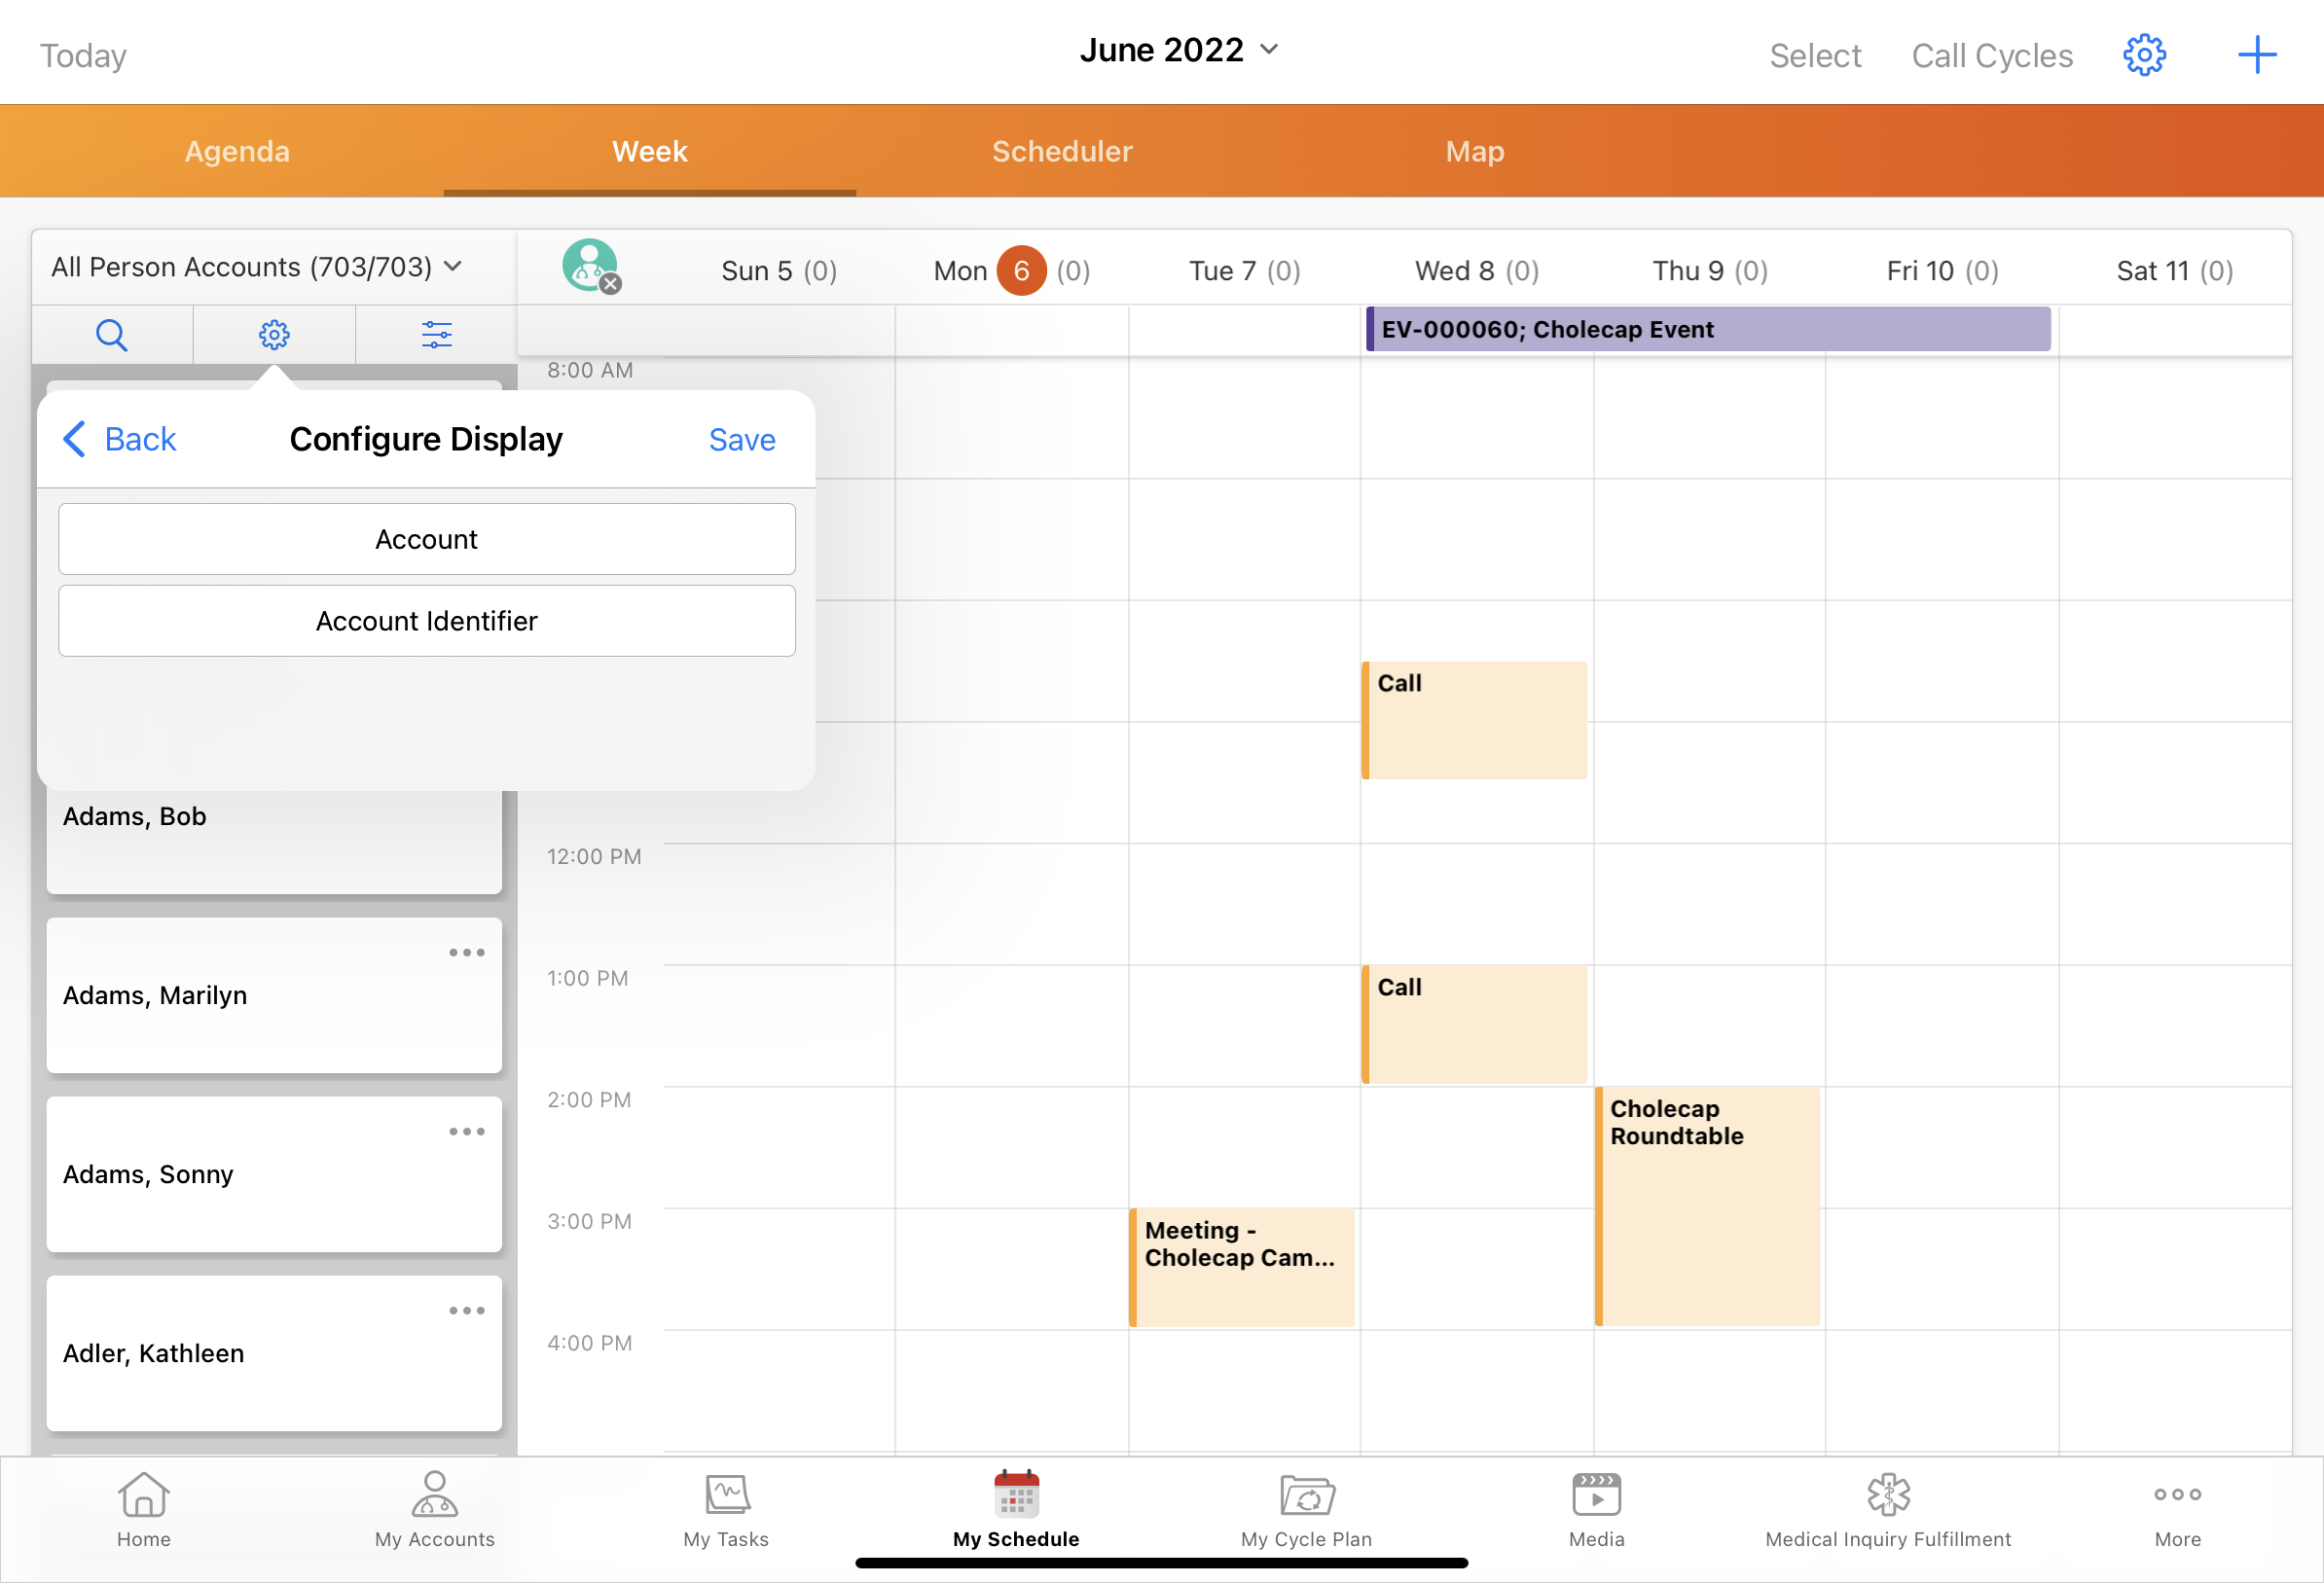
- Select the appropriate object from the first picklist.
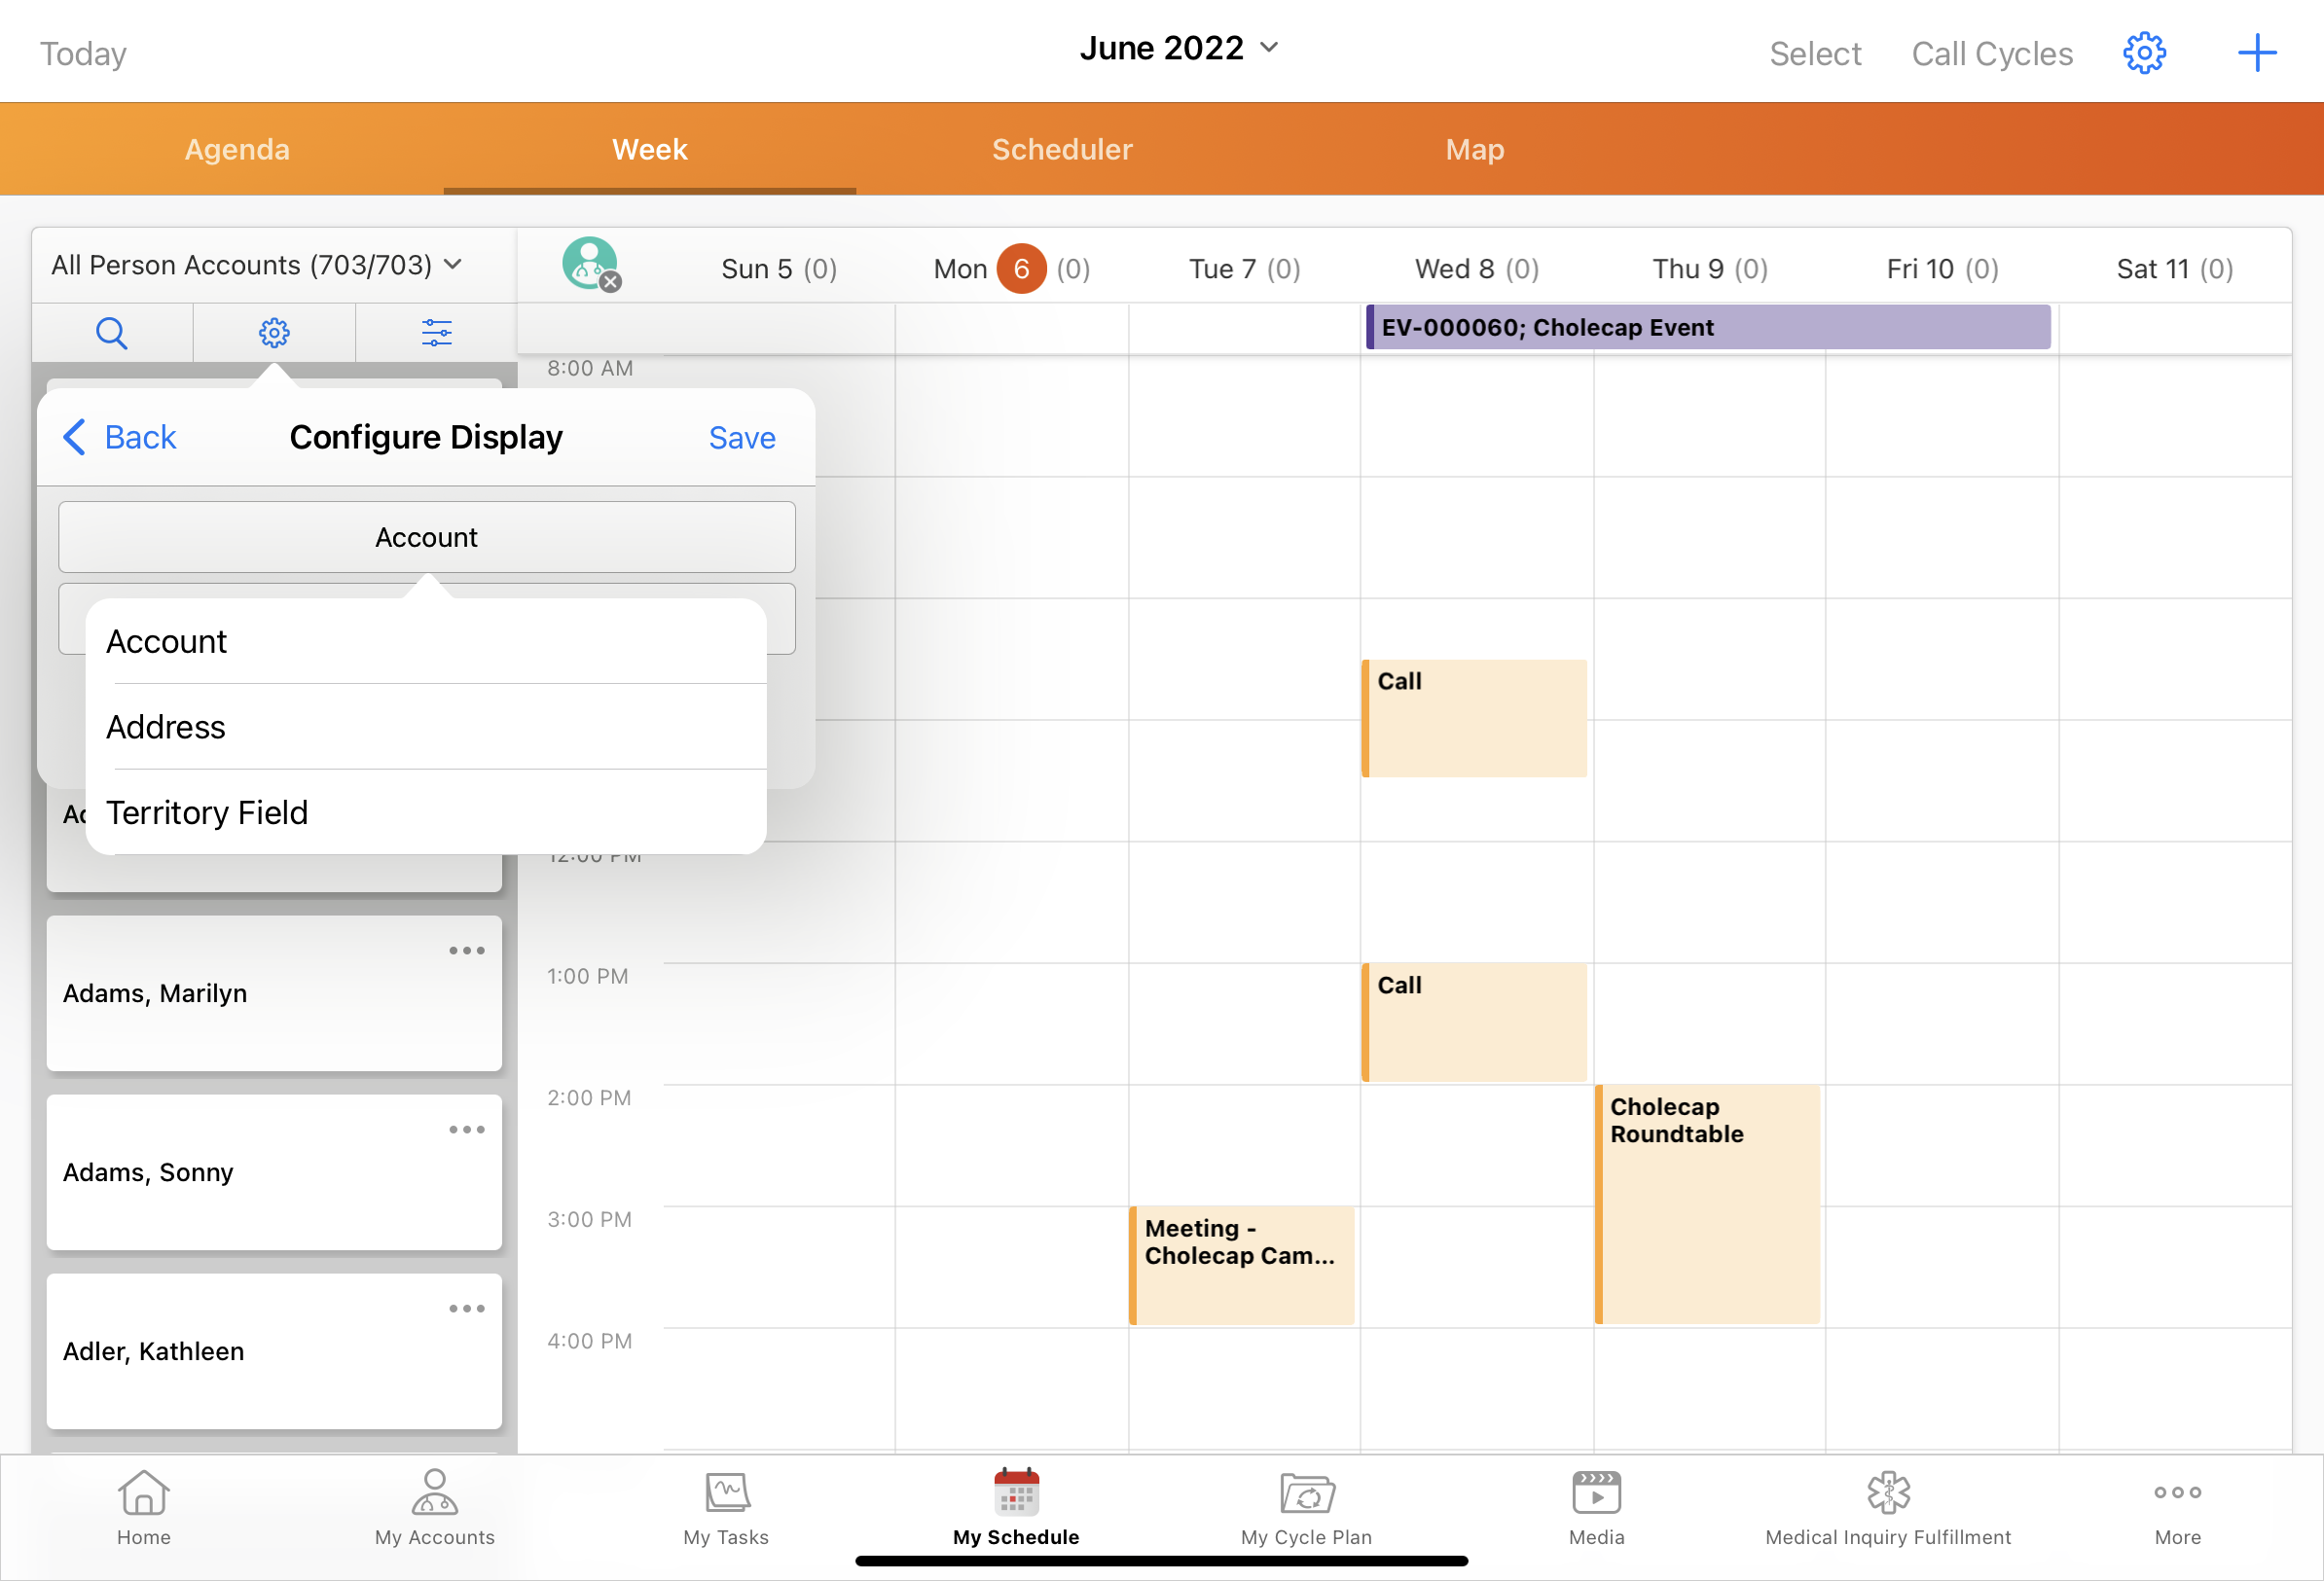
- Select the appropriate field from the second picklist. The second picklist is dependent on the first picklist—users must first select an object, then select a field on that object.
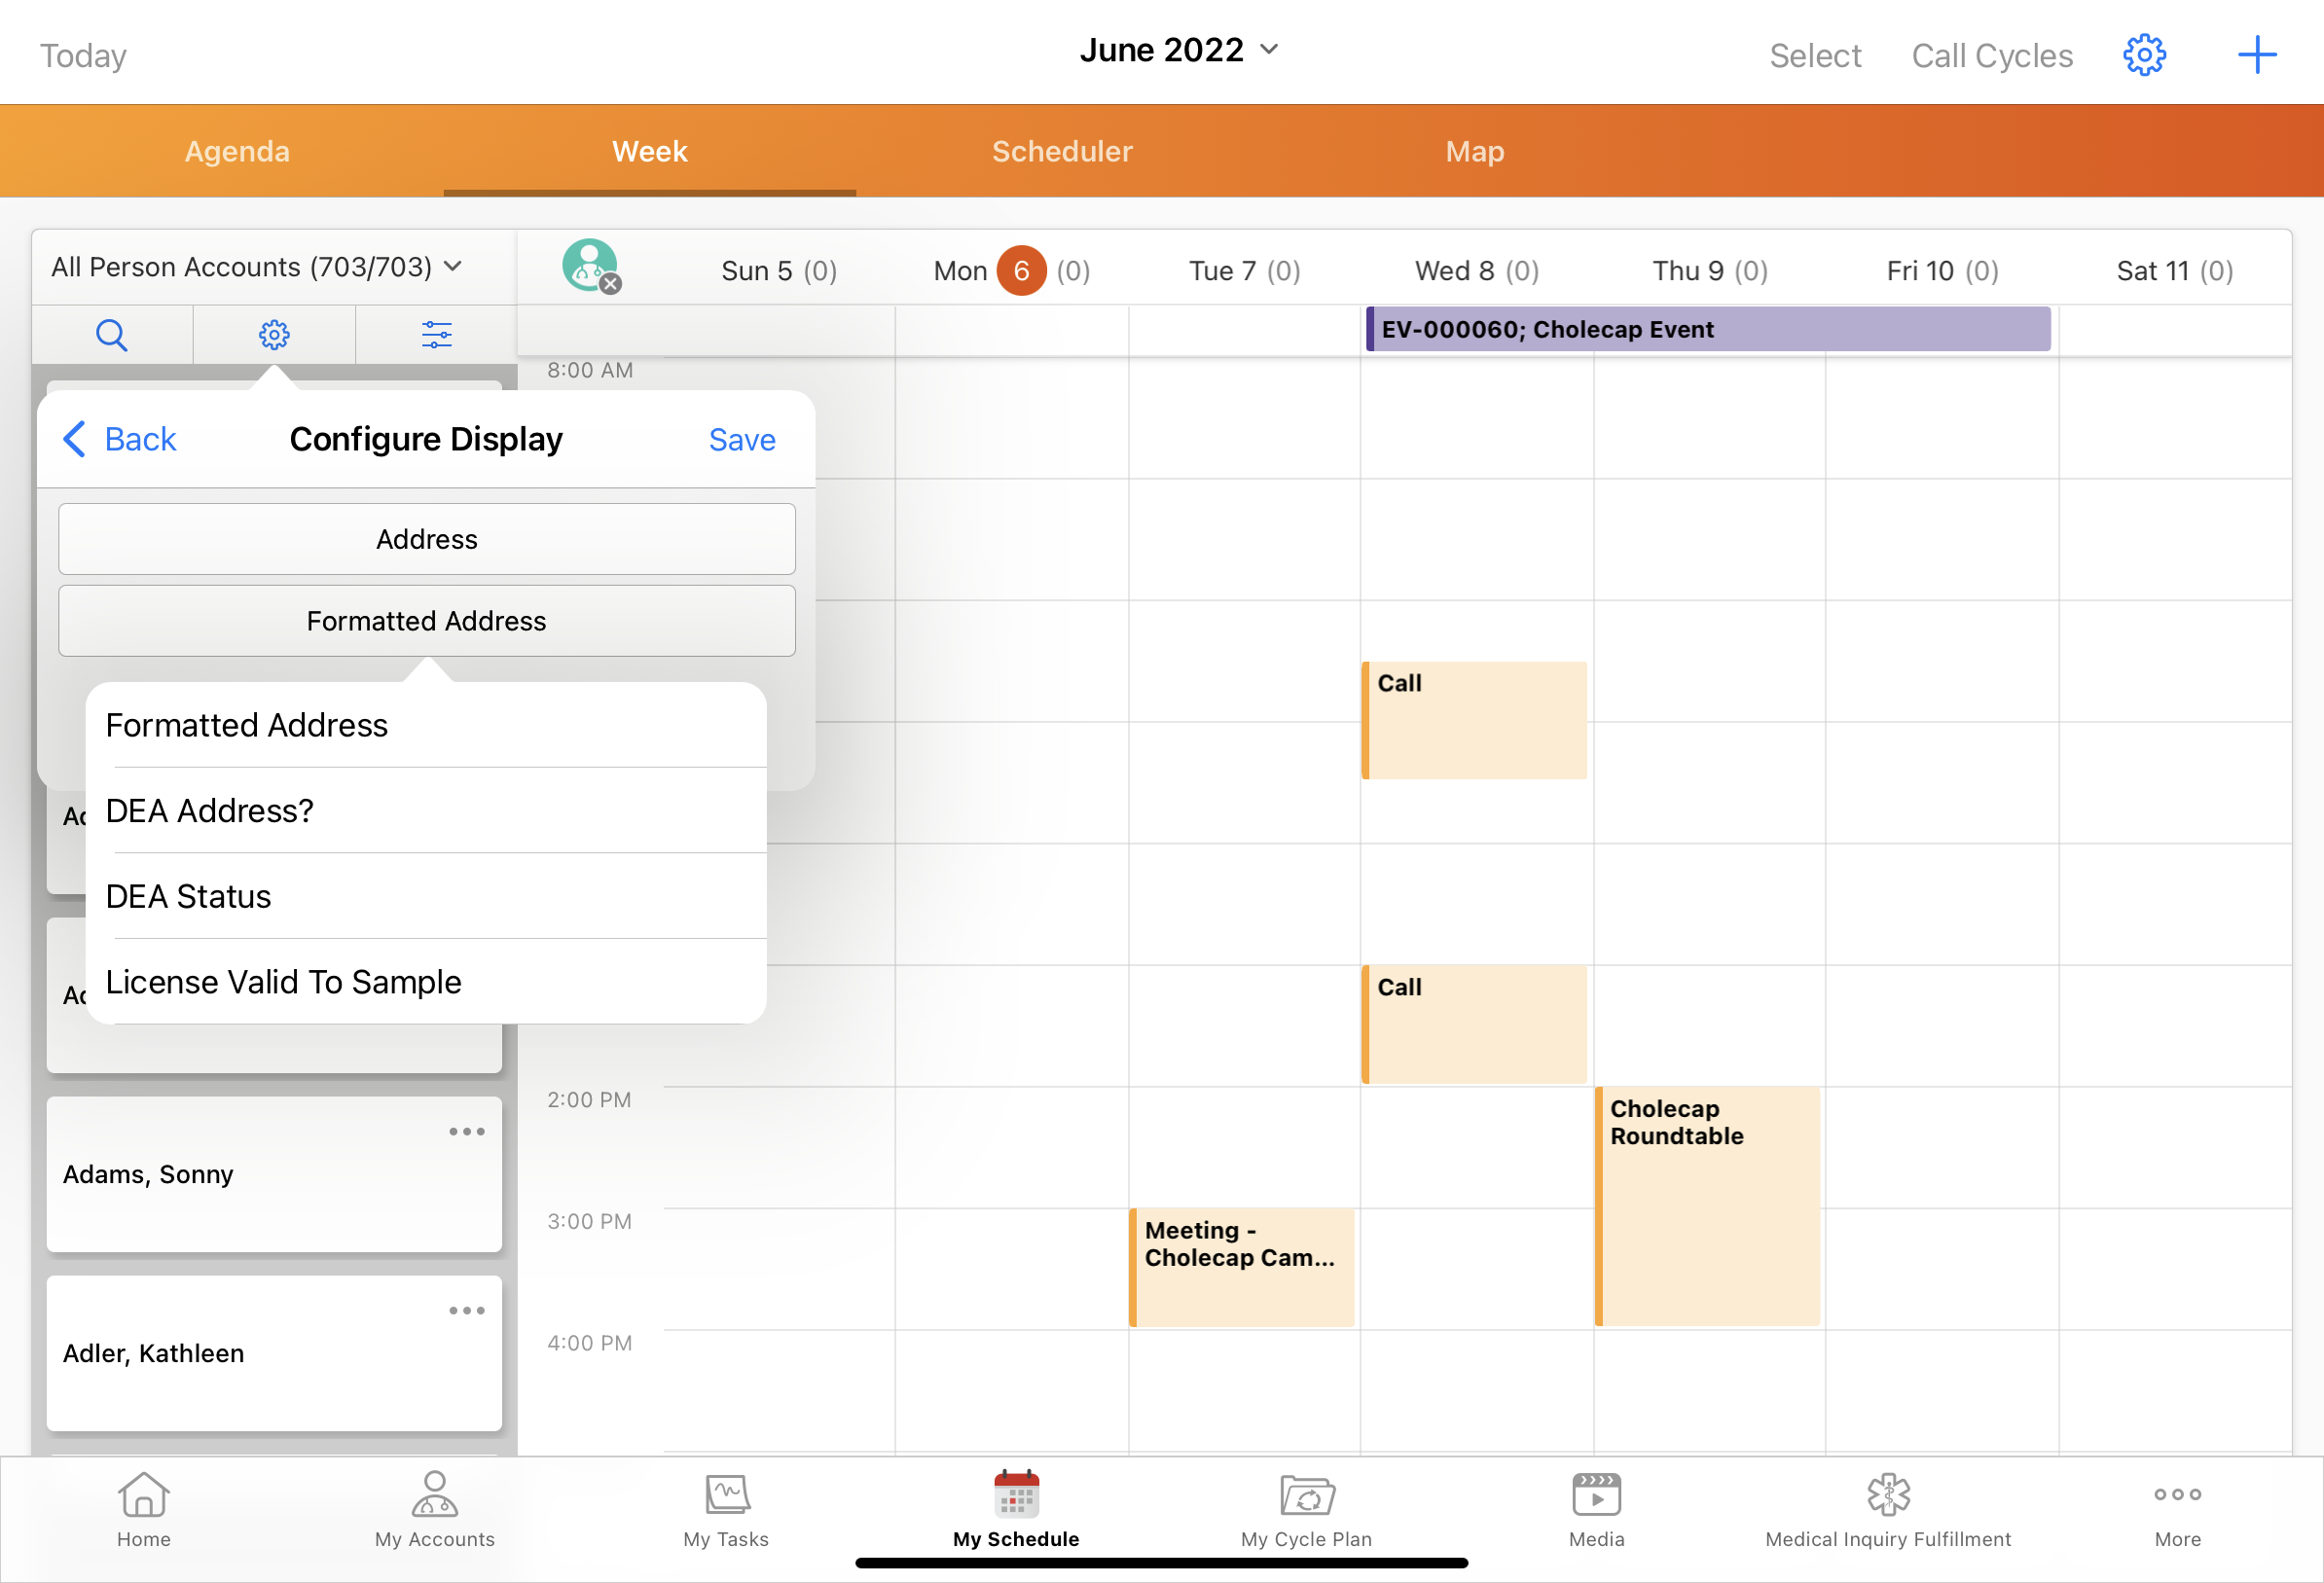
- Select Save.
The field value displays below the account’s name in the account panel. For example, when License Valid to Sample is selected, the account address’s status as Valid or Invalid displays below the account name.
Displaying MCCP Information
To display MCCP attributes in My Schedule’s accounts panel, users select a plan, product, and channel:
- Select the gear icon at the top of the accounts panel.
- Select the Display By field to access the Configure Display menu.
- Select the appropriate multichannel cycle plan from the first picklist—for example, Territory 102.
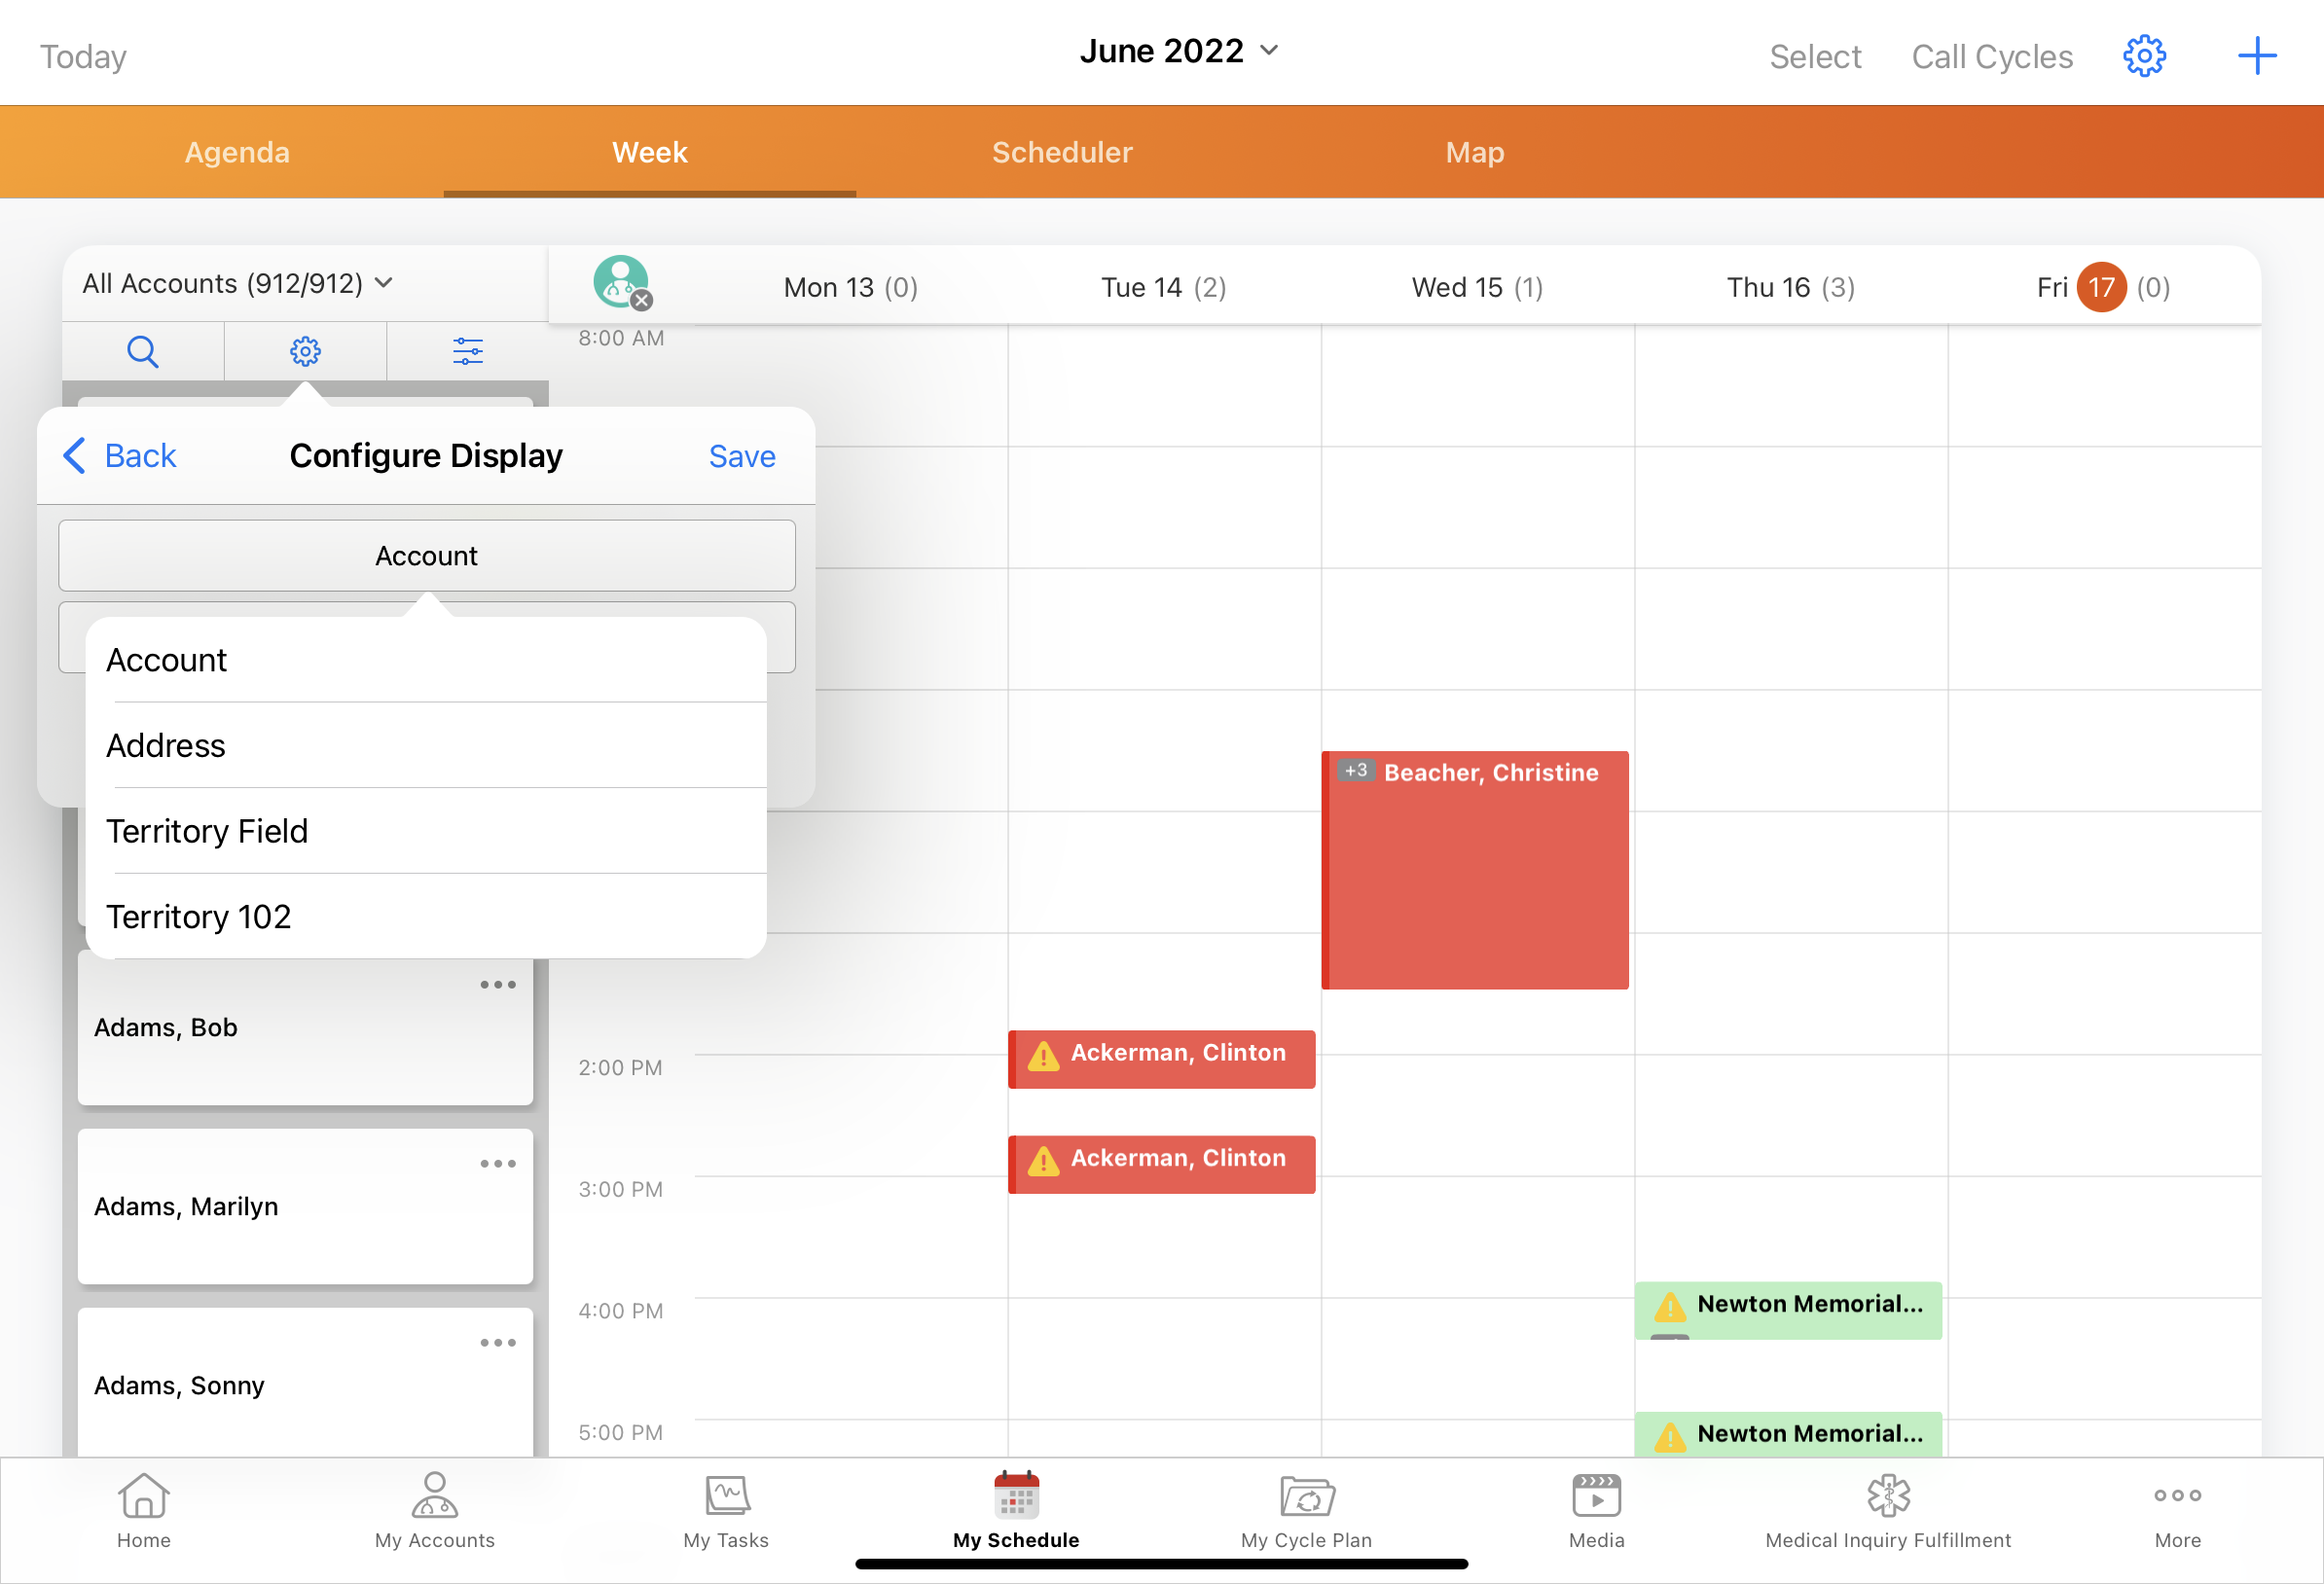
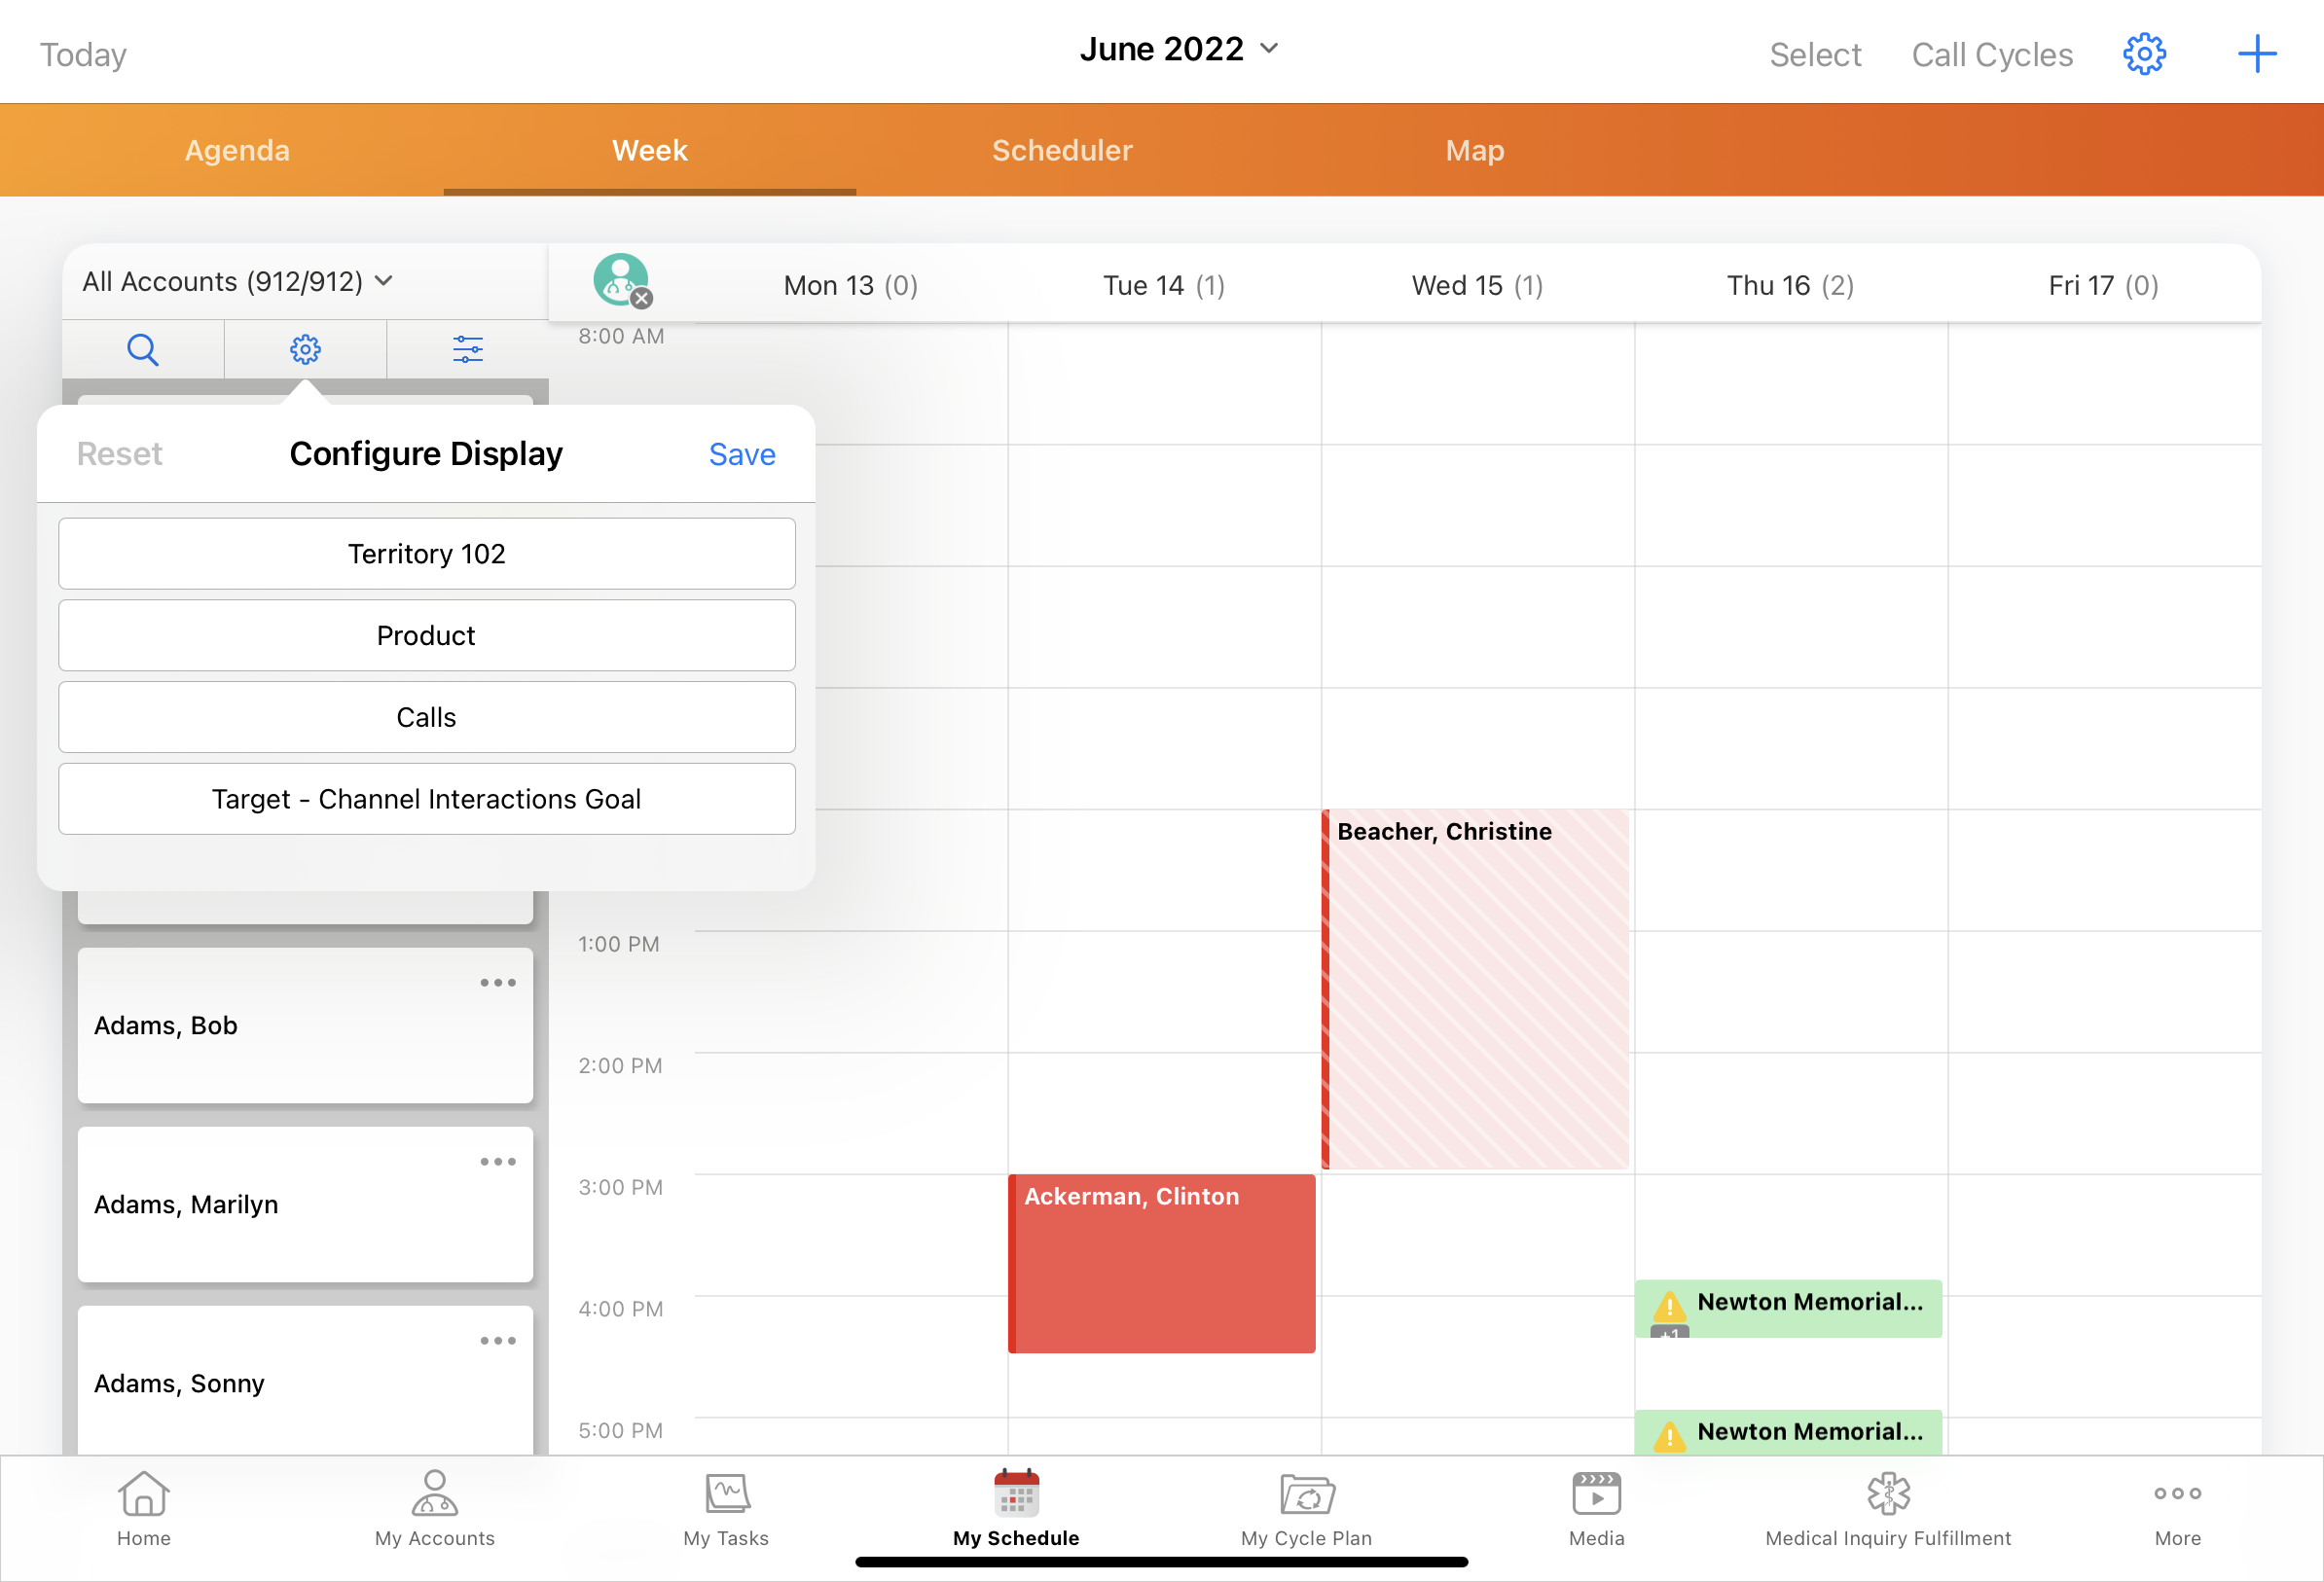
- Select the appropriate product or channel. The channel and product picklists are two-way dependent. If a user selects a product first, then the channel picklist only displays channels associated with that product. If a user selects a channel first, then the product picklist only displays products associated with that channel.
If the selected plan has only one associated channel, the channel picklist defaults to the only available channel.
There are no default MCCP attributes for the display-by functionality. Only custom attributes defined in Configuring Display-By for MCCP Attributes are available.
- Select Save. For accounts in the selected plan, attributes display below the account name in the accounts panel.
To clear Product and Channel selections and view all product and channel options, select the Reset button from the header of the Configure Display menu.
Considerations
- Only the following field types are supported:
- Date
- Datetime
- Checkbox
- Currency
- Number
- Percent
- Picklist
- Text
- URL
- Phone Number
- If users select an MCCP attribute from the Configure Display section and filters are not applied, the plan, product, and channel selection automatically populate the My Plan section of the filter
