

Assembling Custom Presentations in Veeva CRM on Desktop
- CRM Desktop (Mac, Windows)
Users can create and assemble customized presentations from the existing presentation slides in their media libraries to deliver specifically tailored messages to targeted accounts.
Users do not need an active internet connection to assemble custom presentations. Any custom presentations created offline automatically sync when the user connects to the internet.
A custom presentation is defined by the value Custom in the Type_vod picklist on the CLM_Presentation_vod object record.
This Type_vod value is set automatically and must not be modified. Admins should not add the Type_vod field to the CLM_Presentation_vod page layout where it is visible to end users.
Users can perform the following actions:
- Creating a custom presentation
- Making a copy of an existing read-only presentation
Read-only presentations are HQ presentations and cannot be created or deleted by users. The presentation window for a read-only presentation displays Read Only next to the slide counter.
- Making a copy of an existing custom presentation
- Deleting a custom presentation
Users cannot modify the content in the slides.
Enhanced sub-presentations are not supported with custom presentations in Veeva CRM on Desktop. Enhanced sub-presentations allow users to control the order of required slides in a sub-presentation along with the sub-presentation's target slide. When enhanced sub-presentations are enabled, users cannot create custom presentations.
Configuring Custom Presentations in Veeva CRM on Desktop
- Ensure the initial configuration for CLM is complete.
- Populate the ENHANCED_SUB_PRESENTATIONS_vod Multichannel Setting with a value of 0.
As a best practice to prevent errors in custom presentations, populate the CUSTOM_PRESENTATION_MANAGEMENT_vod Multichannel Setting with a value of 1.
Veeva CRM on Desktop does not respect the MULTI_PROD_USER_DEFINED_PRESENTATION_vod Veeva Setting.
Configuring Custom Presentations
To configure custom presentations:
- Grant end users the following permissions:
Object
OLS
Record Types
Fields
FLS
CLM_Presentation_vod
CRUD
n/a
Mobile_ID_vod
Status_vod
Type_vod
Edit
CLM_Presentation_Slide_vod
CRUD
n/a
- Mobile_ID_vod
- Sub_Presentation_vod
Edit
-
Navigate to Security > Sharing Settings for the CLM_Presentation_vod object, select Private for Default Internal Access, and deselect the Grant Access Using Hierarchies check box. This also defines the settings for the CLM_Presentation_Slide_vod object, which is a child of CLM_Presentation_vod.
-
Create a sharing rule granting end users access to presentations created by content admins, for example, Type_vod != Custom.
To allow deleting custom presentations, grant end users FLS Edit permission to the Status_vod field on the CLM_Presentation_vod object.
Creating and Assembling Custom Presentations
When creating or assembling a custom presentation, users can add slides from other presentations with different products.
Creating a Custom Presentation
To create a custom presentation:
- Open presentations containing the slides for the custom presentation.
- Select the + button.
- Select and drag the appropriate slides from the open presentations to the blank custom presentation.
- Select the Edit menu to edit the slides or use the appropriate keyboard shortcuts.
- Drag and drop or copy and paste slides to reorder them, including multiple slides at a time.
- Select the File menu.
- Select Save.
- Enter the name, product, and language of the presentation and any desired labels. Selecting the Labels text field displays the Add Labels modal. See Labeling Presentations for more information.
Users on CRM Desktop (Mac) can also manage custom presentation labels when renaming the presentation.
- Select Save.
Users can create multiple custom presentations at the same time.
The Slide Sorter allows users to view all the slides in the presentation and easily rearrange the order of the slides. Users can switch between Normal View and the Slide Sorter from the button next to the slide counter.
Users must save the custom presentation before closing or navigating away from the custom presentation window.
When a user selects Apply Updates in the media library, they must review or discard the unsaved changes for each open presentation before they can continue. Once all the presentations are reviewed and saved, the media library syncs and applies the updates.
Duplicating an Existing Presentation
To make a copy of an existing presentation:
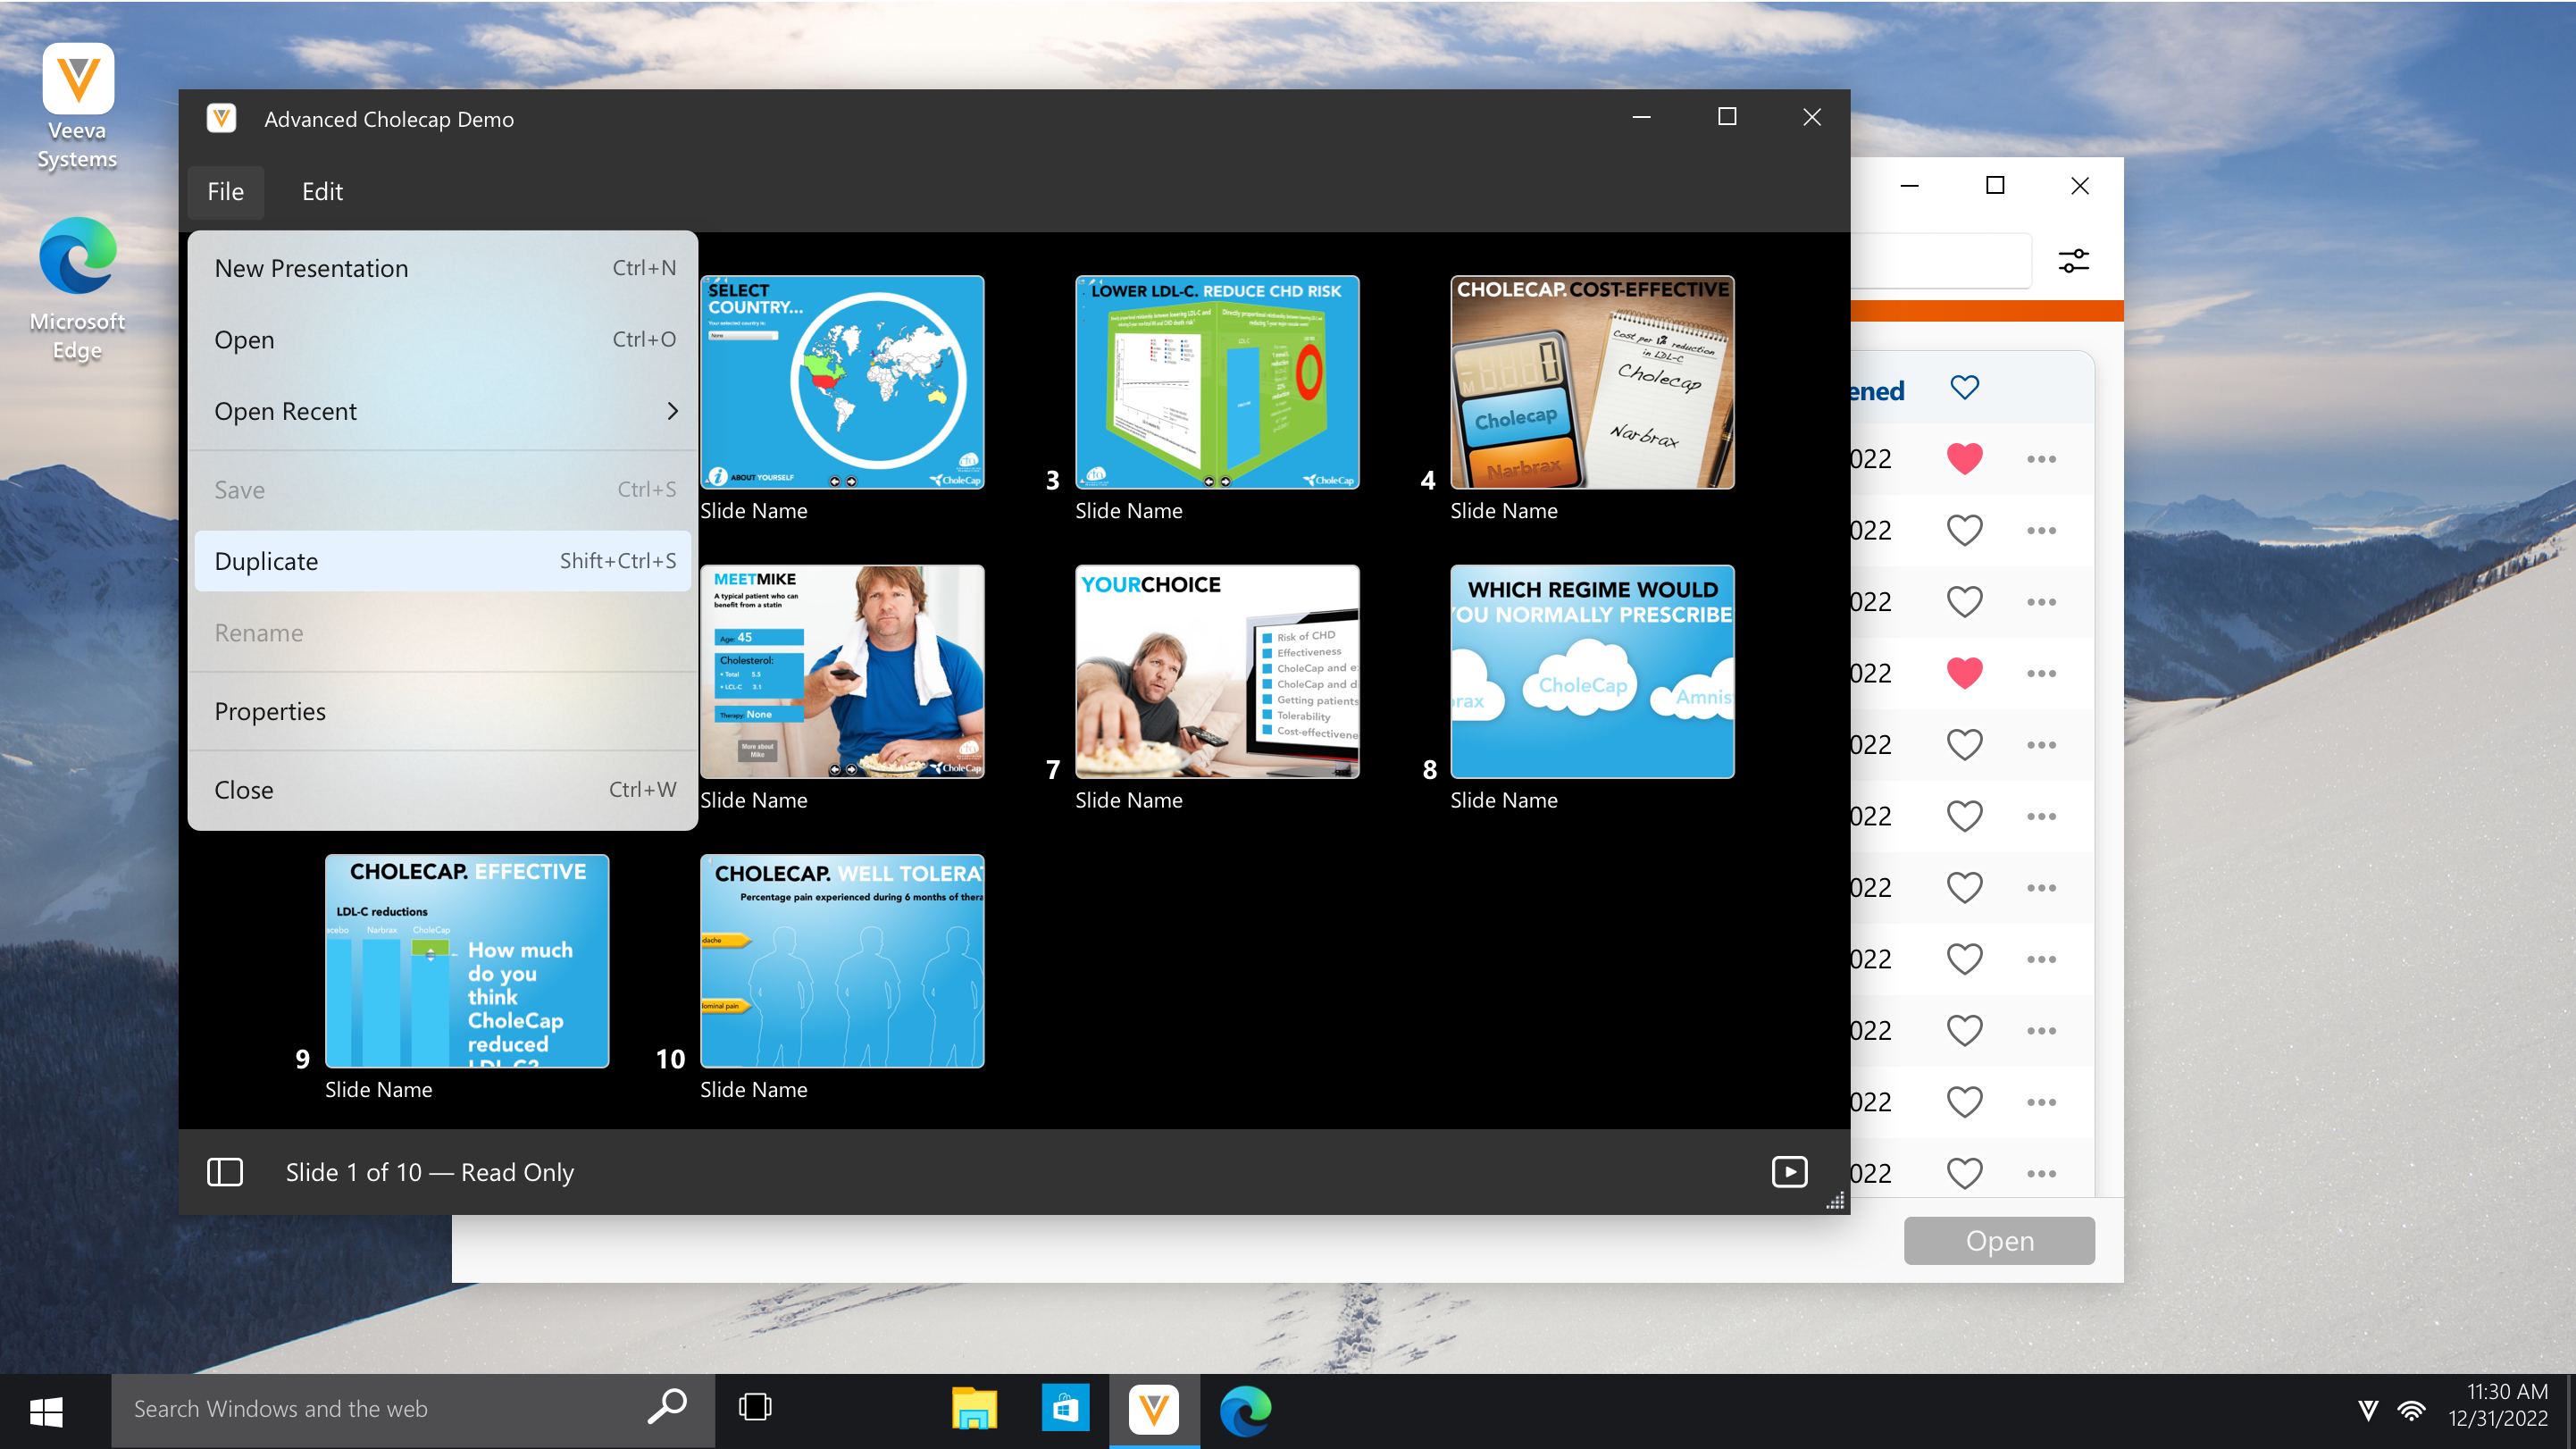
- Open the appropriate presentation and select the File menu. Alternatively, select the More Actions button for the presentation in the media library.
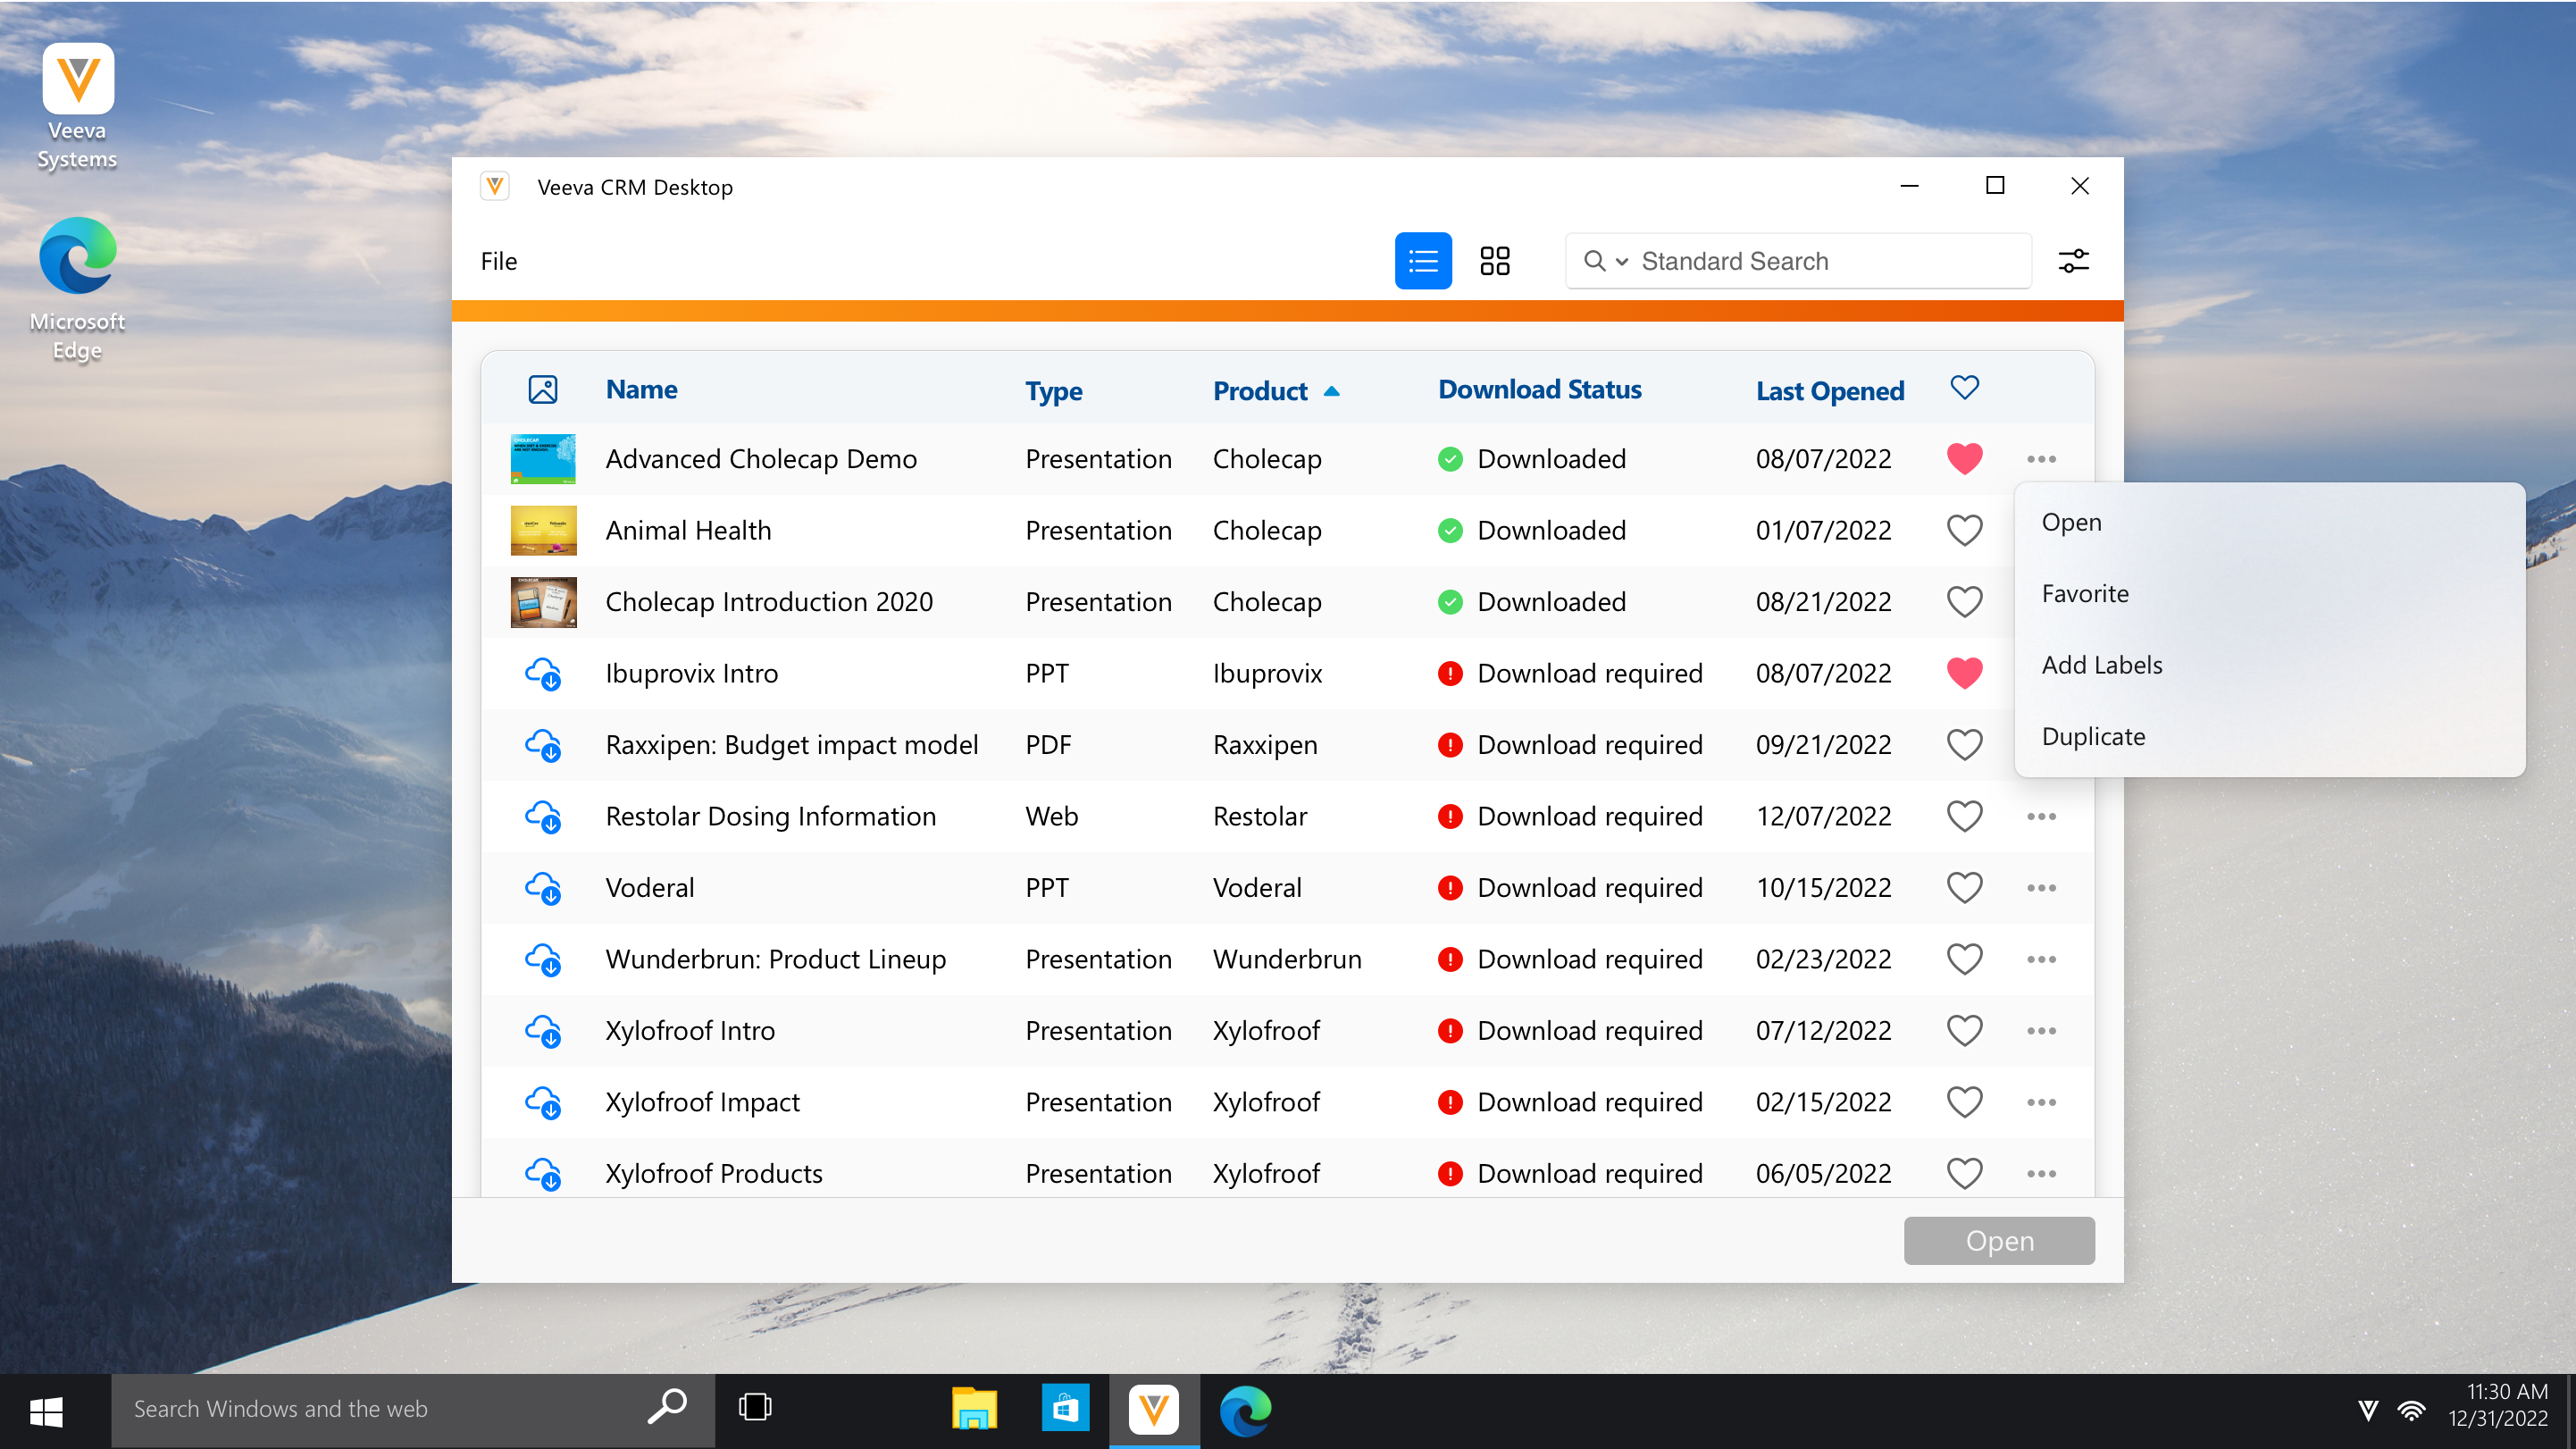
Users on the CRM Desktop (Windows) platform can also use the right-select context menu in the media library.
- Select Duplicate.
- Select the Edit menu to edit the slides or use the appropriate keyboard shortcuts. Drag and drop or copy and paste slides to reorder them, including multiple slides at a time.
- Select the File menu.
- Select Save.
- Enter the name of the presentation and any desired labels. Selecting the Labels text field displays the Add Labels modal.
- Select Save.
Deleting a Custom Presentation
Users can delete custom presentations to ensure the media library only contains up-to-date content. Deleting a custom presentation expires the CLM_Presentation_vod record and removes it from the library.
To delete a custom presentation:
- Select the More Actions button for the appropriate presentation in the media library.
- Select Delete.
- Select Delete in the confirmation popup.
Managing Custom Presentation Properties
Users can only edit the properties for a custom presentation if there is at least one slide. To edit the properties of a custom presentation:
- Open the custom presentation.
- Select the File menu.
- Select Properties.
- Edit the appropriate properties:
- Name
- Product
- Language
- Keywords
- Description
If customers set required fields on the CLM_Presentation_vod object, users will encounter sync errors when syncing the media library as the required fields may not be populated.
- Select Save.
