

Labeling Presentations
- CRM Desktop (Mac, Windows)
- iPad
- iPhone
Users can organize presentations by creating and adding labels. Using labels helps to quickly identify the appropriate presentation to use especially if the user has a large library of presentations. Labels and directories cannot be applied at the same time.
Ensure initial configuration is complete to use this functionality. Ensure a VMOC is active for the RecordType object.
Considerations
- Custom labels are unique to individual users and cannot be shared with other users
- Labels are case insensitive
Managing Custom Labels
To create and apply a custom label:
- Navigate to CLM Presentations.
- Select the More Actions button for the appropriate presentation.

- Select Add Labels.
- Create a custom label or select from the list of existing custom labels. Presentations can have multiple labels and a label can be applied to multiple presentations.
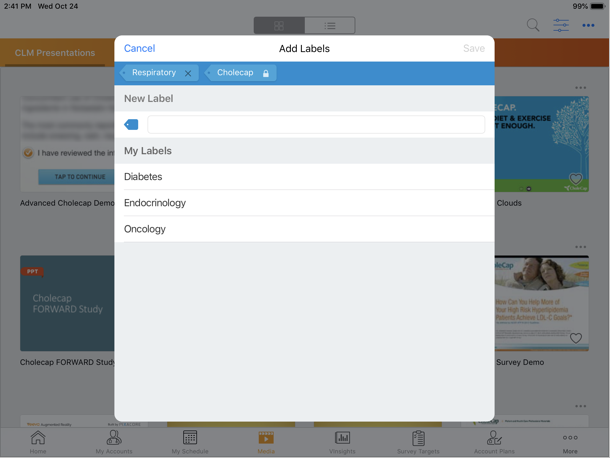
- Select Save.
Users can also create custom labels from the Filter menu by selecting the Create New Label button.
When a user creates a label, a Content_Preference_vod record with the CLM_Presentation_Label_vod record type is created. When the label is removed, the corresponding Content_Preference_vod record is deleted.
All Content_Preference_vod records related to a presentation are deleted when the presentation is deleted.
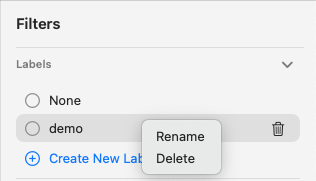
Selecting the Edit button from the Filter menu enables users to edit or delete existing labels:
- To delete a label, select the red circle button, then select Delete
- To rename a label, select the pencil button
Managing Labels in Veeva CRM on Desktop
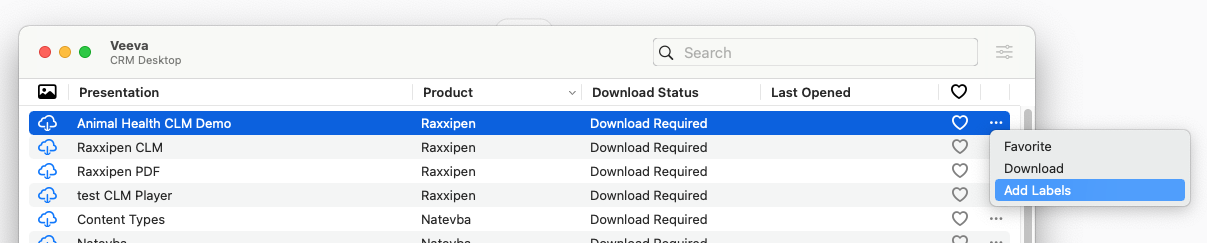
To create a label:
- Select the More Actions button.
- Select Add Labels.
- Enter a label name or select from the list of existing labels. Presentations can have multiple labels and a label can be applied to multiple presentations.
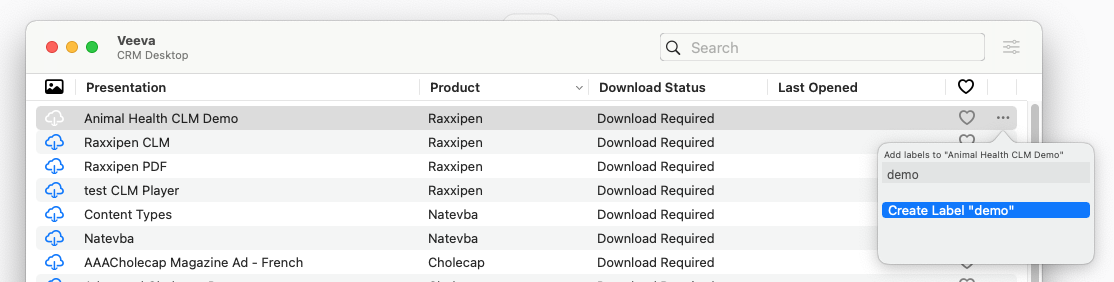
- Press Enter or select Create Label “<name>”.
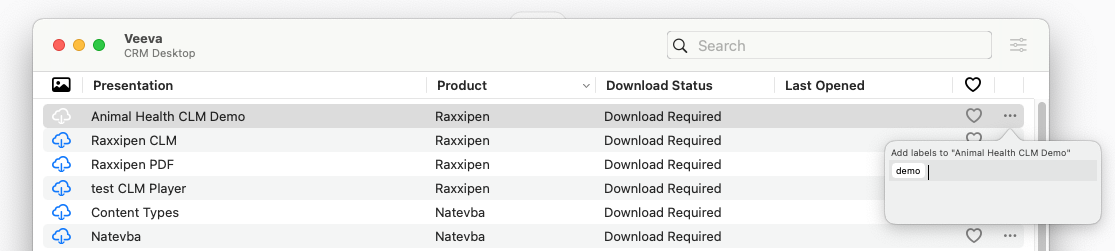
To remove a label from a presentation, select the label in the labels modal.
To rename a label:
- Select the Filter button.
- Right-select the appropriate label.
- Select Rename.
- Enter the new name.
- Press Enter or select outside of the text box.
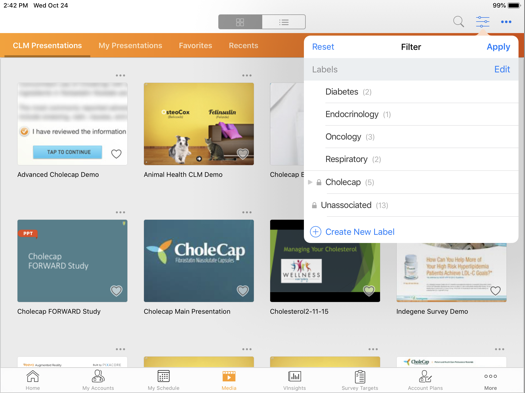
Filtering by Custom Labels
To filter by custom labels:
- Select the Filter button.
- Select all appropriate labels to display. The number of presentations using the label displays next to the label name.
- Select Apply.
Labels cannot be filtered if there is already an applied directory.
