

Inventory Ordering
- Browser
To ensure users do not run out of products, Inventory Ordering provides end users, district managers, and sample administrators with an efficient and centralized process for replenishing users’ product inventory. Admins set inventory allocations for the quantity of a particular product a user or user group can order within a particular time frame. District managers redistribute these allocations among their reporting users. Based on the allocation assigned, users place orders to continually replenish their product inventory. If users request additional products outside their allocated quantity or allocation date range, managers can approve or reject the order.
For example, Sarah Jones is running low on Cholecap samples. To avoid running out of Cholecap entirely, she places an inventory order for several more boxes of Cholecap. Because this order is within her allocation for the month, she does not need to wait for order approval from a manager or admin. She receives the order quickly and continues detailing Cholecap and disbursing Cholecap samples without interruption.
Configuring Sample Inventory Order
Ensure initial configuration is complete before enabling this functionality.
To enable inventory ordering:
- Grant admins the following permissions:
Object
OLS
Record Types
Field
FLS
Inventory_Order_vod
CRUD
n/a
- Order_For_User_vod
- Order_Status_vod
- Order_Type_vod
- Require_Approval_vod
Edit
- Approved_vod
- Approved_By_vod
- Approved_Date_vod
- Order_Submit_Date_vod
Read
Inventory_Order_Allocation_vod
Modify All
n/a
- Active_vod
- Allocation_End_Date_vod
- Allocation_Start_Date_vod
- Allow_Date_Exceptions_vod
- Allow_Quantity_Exceptions_vod
- Description_vod
- External_ID_vod
- Product_Order_Allocation_Quantity_vod
- Minimum_Single_Order_Quantity_vod
- Order_End_Date_vod
- Order_Start_Date_vod
- Parent_Allocation_Id_vod
- Product_vod
- Total_Order_Fulfilled_Quantity_vod
- User_vod
- User_Allocation_Group_vod
Edit
Inventory_Order_Line_vod
Modify All
- Exception_Severity_vod
- Exception_Type_vod
- Inventory_Order_Allocation_vod
- Inventory_Order_Header_vod
- Inventory_Order_Line_Status_vod
- Order_Fulfilled_Quantity_vod
- Order_Quantity_vod
- Order_Quantity_UOM_vod
- Product_vod
- Requested_Delivery_Date_vod
Edit
Grant Modify All permission via the user profile. Granting Modify All permission via permission sets is not supported for inventory ordering. If users do not have Modify All permission, they can only view their own data or the data of users below them, based on the default Role Hierarchy sharing settings.
- Grant users the following permissions:
Object
OLS
Record Types
Field
FLS
Inventory_Order_vod
CRUD
n/a
- Order_For_User_vod
- Order_Status_vod
- Order_Type_vod
Edit
- Approved_vod
- Approved_By_vod
- Approved_Date_vod
- Order_Submit_Date_vod
Read
Inventory_Order_Allocation_vod
R
n/a
- Active_vod
- Allocation_End_Date_vod
- Allocation_Start_Date_vod
- Allow_Date_Exceptions_vod
- Allow_Quantity_Exceptions_vod
- Description_vod
- Product_Order_Allocation_Quantity_vod
- Minimum_Single_Order_Quantity_vod
- Order_End_Date_vod
- Order_Start_Date_vod
- Product_vod
- Total_Order_Fulfilled_Quantity_vod
- User_vod
- User_Allocation_Group_vod
Read (optional)
Inventory_Order_Line_vod
CRUD
- Exception_Comments_vod (optional)
- Exception_Severity_vod (optional)
- Exception_Type_vod (optional)
- Inventory_Order_Allocation_vod
- Inventory_Order_Header_vod
- Order_Quantity_UOM_vod
- Product_vod
- Order_Quantity_vod
- Order_Fulfilled_Quantity_vod
- Requested_Delivery_Date_vod
- Inventory_Order_Line_Status_vod
Edit
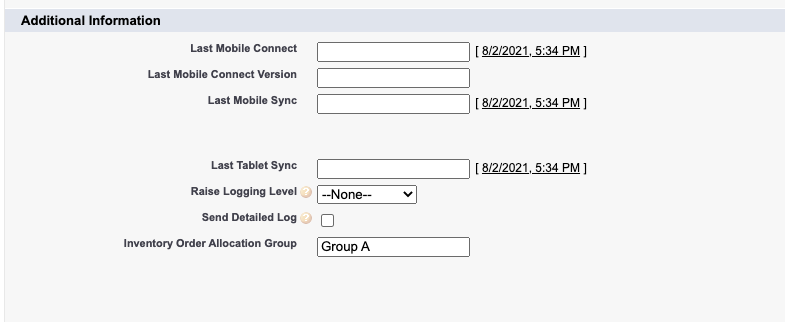
- Add the Inventory_Order_Allocation_Group_vod field to the appropriate page layouts on the User object page layout.
- Add the following fields to the Inventory_Order_Line_vod page layout to enable users to enter more information on inventory order exceptions (optional):
- Exception_Comments_vod
- Exception_Severity_vod
- Exception_Type_vod
- Edit the order of the fields on the Inventory_Order_Line_vod page layout to reflect the desired column order for individual inventory order line items (optional).The order of fields on inventory line items is determined by the Inventory_Order_Line_vod page layout.
- Create a tab for Inventory Order Allocation (only if allocations are created manually, instead of by data load).
- Create a tab for Inventory Orders.
- Grant manager and admins access to the Inventory Order Allocation tab (optional).
- Grant users, managers, and admins access to the Inventory Order tab.
- Create a new Visualforce Tab for Product Order Allocation. This tab's content should be the Inventory_Order_Reallocate_vod tab.
- Grant users and admins access to the following Visualforce pages:
- Edit_Inventory_Sample_Order_vod
- New_Inventory_Sample_Order_vod
- View_Inventory_Sample_Order_vod
- Clone_Inventory_Sample_Order_vod (optional)
- Inventory_Order_Reallocate_vod (required for admins and managers; optional for end users)
- Update the text field on the ALLOCATION_MANAGER_TAB_LABEL Veeva Message to “Inventory Order Allocations”. In order for the View Inventory Order Allocation link to display on the My Samples page, the value in this Veeva Message’s text field must match the label for the Production Order Allocation tab.
To define validation rules for inventory order records, create the validation rules on the Inventory_Order_vod object rather than the Inventory_Order_Line_vod object.
Configuring Custom Pull-in Fields on Inventory Orders
To display additional product information to users on the inventory order page, add custom pull-in fields to the Inventory_Order_vod object page layout:
- Create a new field on the Inventory_Order_Line_vod object in the following format: zvod_Product_[FieldName].
- Add the new field to the first section of the Inventory_Order_Line_vod object page layout.
- Set the field to Read only.
When an order record with custom Product Catalog pull-in fields is saved, the value from the Product Catalog field is saved to the pull-in field on the Inventory_Order_vod record.
Assigning Inventory Order Allocations
To enable users to restock their inventories without manager approval for each order, admins and managers define inventory order allocations. Inventory order allocations are set per product for a particular time frame. Admins and managers then assign allocations to users either through top-down allocation or user groups:
- Top-down allocation - for greater flexibility and specificity in inventory order allocations, managers create and assign individual inventory order allocations for each of their reporting users
- Allocation via user groups - for efficient allocation with equal quantities and the same conditions for each user in a group, admins assign inventory order allocations per predefined user group
When creating inventory order allocation records via data load, the User_vod field and Inventory_Order_Allocation_Group_vod fields cannot both be populated on the same record. On a single record, admins can assign up to 50 products to each user in a group, or assign up to 50 products to a specific user, but they cannot assign products via both methods.
Assigning Top-Down Inventory Order Allocations
When assigning inventory order allocations top-down:
- Admins create an initial allocation for the highest manager in a role hierarchy
- Managers determine the appropriate allocations for each of their reporting users and define different allocation quantities and conditions for each user
- Managers individually reassign the initial allocation for each of their reporting users
To assign an initial top-down inventory order allocation:
- Navigate to the Inventory Order Allocations tab, through either of the following:
- Select the View Inventory Order Allocation link in the Pending Sample Receipts section of the My Samples page
- Select the Inventory Order Allocations tab
- Select New.
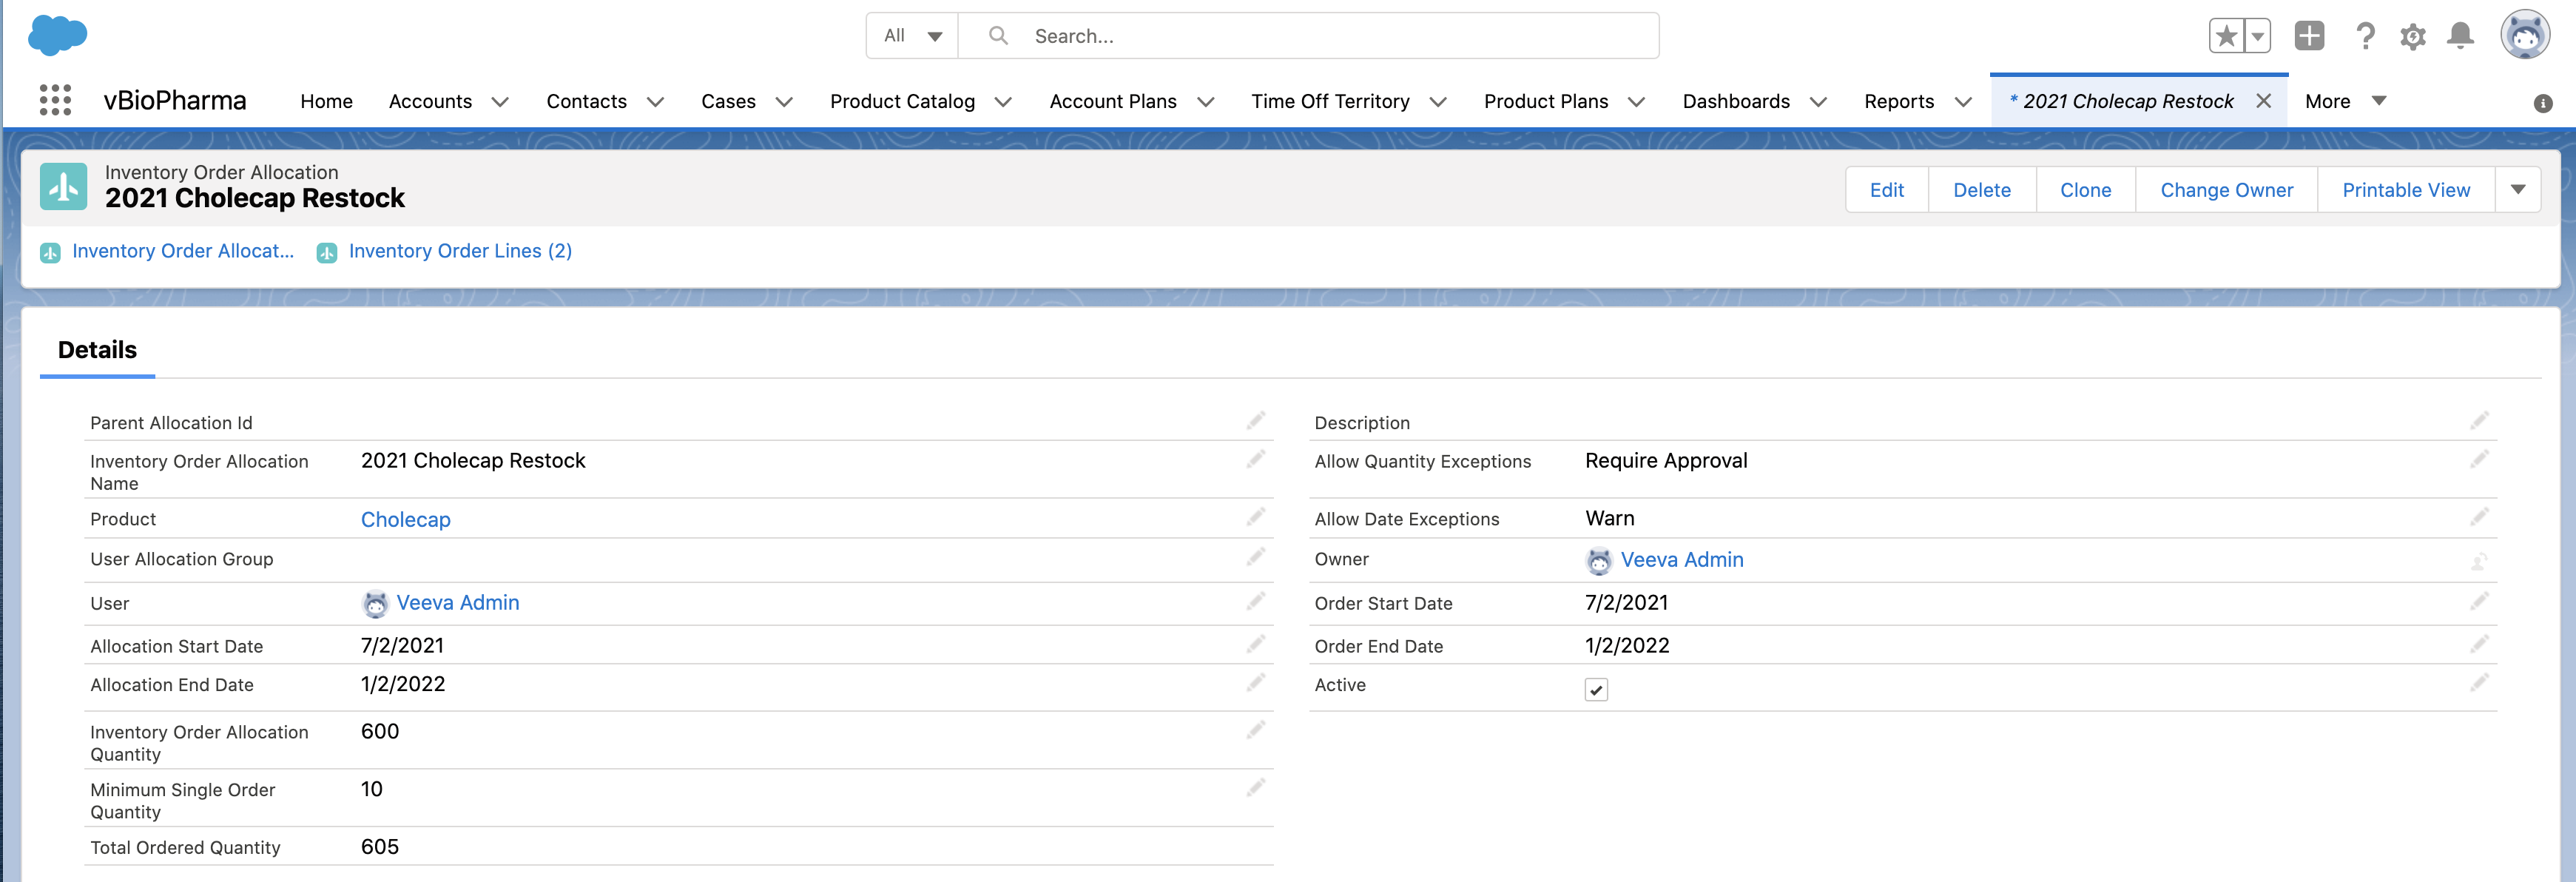
- Enter the appropriate product, quantity, and date information.
- Select the appropriate manager from the User field.
- Enter a value for the Minimum Single Order Quantity to set a minimum quantity per order—for example, if the sample fulfillment vendor has a shipment minimum of 10 boxes, enter 10 in the field (optional).
- Select a value from the Allow Quantity Exceptions and Allow Date Exceptions picklists to determine how quantity and date exceptions should be handled for orders in the allocation (optional). By default, admins and managers have the following options for exceptions:
- Prevent - users cannot submit the record until they edit the record to stay within the date or quantity allocation
- Warn - a warning icon displays, but users can still submit the record with the exception
- Require Approval - a warning icon displays, and a user higher in the role hierarchy must approve the inventory order exception
- Do Nothing - users can submit the record as usual, and a warning icon does not display
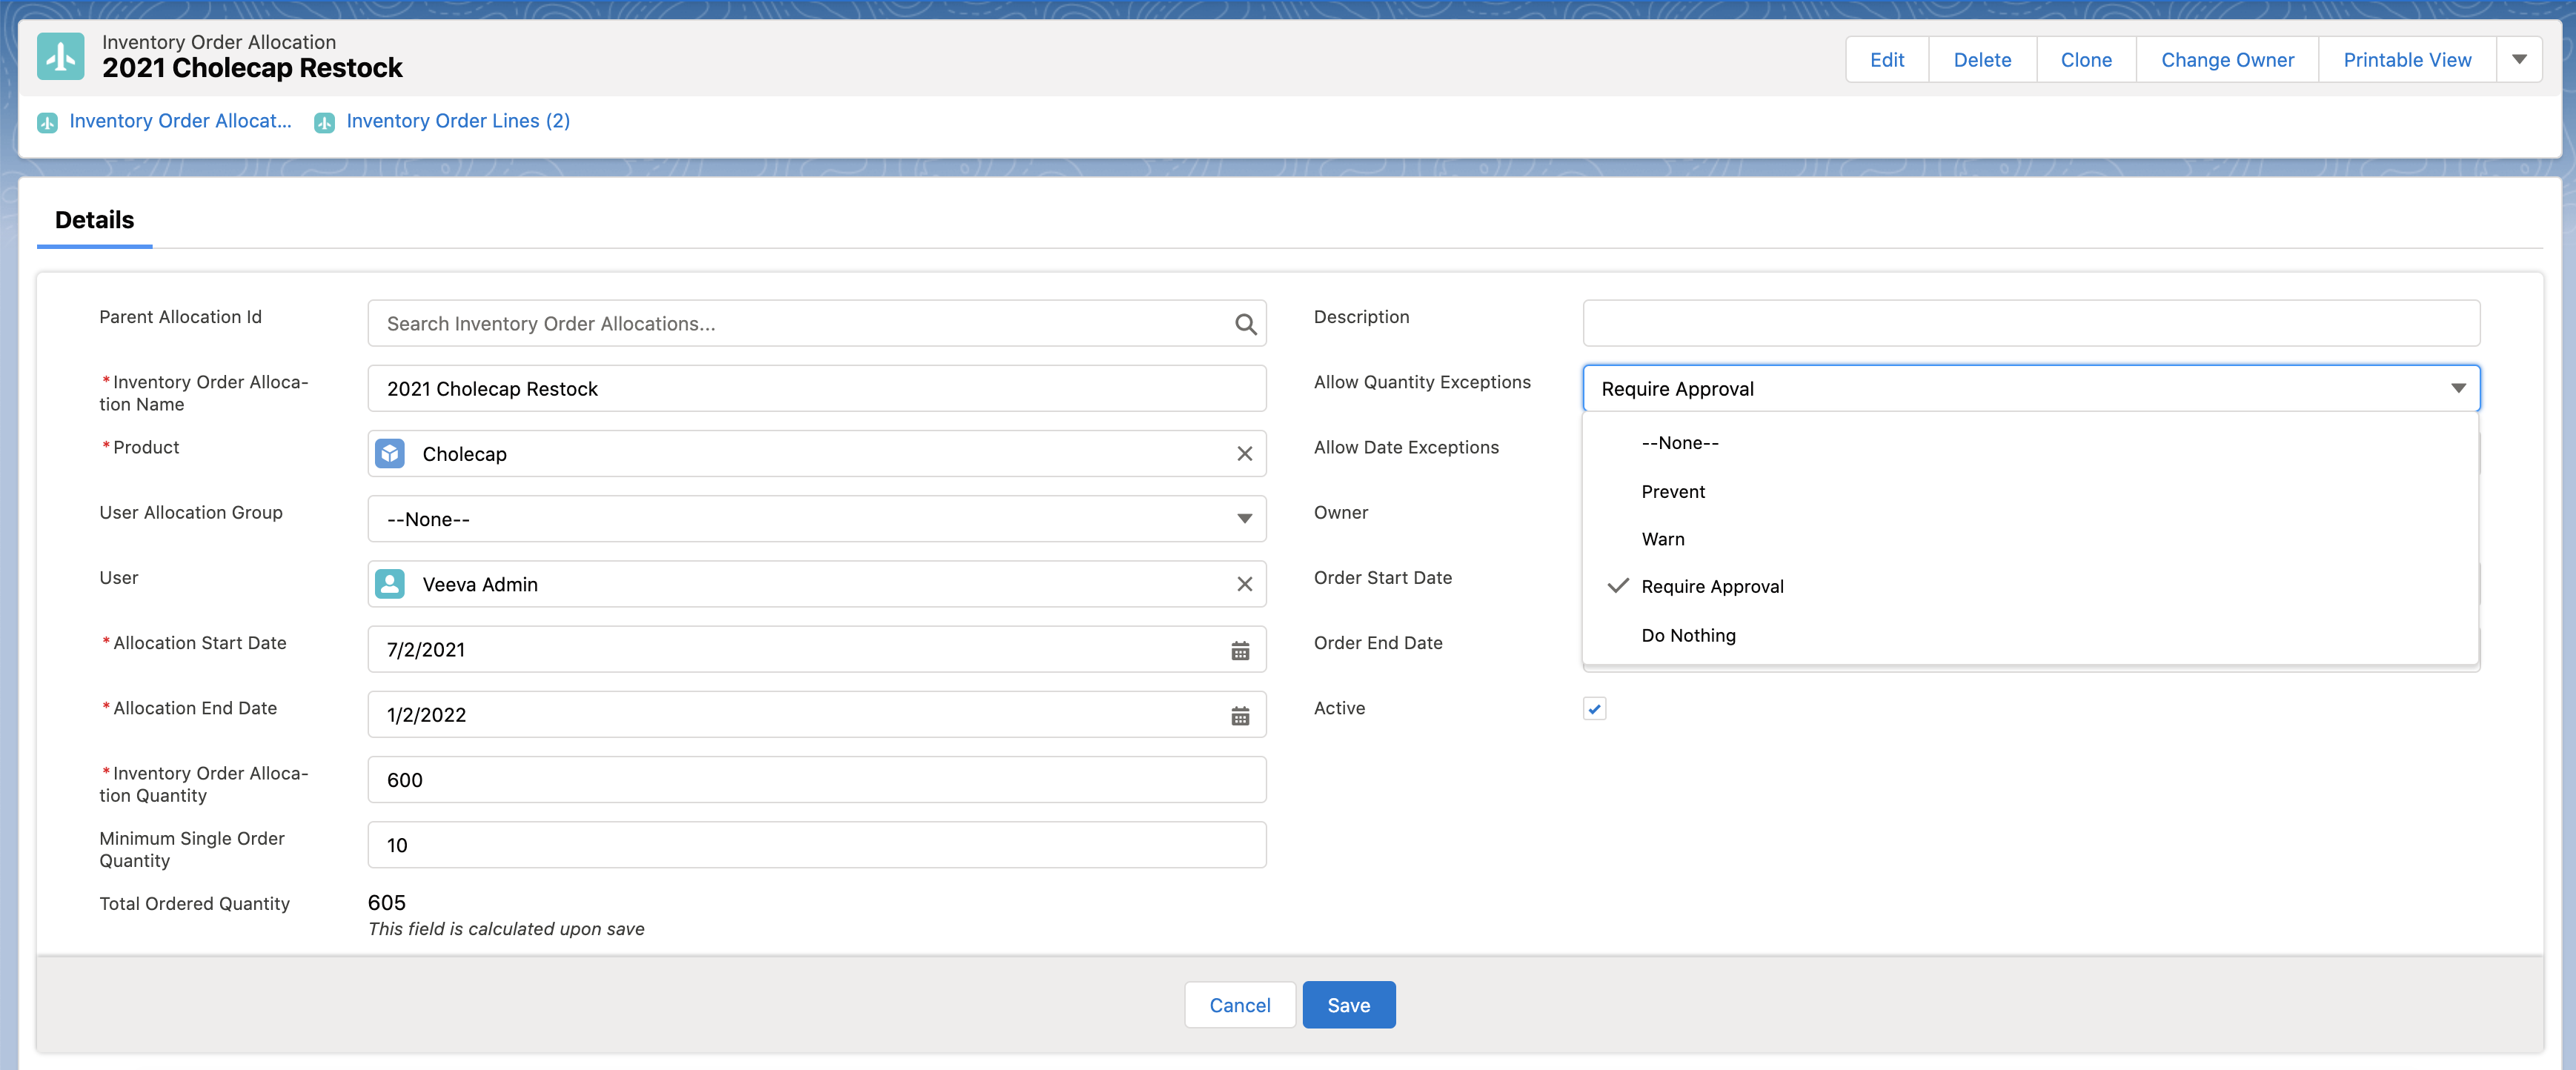
- Select the Active check box.
- Select Save.
The User field displays as a lookup field for users with Modify All permission. For all other users, the field displays as a picklist.
Reassigning Top-Down Inventory Order Allocations
When using top-down inventory order allocation, managers reassign parts of their initial allocation to reporting users—for example, a regional manager divides her allocation among three district managers, who each divide their allocations among several reporting users. Create allocations for each appropriate user, either by data load or manually.
To manually reassign top-down inventory order allocations:
- Navigate to the Inventory Order Allocations tab, through either of the following:
- Select the View Inventory Order Allocation link in the Pending Sample Receipts section of the My Samples page
- Select the Inventory Order Allocations tab
- Select the appropriate inventory order record.
- Select the New Inventory Order Allocation button from the Inventory Order Allocations related list.
- Complete the appropriate fields for the inventory order allocation. The Parent Allocation Id field is automatically populated with the name of the initial allocation.
- Select Save or Save & New.
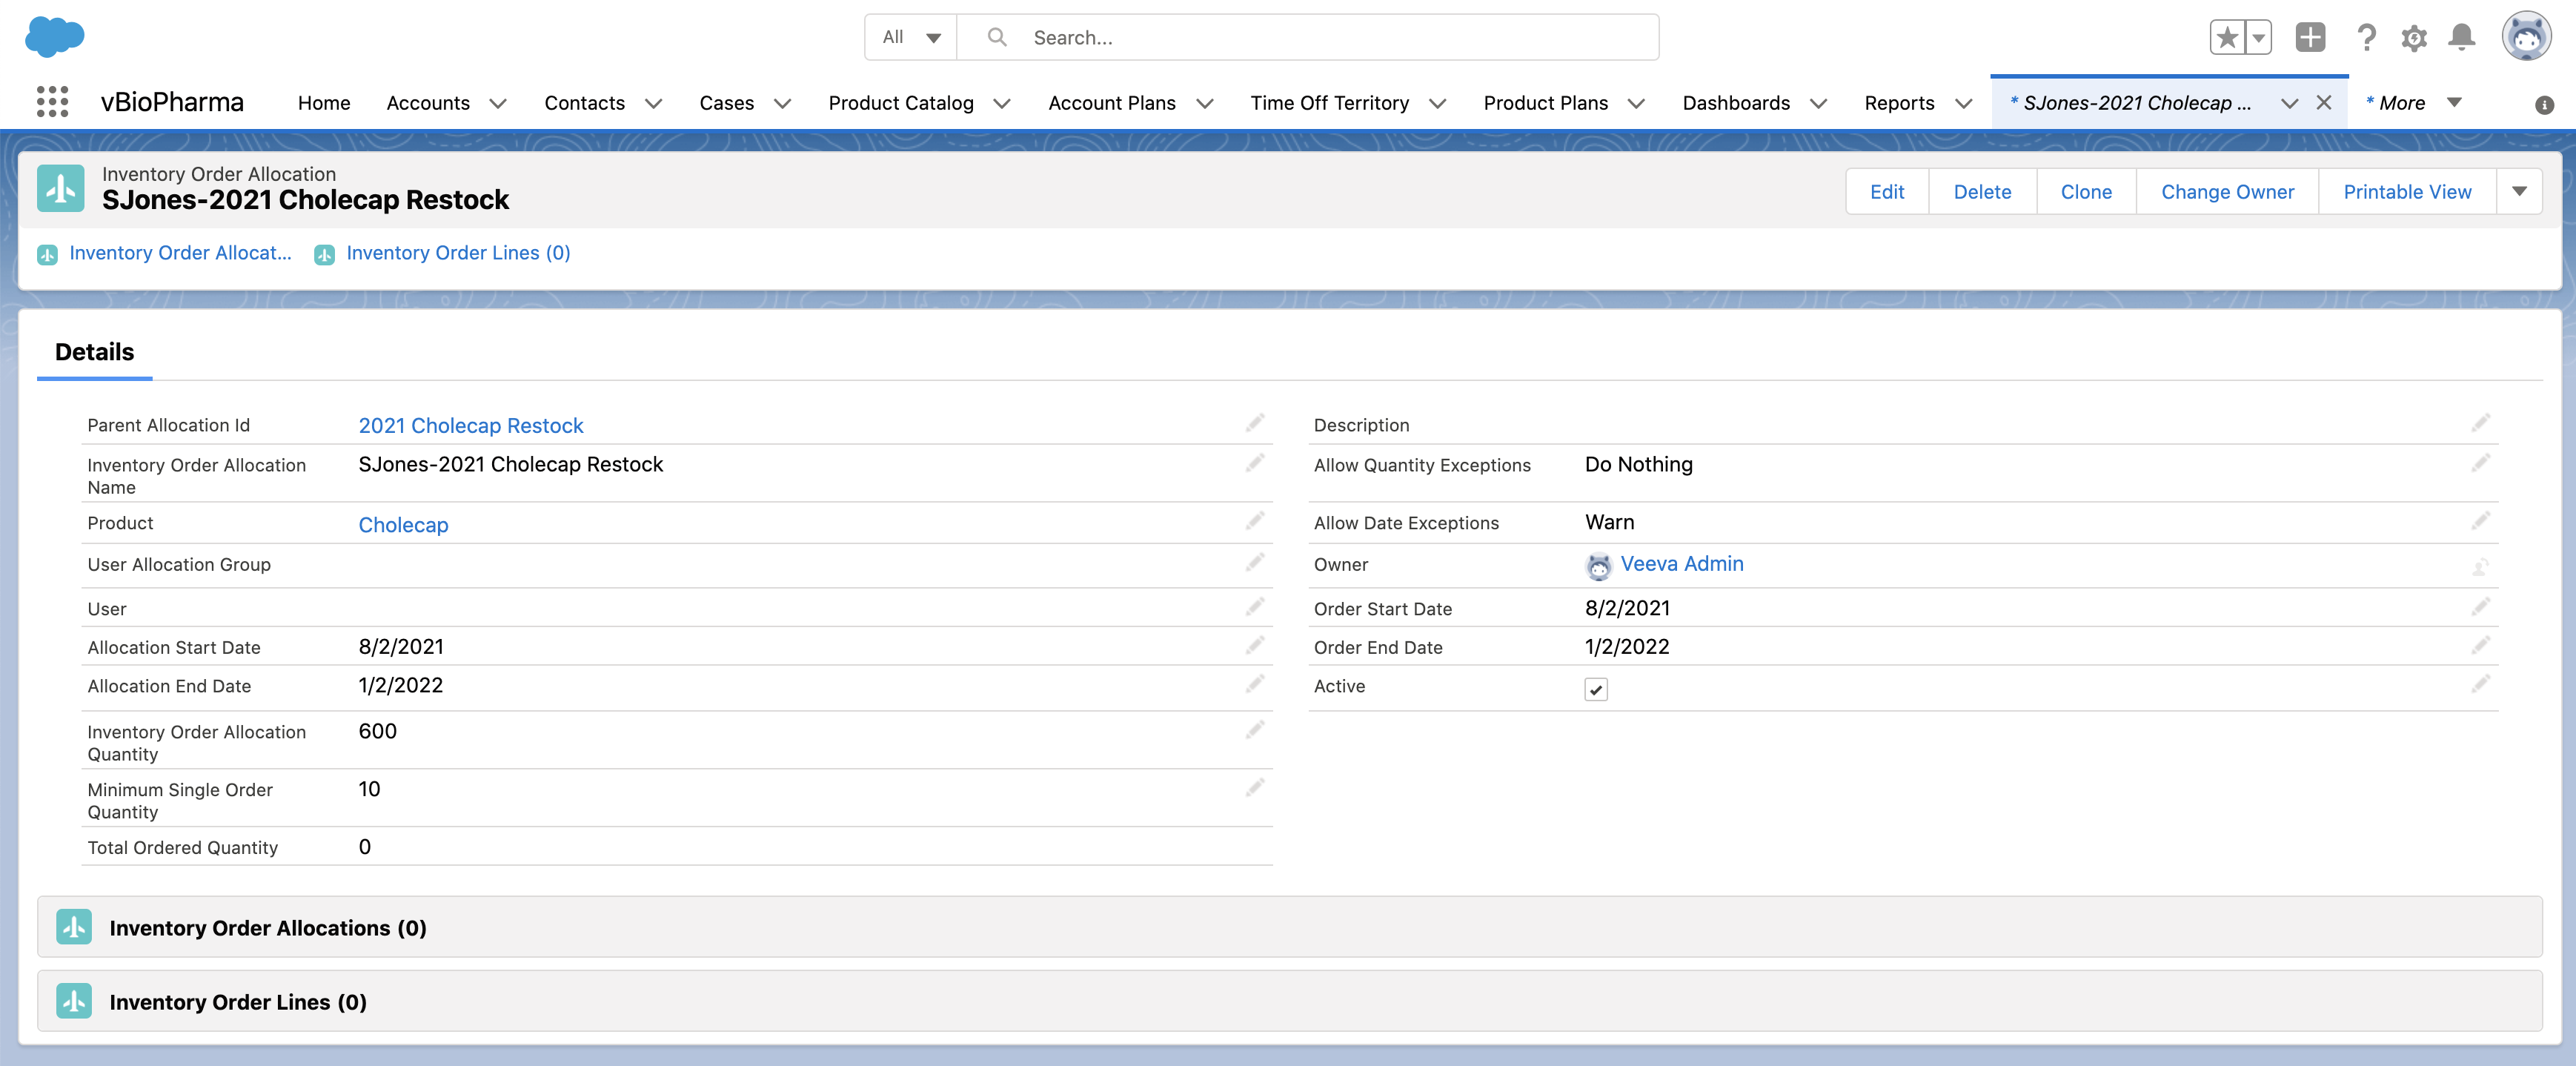
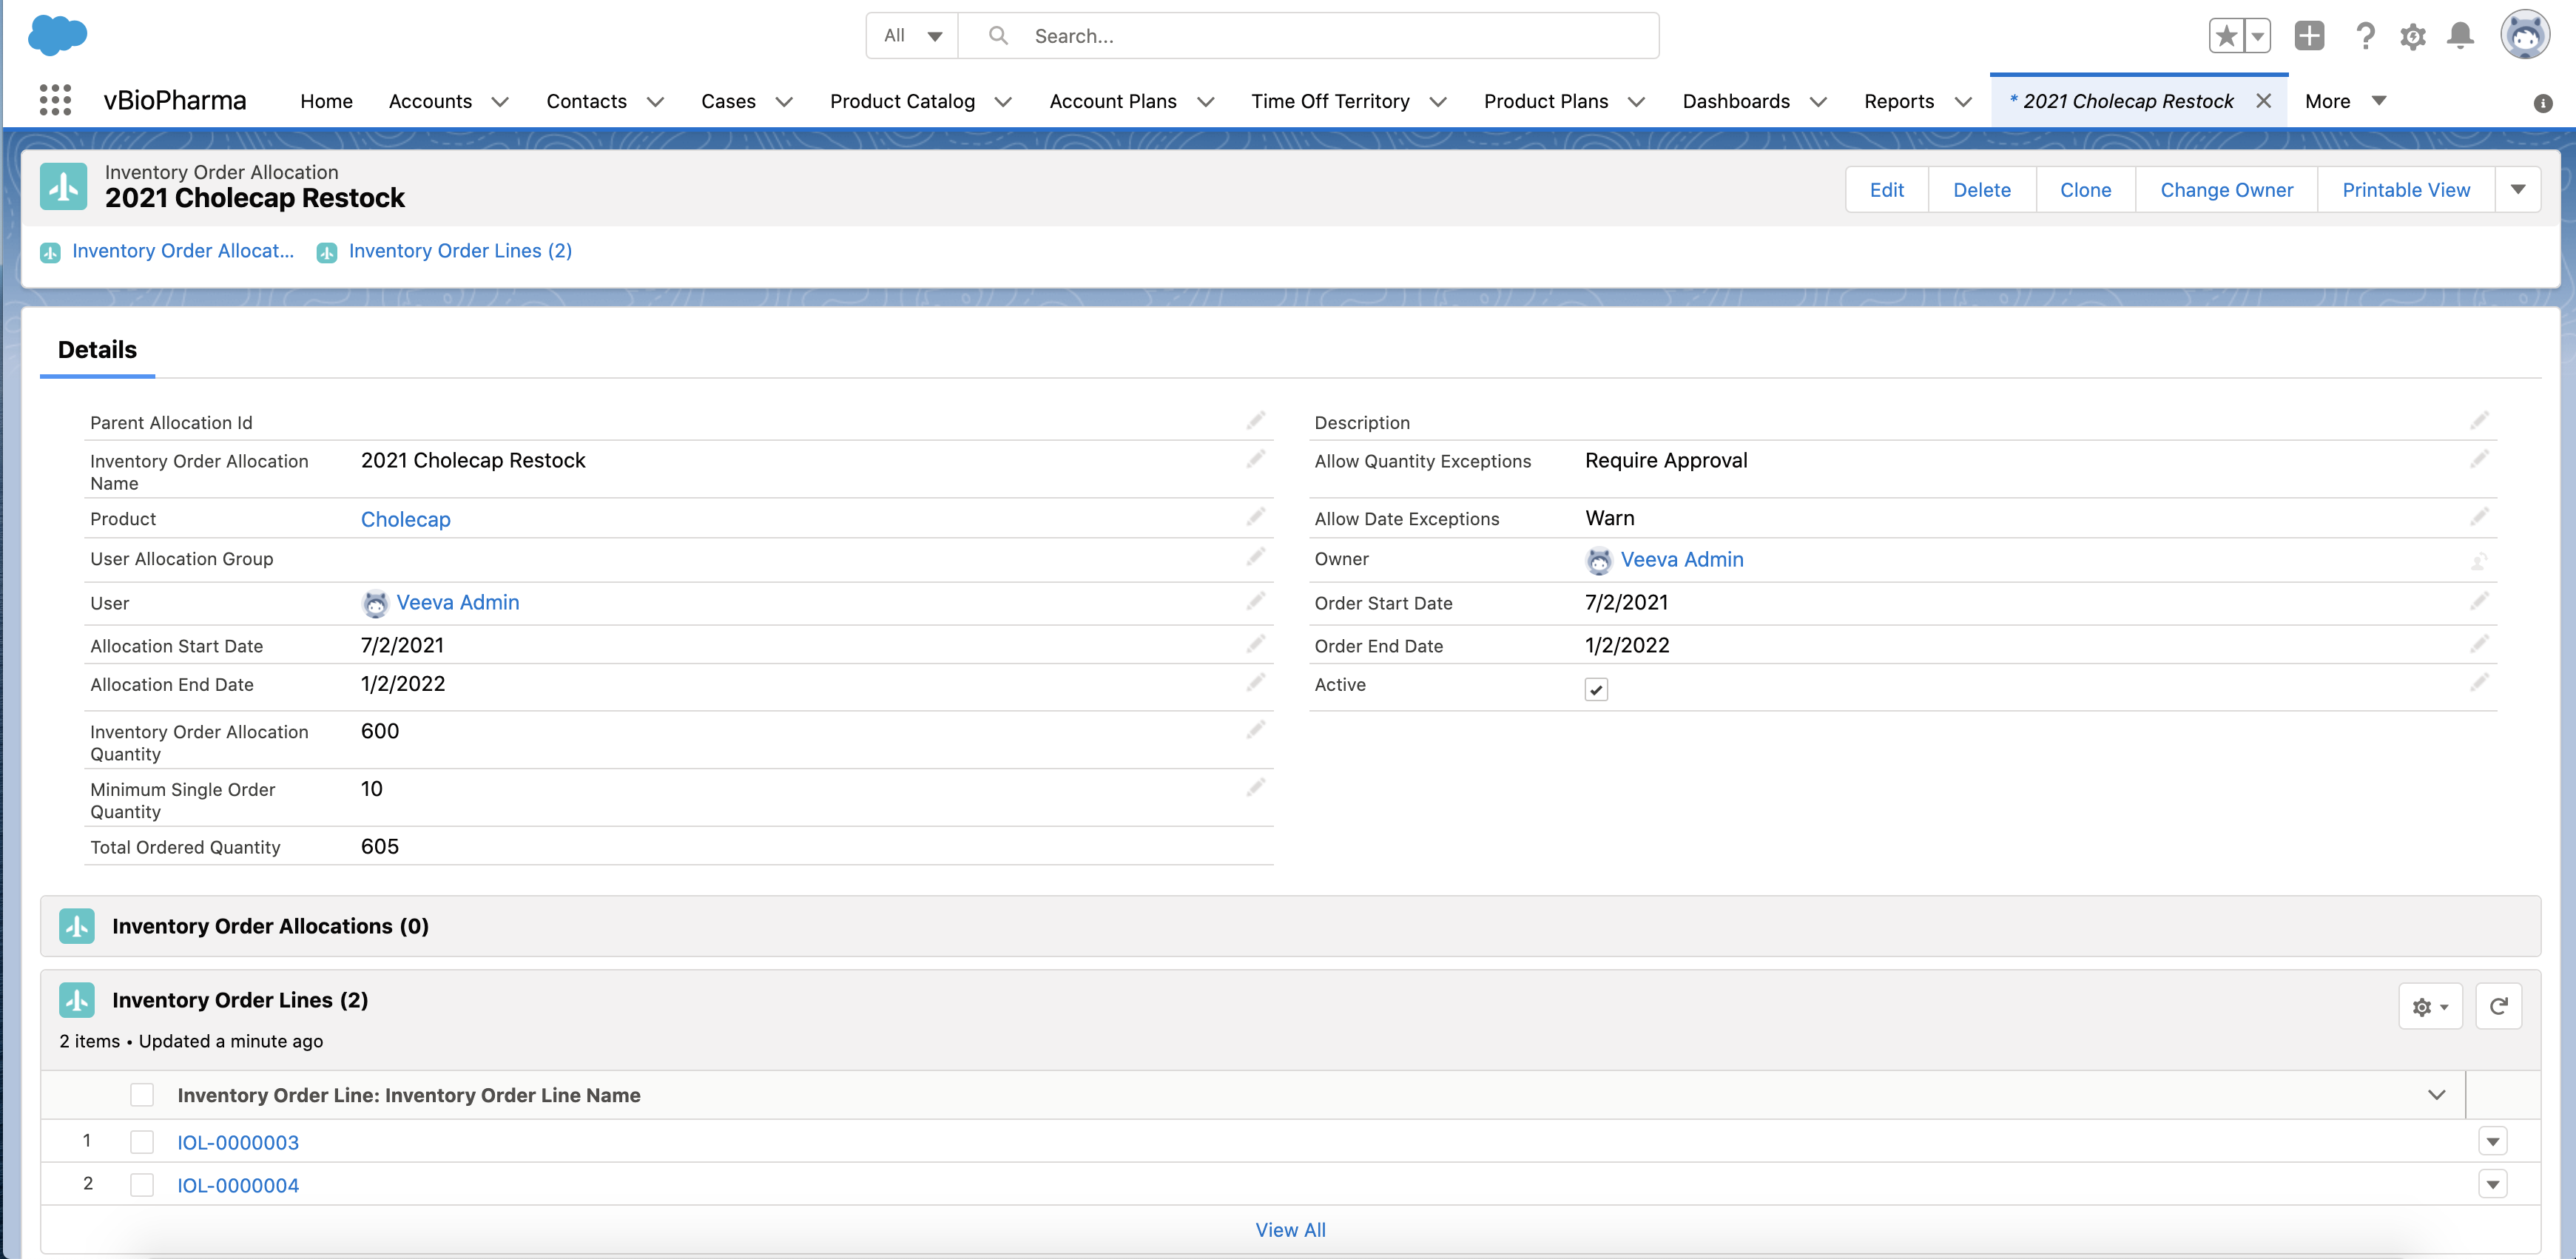
Reassigned allocations display on the parent allocation’s Inventory Order Allocations related list.
Assigning Inventory Order Allocations by User Group
When allocating via user groups:
- Admins create user groups for the appropriate end users
- Admins create an inventory order allocation for each user group, and assign it to the appropriate group
To create user groups for inventory order allocation:
- In Setup, navigate to the appropriate user’s User Detail page.
- Select Edit.
- Enter the appropriate group name in the Inventory_Order_Allocation_Group_vod field.
- Select Save.
- Navigate to the User_Allocation_Group_vod field on the Inventory_Order_Allocation_vod.
- Add the exact text string of the group name as a picklist value on the User_Allocation_Group_vod field.
The User_Allocation_Group_vod picklist value must exactly match the text in the Inventory_Order_Allocation_Group_vod field.
Admins can then select the group from the User_Allocation_Group_vod field picklist on Inventory Order Allocation records. To assign inventory order allocations by user group:
- Navigate to the Inventory Order Allocations tab, through either of the following:
- Select the View Inventory Order Allocation link in the Pending Sample Receipts section of the My Samples page
- Select the Inventory Order Allocations tab
- Select New.
- Enter the appropriate product, quantity, and date information.
-
Select the appropriate user group from the User Group Allocation field.
- Enter a value for the Minimum Single Order Quantity to set a minimum quantity per order—for example, if the sample fulfillment vendor has a shipment minimum of 10 boxes, enter 10 in the field (optional).
- Select a value from the Allow Quantity Exceptions and Allow Date Exceptions picklists to determine how quantity and date exceptions should be handled for orders in the allocation (optional). By default, admins and managers have the following options for exceptions:
- Prevent - users cannot submit the record until they edit the record to stay within the date or quantity allocation
- Warn - a warning icon displays, but users can still submit the record with the exception
- Require Approval - a warning icon displays, and a user higher in the role hierarchy must approve the inventory order exception
- Do Nothing - users can submit the record as usual, and a warning icon does not display
- Select the Active check box.
- Select Save.
All users within a group are allocated an equal amount of product, under the same conditions defined on the inventory order allocation record.
Creating Inventory Orders
To restock sample inventory, users place inventory orders. To create an inventory order:
- Navigate to the Inventory Orders tab, through either of the following:
- Select the View Sample Inventory Orders link in the Pending Sample Receipts section of the My Samples page
- Select the Inventory Orders tab
- Select New.
- Use the Order_For_User_vod lookup field to select the appropriate user and display the appropriate inventory order lines. Users can select themselves or reports who are one node below them in the Role Hierarchy.
Inventory order lines only display for products where the user has an active Inventory Order Allocation record.
- Select the appropriate status from the Order_Status_vod picklist
- Saved - Order information is saved
- Pending Approval - Order is submitted and is pending approval from an approving manager
- Submitted - Order is submitted and can be processed through a fulfillment system via integration
- Completed - Order is fulfilled and is complete
- Canceled - Order is canceled and will not be fulfilled
- Complete the appropriate fields in the Information section of the Inventory Order record.
- For each inventory order line, enter the Order Quantity and Requested Delivery Date.
If there are many available products, enter the product name in the Search bar to find the appropriate product. Product results are updated as users type.
- Select Save. Users can only edit inventory orders while they are in Saved status.
- Select Submit when the order is complete.
When users submit inventory orders that do not require approval, order information is sent to sample fulfillment vendors who process the shipments.
Reviewing Inventory Order Exceptions
When a user enters an order date or an order quantity outside of those set on the inventory order allocation record, the corresponding line item is flagged as an inventory order exception. If Warn or Require Approval is selected in the Allow Quantity Exceptions or the Allow Date Exceptions picklist on the inventory order allocation record, a warning icon displays next to the field causing the exception.
Users can enter more information about each exception in the Exception_Comments_vod, Exception_Severity_vod, and Exception_Type_vod fields.
If Require Approval is selected, the inventory order exception must be approved by another user. By default, the approver is the user one node above the Order For User in the Territory Hierarchy. When a record is approved, the following field values are stamped on the Inventory_Order_vod record:
- Approved_Date_vod
- Approved_By_vod
- Approved_vod
To approve a record, follow the approval process defined for inventory order exceptions.
Standard Salesforce approval processes are not supported for inventory ordering.
