

Signing Into Veeva CRM for Android
To sign into the Android application:
- Select the application icon from the device’s home screen. The sign in screen displays.
- Select the gear button to select the appropriate connection type. To use a custom domain, add a connection with the custom domain URL. See Managing Org Connections for more information.
- Select Sign In to display the Salesforce sign in screen.
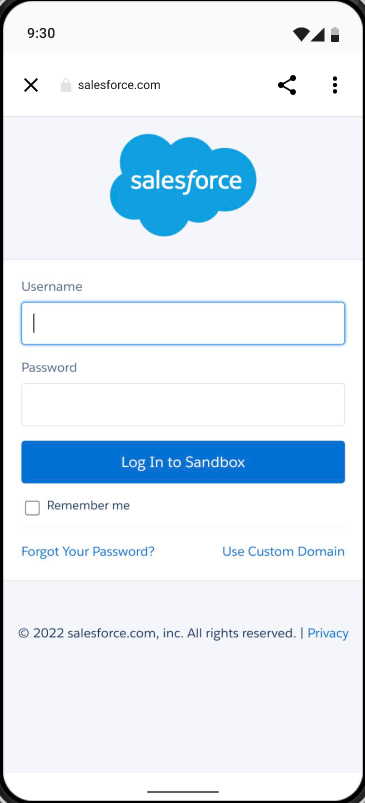
- Enter the appropriate Salesforce credentials. Users can also select Use Custom Domain to sign in with single sign-on (SSO) credentials. See Signing In with MFA and Custom Domain for more information.
The home page displays after successfully signing in.
Customizing the Sign In Screen Logo
Customers can insert a company logo on the sign in screen and home page. The vmobile-image-home image displays above the Sign In button if the image exists. See the topic on home page configuration for steps on how to set up the vmobile-image-home image.
Multi-User Support
CRM for Android supports multiple users on a single device and each user’s data is stored separately. This is useful for switching between sandbox and production users to facilitate training or testing. If multiple users have logged into CRM on the same device, the username field becomes a picklist that displays all users that have data stored on the device when signing in with the standard Production or Sandbox org connections.
Managing Org Connections
Users can add, edit, and delete custom org connections.
To add a connection:
- Select the gear button.
- Select Add connection.
- Enter the Host URL and Label for the connection.
- Select Save. The connection is automatically selected after saving.
To edit a connection:
- Select the gear button.
- Select the More Actions button for the appropriate connection.
- Select Edit.
- Update the Host URL and Label fields appropriately.
- Select Save. The connection is automatically selected after saving.
To remove a connection:
- Select the gear button.
- Select the More Actions button for the appropriate connection.
- Select Delete.
- Select Delete in the confirmation popup.
