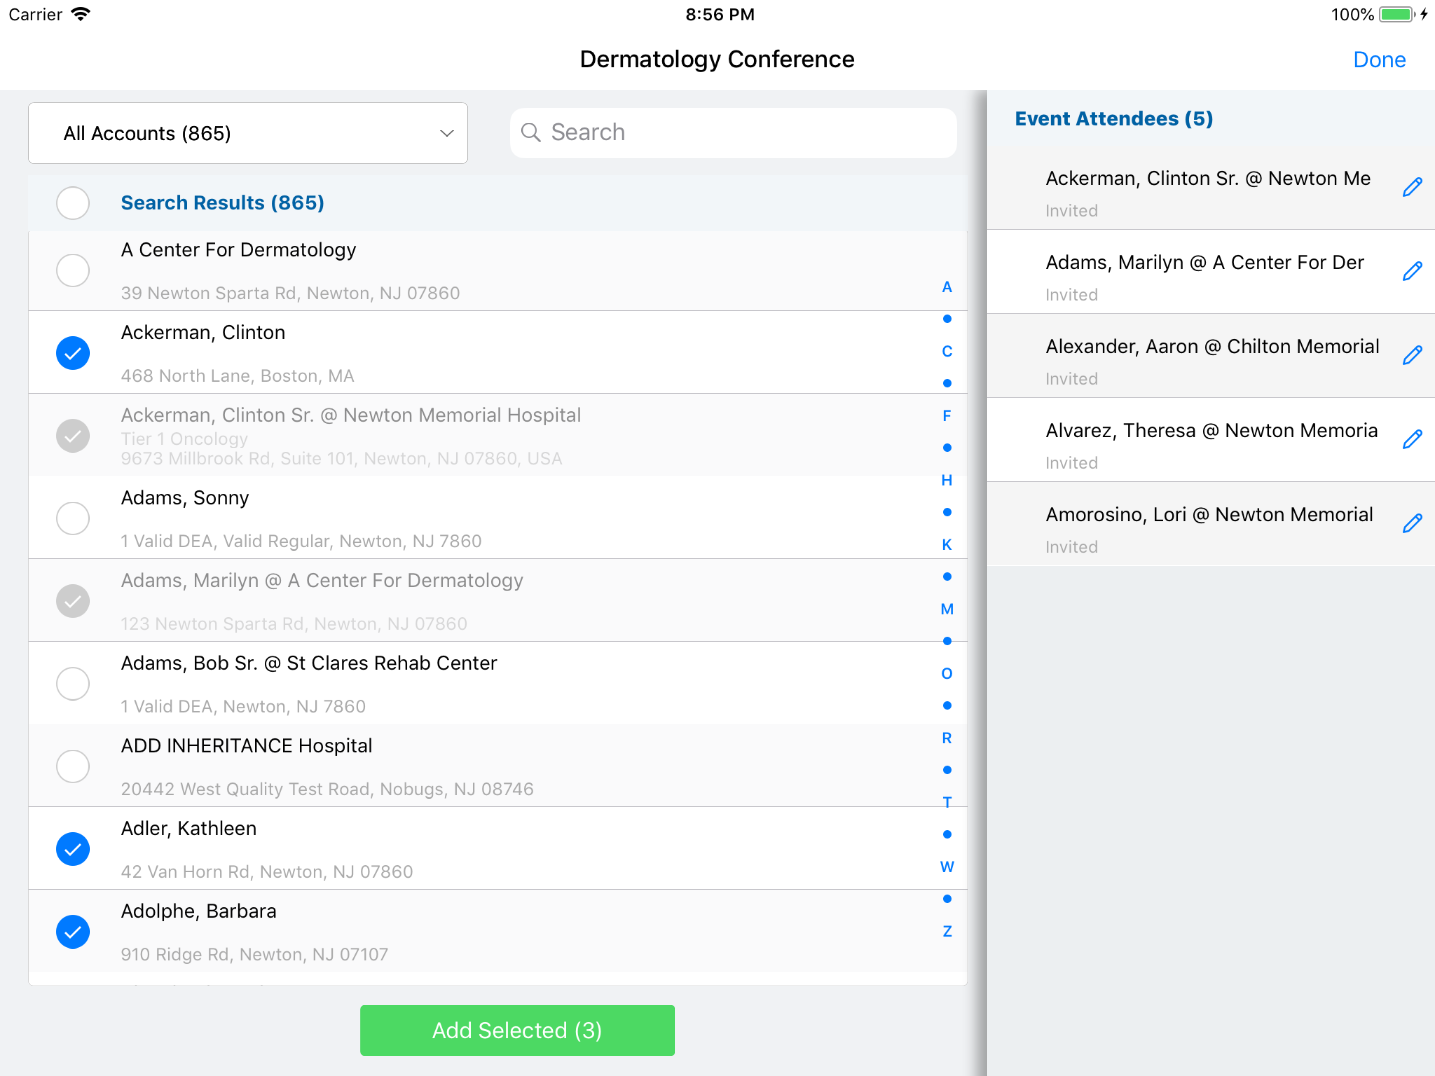
Users can add multiple attendees (person accounts, users, and contacts) at the same time to a medical event using queries and filters in the Manage Attendees section.
To prevent accidentally adding too many attendees, the Toggle All check box is limited to 50 accounts.
Business accounts will display for hierarchies.
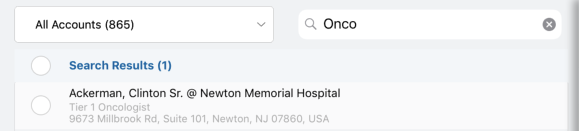
The filters will only load the first 5000 accounts when adding attendees. Search attendees is against all records for which the user has visibility. Use the Account Lists to organize accounts and to ensure you can select the accounts you want to add as attendees for a Medical Event. See Account Lists for more information.
Event attendees display as a related list in the medical event detail page. The user can drill into the details of an attendee by tapping on a record in the related list or by creating a new event attendee by tapping the new record icon at the top of the related list.
Prerequisites
In order to use this feature, make the following configuration changes:
- Grant permission for profiles to the Manage_Attendees_vod Visualforce Page to enable the Manage Attendees button. If this is not added, this button will not function properly.
- Add Manage Attendees button to the custom buttons section of the Medical Event page layout – allows the Plus icon to display in CRM for iPad.
- Add the Mobile_ID_vod field to the Event Attendee object.
- User must have Create permission on the Event Attendee object – we also recommend Edit and Delete permissions.
Functionality
To access Manage Attendees:
- Navigate to the Medical Event.
- Tap the Event Attendees related list.
- Tap the plus icon.
To add attendees:
- Tap the rows for the accounts to be added.
- Tap Add Selected.
To add attendees using hierarchy:
- Tap a business account (indicated by the hierarchy icon) to display all child accounts.
- Add person accounts directly, or users can continue to navigate to the hierarchy by tapping on other business accounts.
- Use the drop-down filter or the up arrow to navigate back up the hierarchy.
To update how attendees are displayed:
- Grant users at least FLS read permission on the Account_Identifier_vod field on the Account object. The value for each account displays and is searchable on the Manage Attendees screen.
- Enable the ENABLE_ACCOUNT_PARENT_DISPLAY_vod Veeva Setting. The account's Primary Parent displays.
To remove attendees:
- Long press on a name on the Event Attendee list to display the minus icon.
- Tap the minus icon.
You must have delete permission.
If an account has been signed, you cannot remove it from the attendees list.