Capture and Attach Photos for Inventory Monitoring
- Browser
- iPad
- Photos captured within CRM for iPad are stored in the local CRM for iPad database and are not available in the user’s iPad Camera Roll or Albums
- Photos attached from an album are converted based on quality settings and stored in the local CRM for iPad database. The original photo remains in the user’s iPad Albums.
- Photos are deleted from the CRM for iPad local database after successful upload on sync in order to save local storage. After syncing, the photos are available on-demand by returning to the Inventory Monitoring record and downloading the images from the Inventory Monitoring edit page or the Attachments related list.
To enable photo capture:
- Find the VMobile Object Configuration record for the Inventory Monitoring object and select the Include Attachments check box.
- Set the PHOTO_QUALITY_vod Veeva setting to the desired value.
Label Name Data Type Description Default Value Photo Quality PHOTO_QUALITY_vod Number (1,0) Determines the quality of photos uploaded from offline platforms:
- 0 = Lowest quality setting
- 1 = Medium quality setting
- 2 = High quality setting
0
- Add the Notes & Attachments related list to the Inventory Monitoring page layout.
To capture and attach a photo:
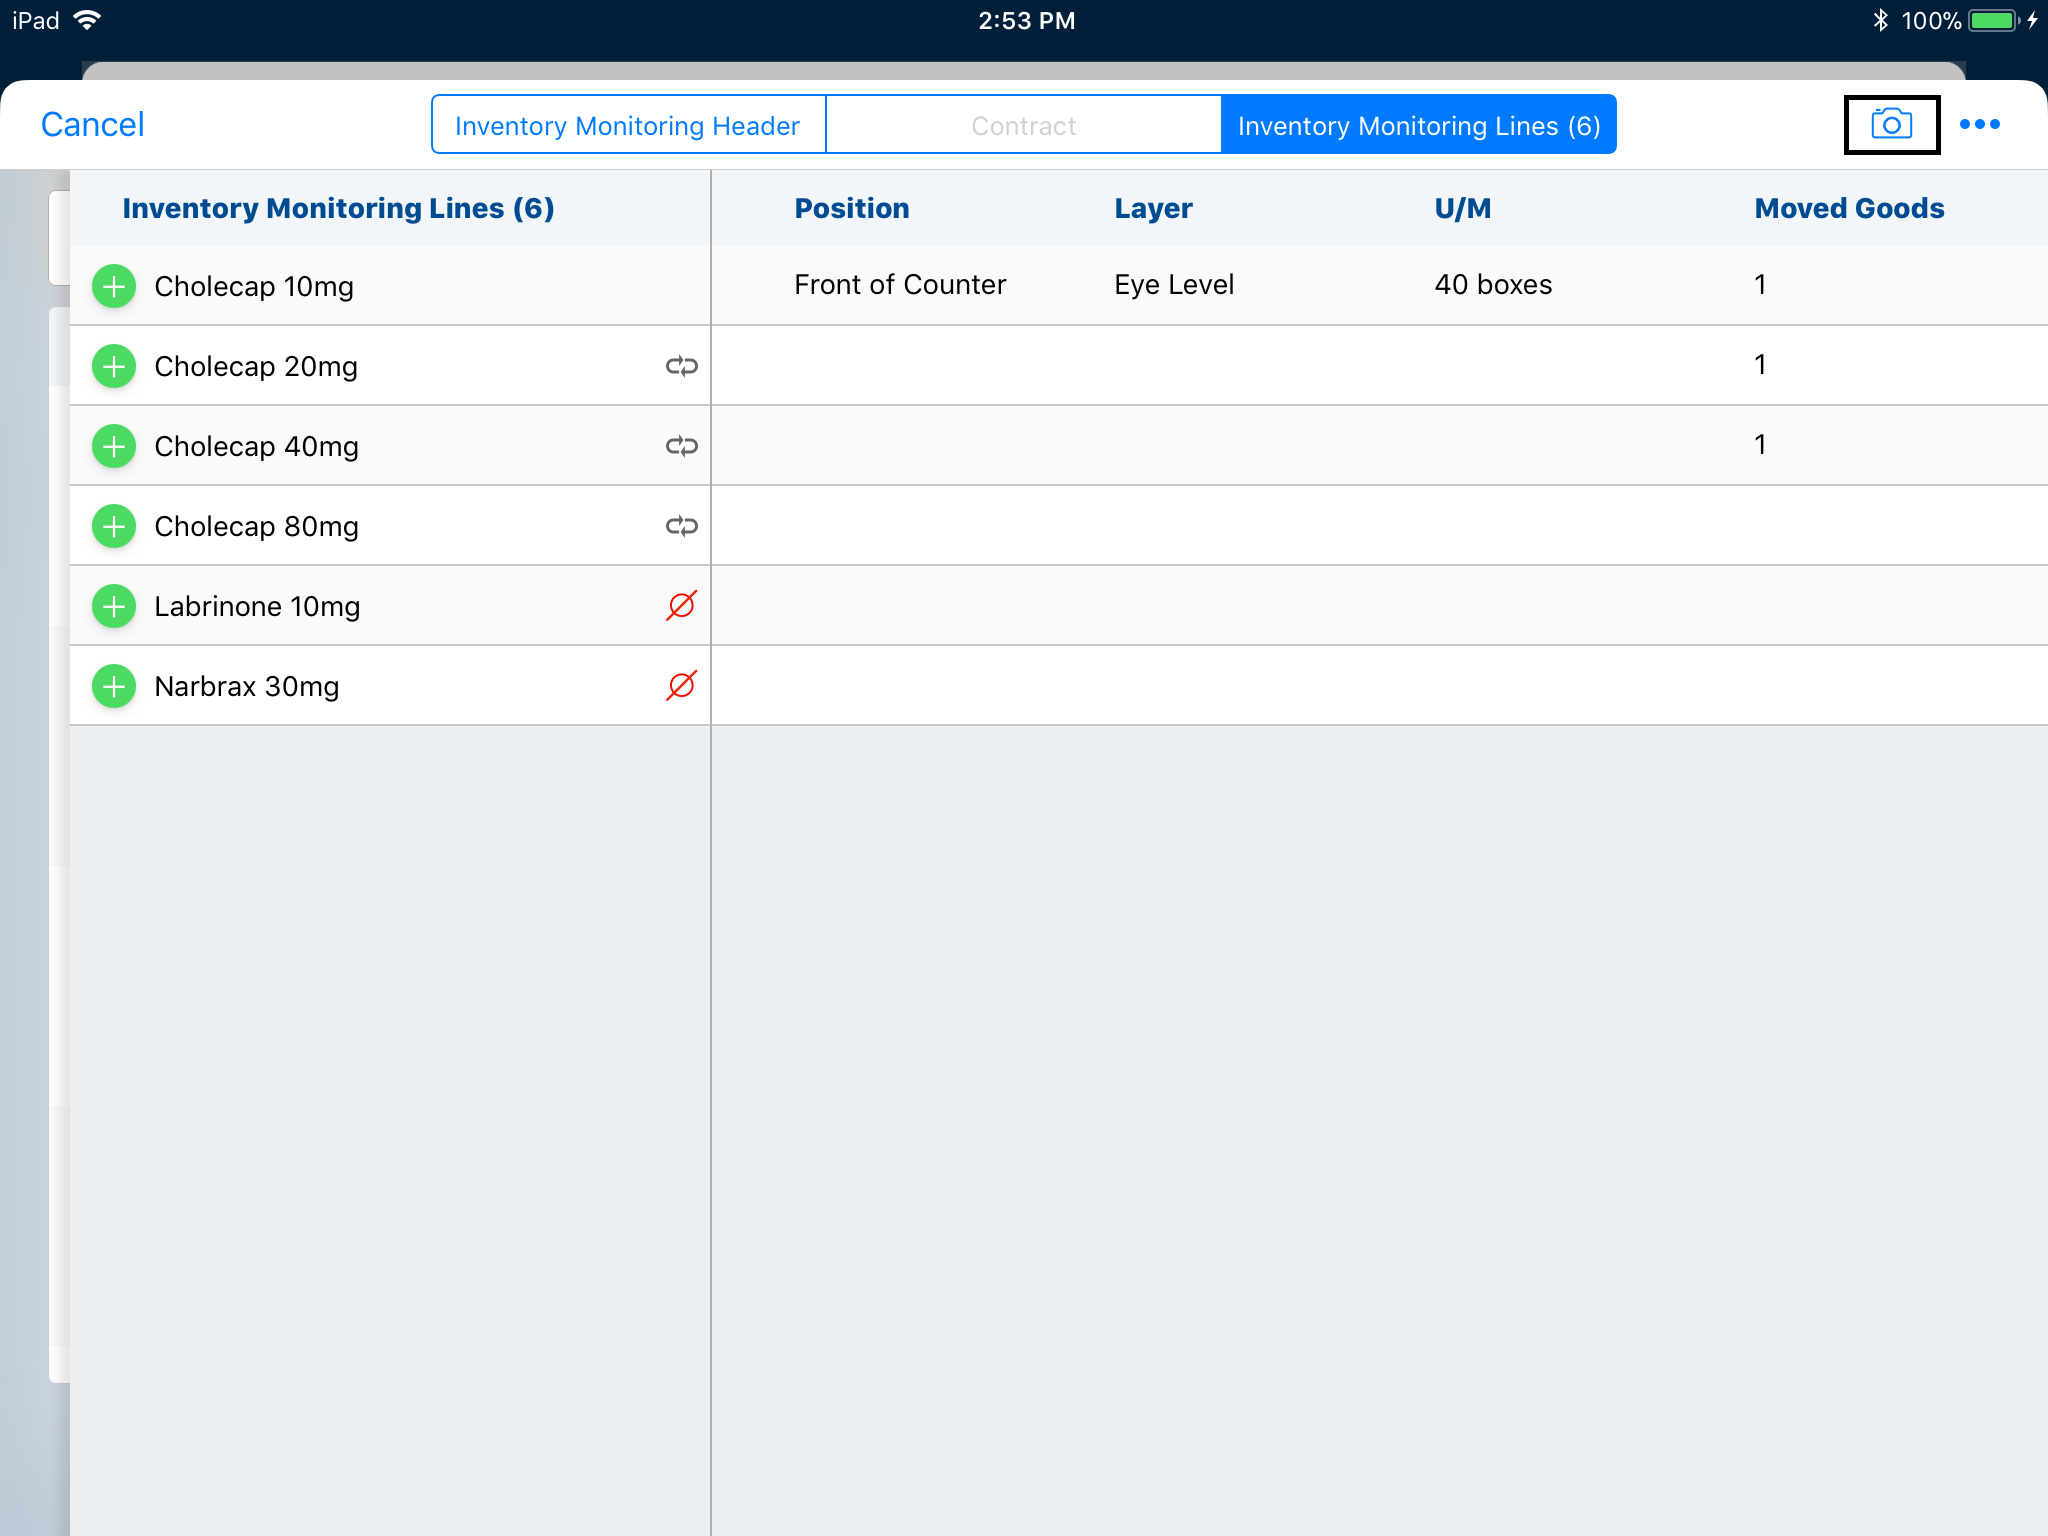
- Select the Camera icon on the Inventory Monitoring edit page.
- Select Capture Photo.
- Take the picture.
- Enter a description. This step is optional.
- Select Use Photo.
- Navigate back to the previous page. The photo displays in the Attachments section.

To attach a photo from the photo library or camera roll:
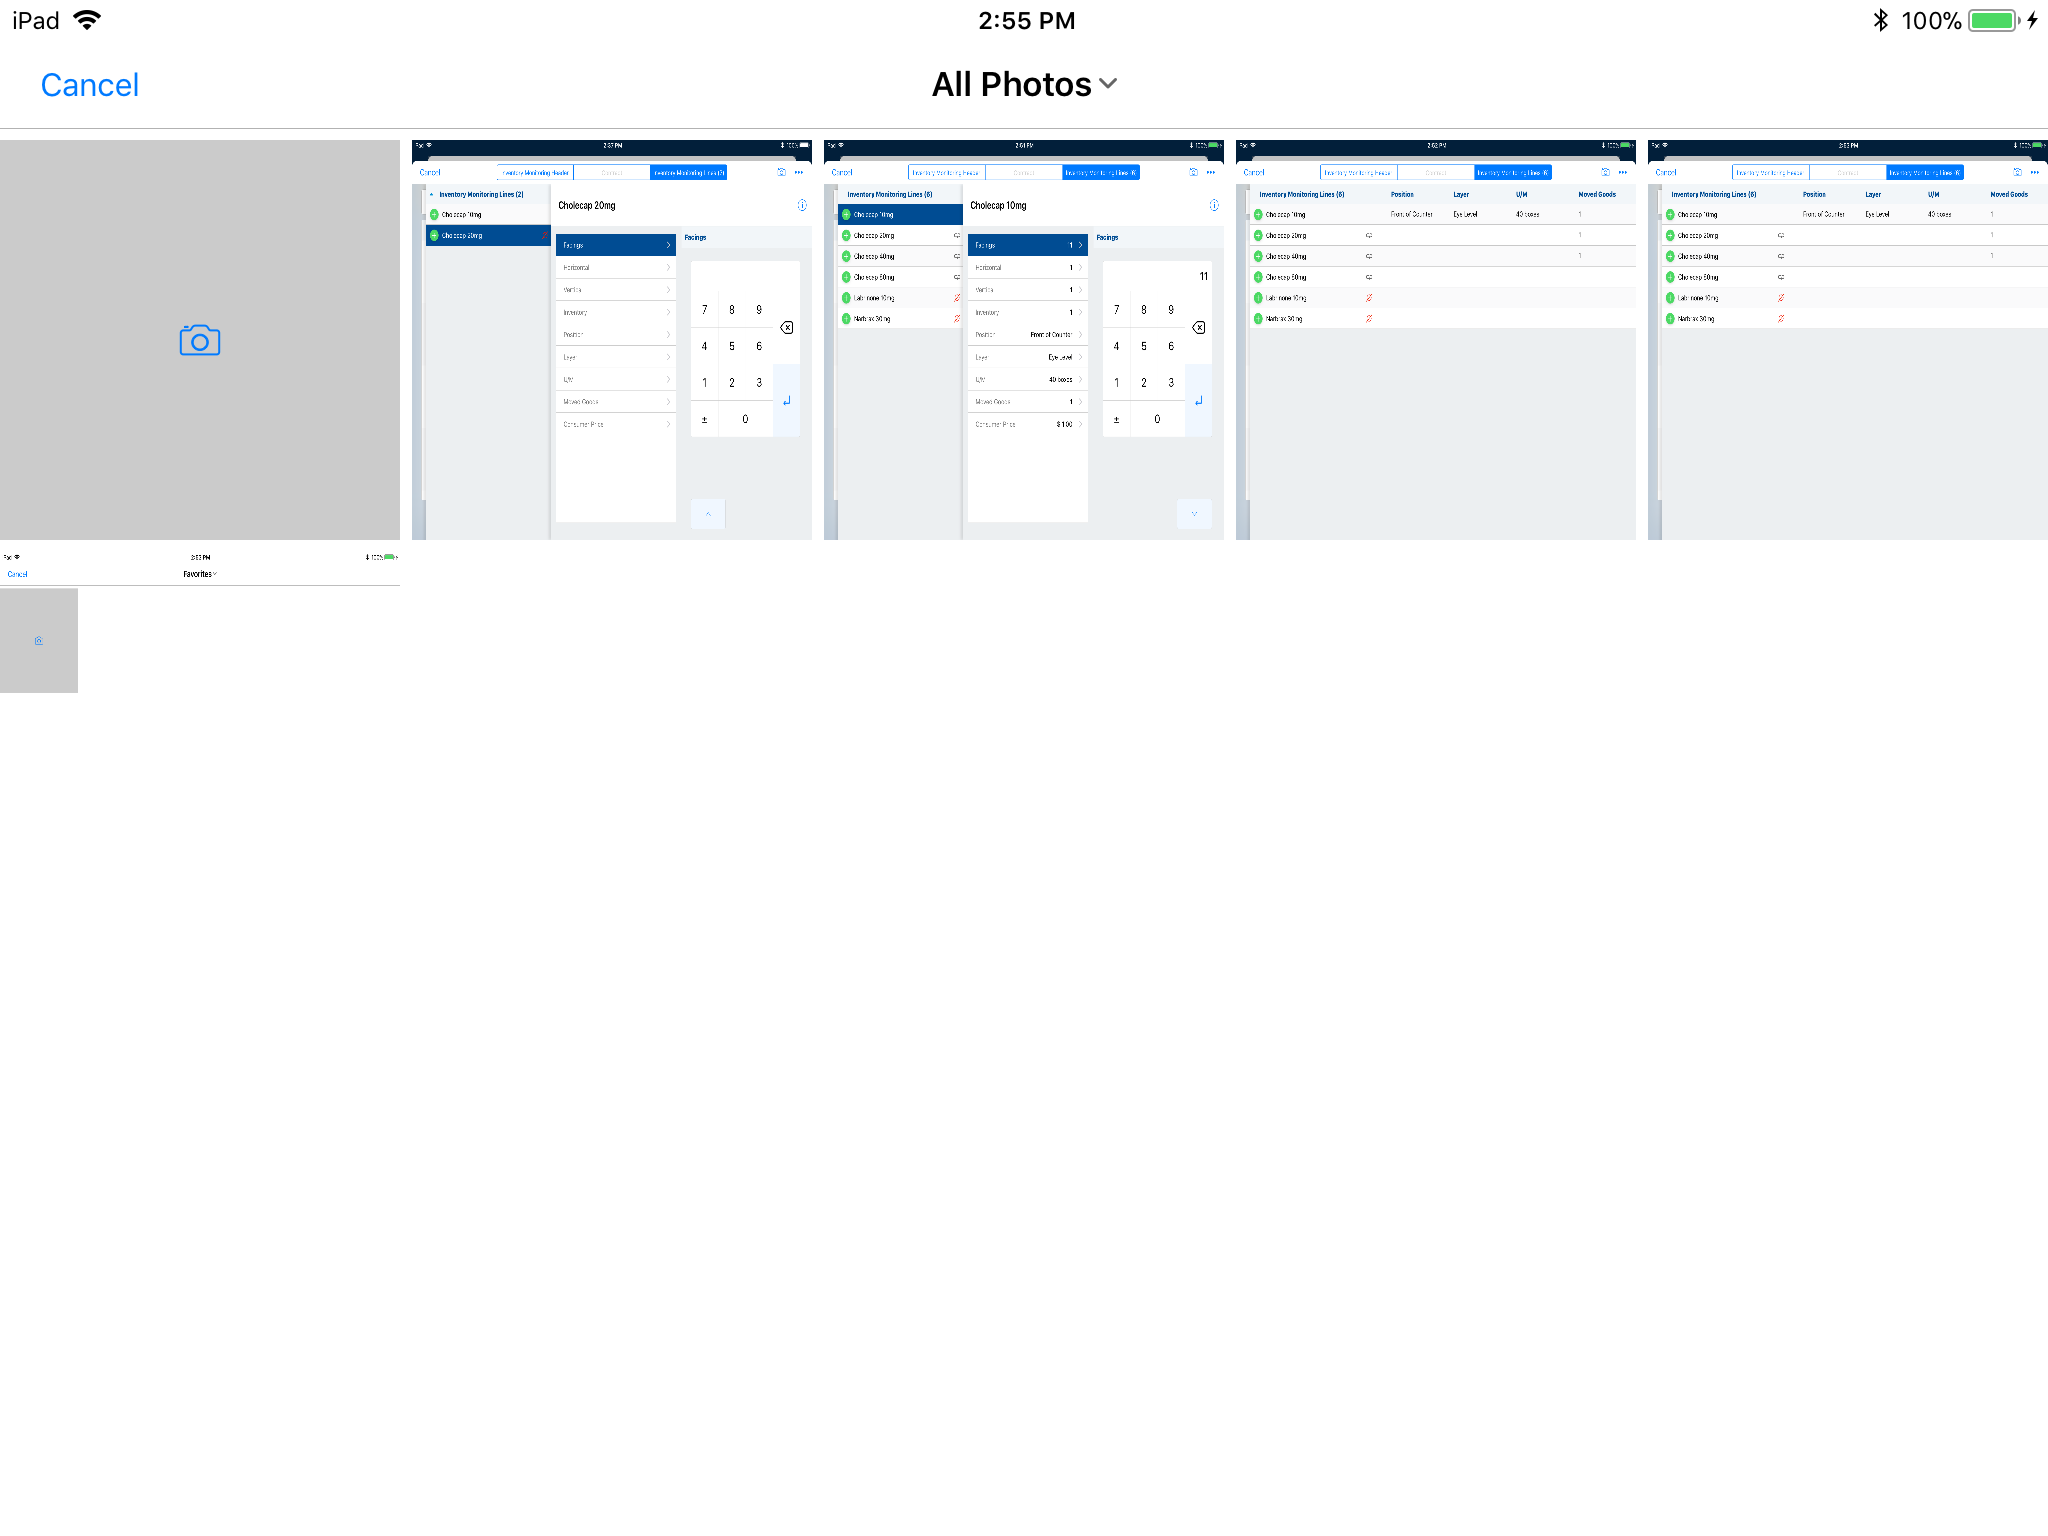
- Select Photo Library.
- Select Album.
- Select the appropriate photo.
- Enter a description. This step is optional
- Select Use Photo.
- Navigate back to the previous. The photo displays in the Attachments section.


